
Welcome to our Wild Meadow Studio Travel Blog and our latest post on Italy. This time we will be discussing hiking in the Northeast mountainous region, called the Dolomites. The Dolomites are one of the best hiking destinations in Europe, offering dramatic limestone peaks, alpine lakes, and panoramic ridgelines. One of the biggest advantages of hiking here is the accessibility to the incredible views; many of the most scenic trails are easy to reach by car, gondola or a short walk and don’t require advanced hiking skills.
This guide covers five of the best hikes in the Dolomites, including easy loops and slightly more challenging routes, all with unforgettable views. You’ll also find practical tips, transport options, parking advice, and GPS/planning information to help you organize your trip.
In order to get to these hikes, we are recommending renting a car, it makes things much easier, as you can go at your own pace. Driving in this region is pretty straight forward and not as busy as it is in the cities. So even if you just have the rental car for this portion of your trip, if you are continuing on, then this would work well. Expedia.ca is our go to for car rentals, we can usually get a good deal and they have been reliable for us. Another option, if you don’t feel comfortable driving or don’t have the time to stay in the Dolomites, but want to experience this amazing region, you could do a day trip or book a tour from a different city. Venice is a great base to do this from, as it’s less than 3 hours away and there are a lot of choices as far as tours. Check out Get your Guide or Viator for daytrips or guided hiking tours. These are the companies we use and recommend.
Check out our series on the Dolomites: “5 Great Hikes in the Dolomites with Incredible views, (easy to moderate)”, “5 Incredible Mountain Towns to Discover in the Italian Dolomites, (including 1 hidden gem nearby)”, “A Peaceful Road Trip Through the Dolomites: 5-day Itinerary with Hikes, Alpine Towns, & Breathtaking Scenery”. ” Tips & Recommendations, Your Travel Guide to the Italian Dolomites”.
Disclosure: This post may contain affiliate links, meaning that we would get a small commission if you decided to make a purchase through one of them, at no extra cost to you and you would be supporting our small Canadian business. This would allow us to continue creating informative travel content. All the businesses we are recommending are ones we use in our travels and feel comfortable doing so!
Table of Contents:
- Tre Cime di Lavaredo Loop
- Lago di Braies Loop
- Seceda Ridgeline Hike
- Kronplatz Summit Loop
- Monte Pana/Sassolungo Waterfall Hike
- A Few Quick Tips
- References
- Final Thoughts
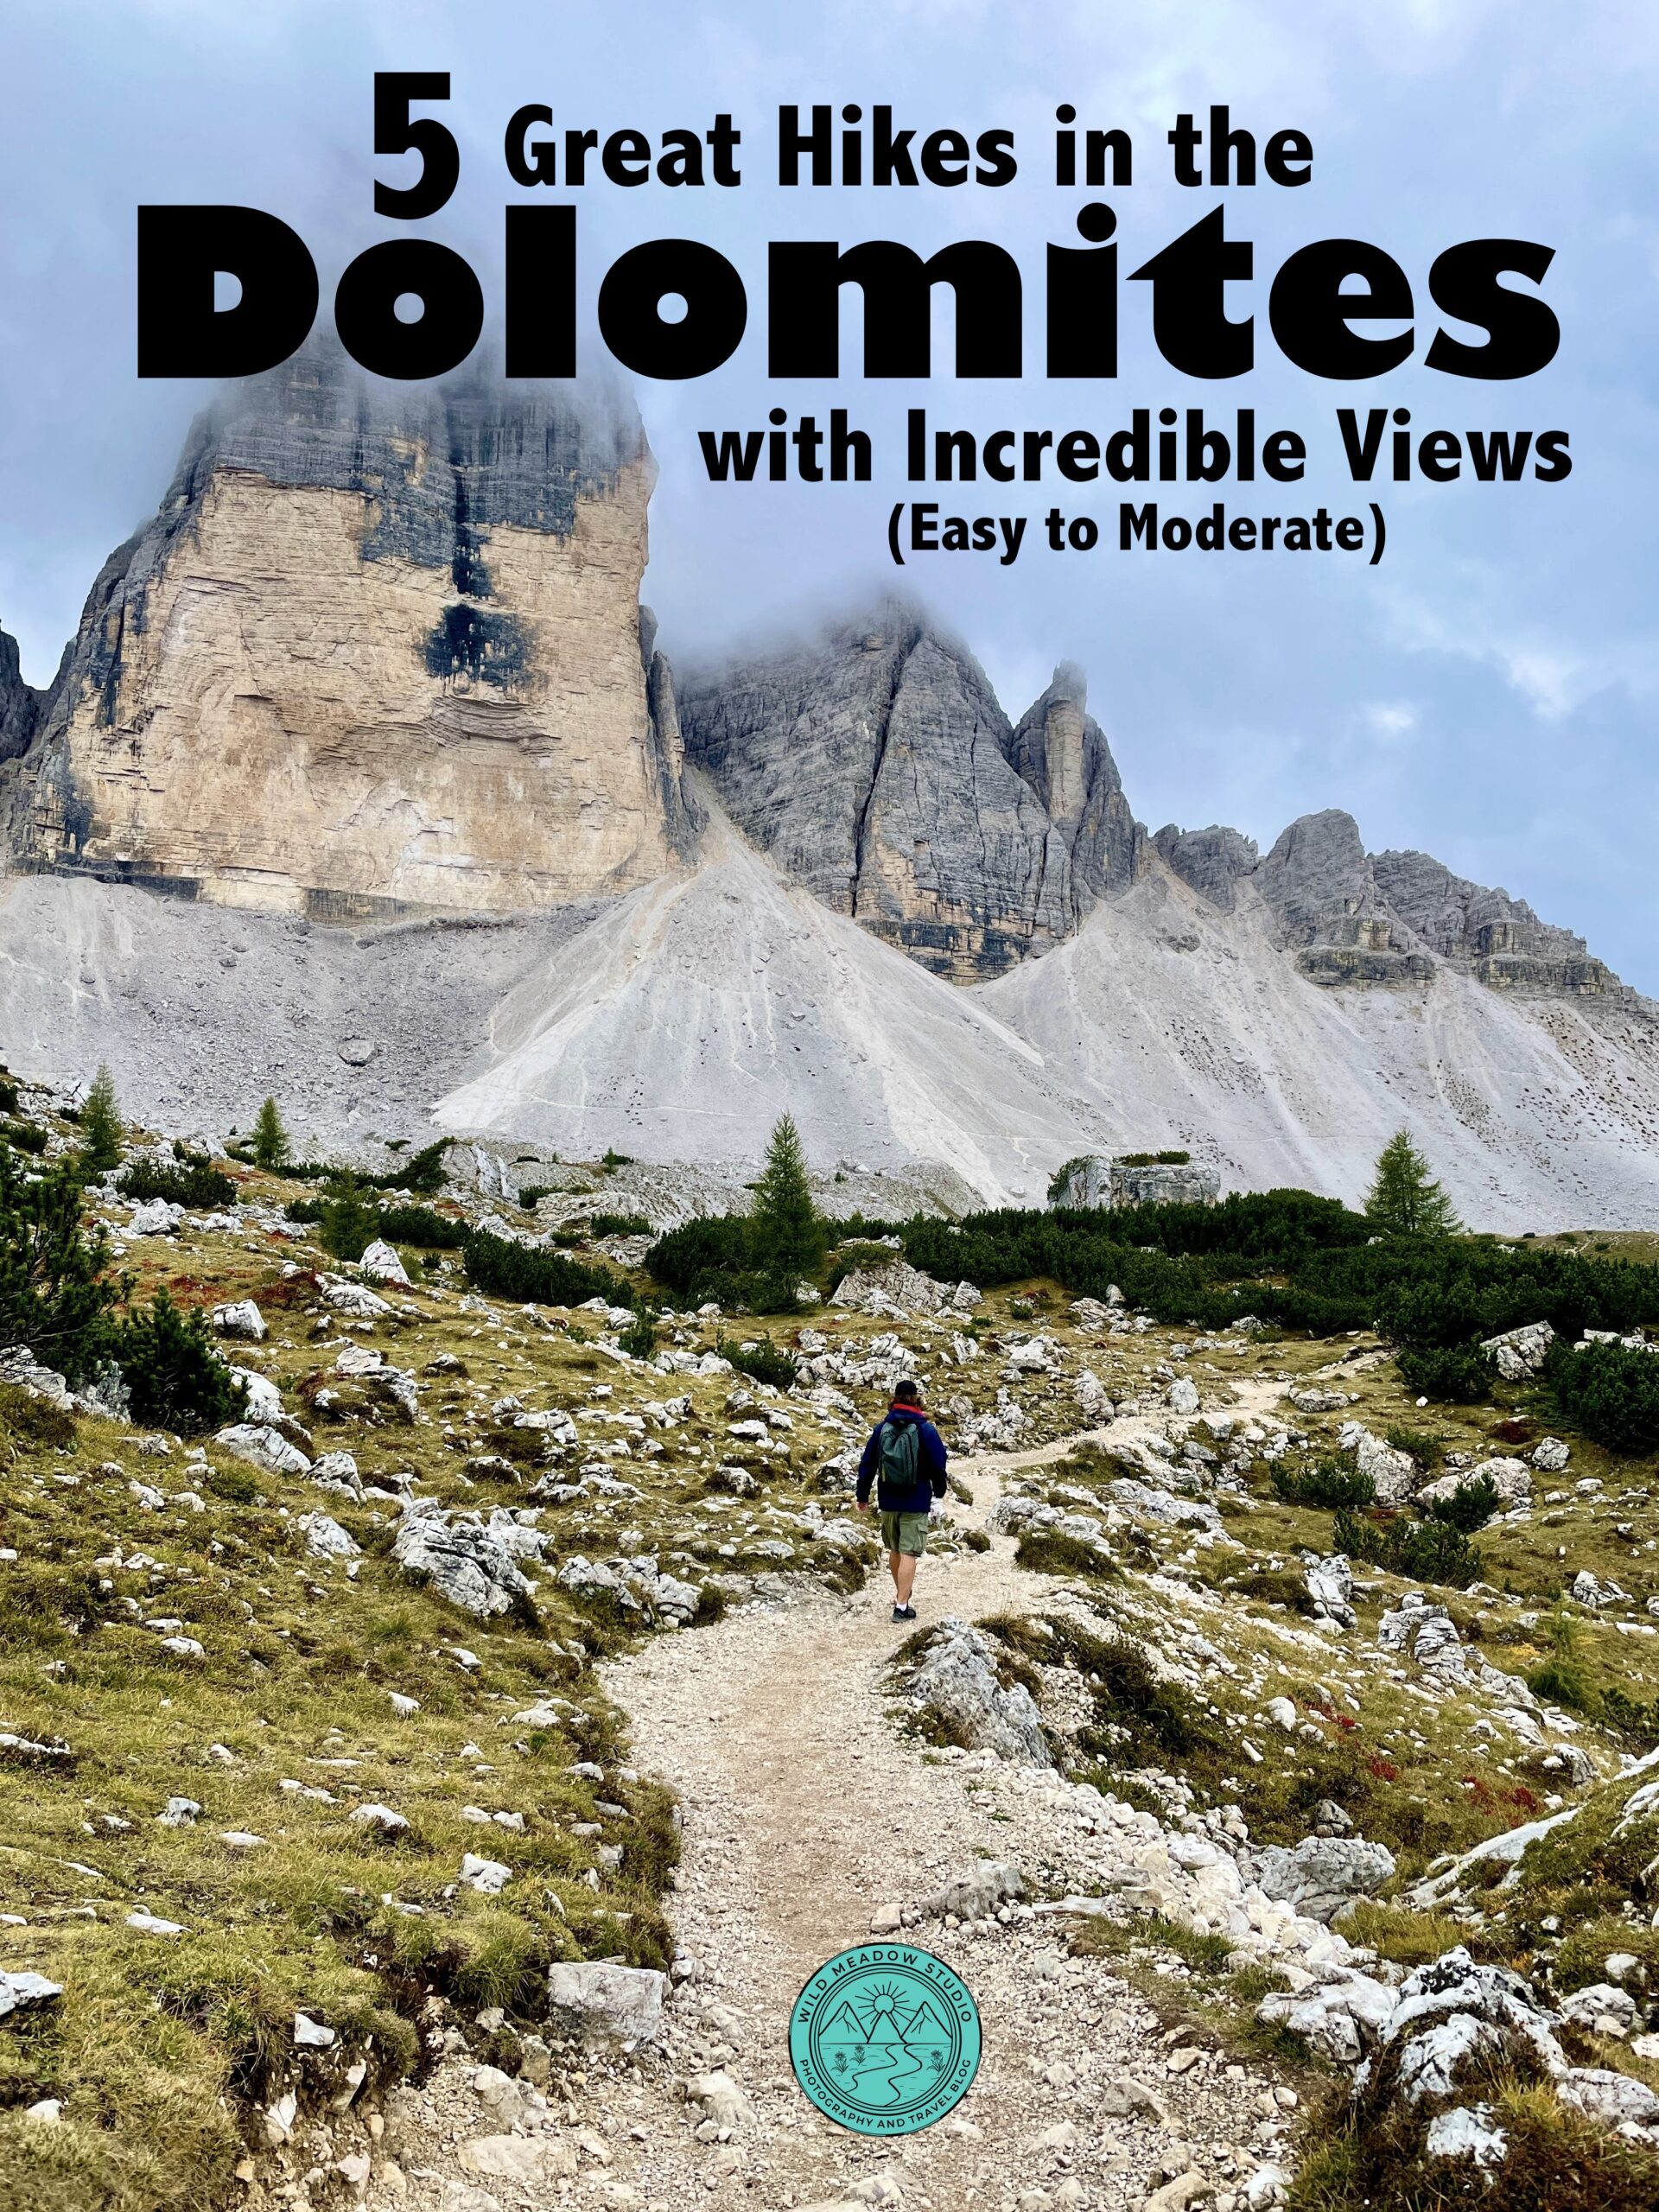
1. Tre Cime di Lavaredo Loop:
Beginning of the Tre Cime Loop
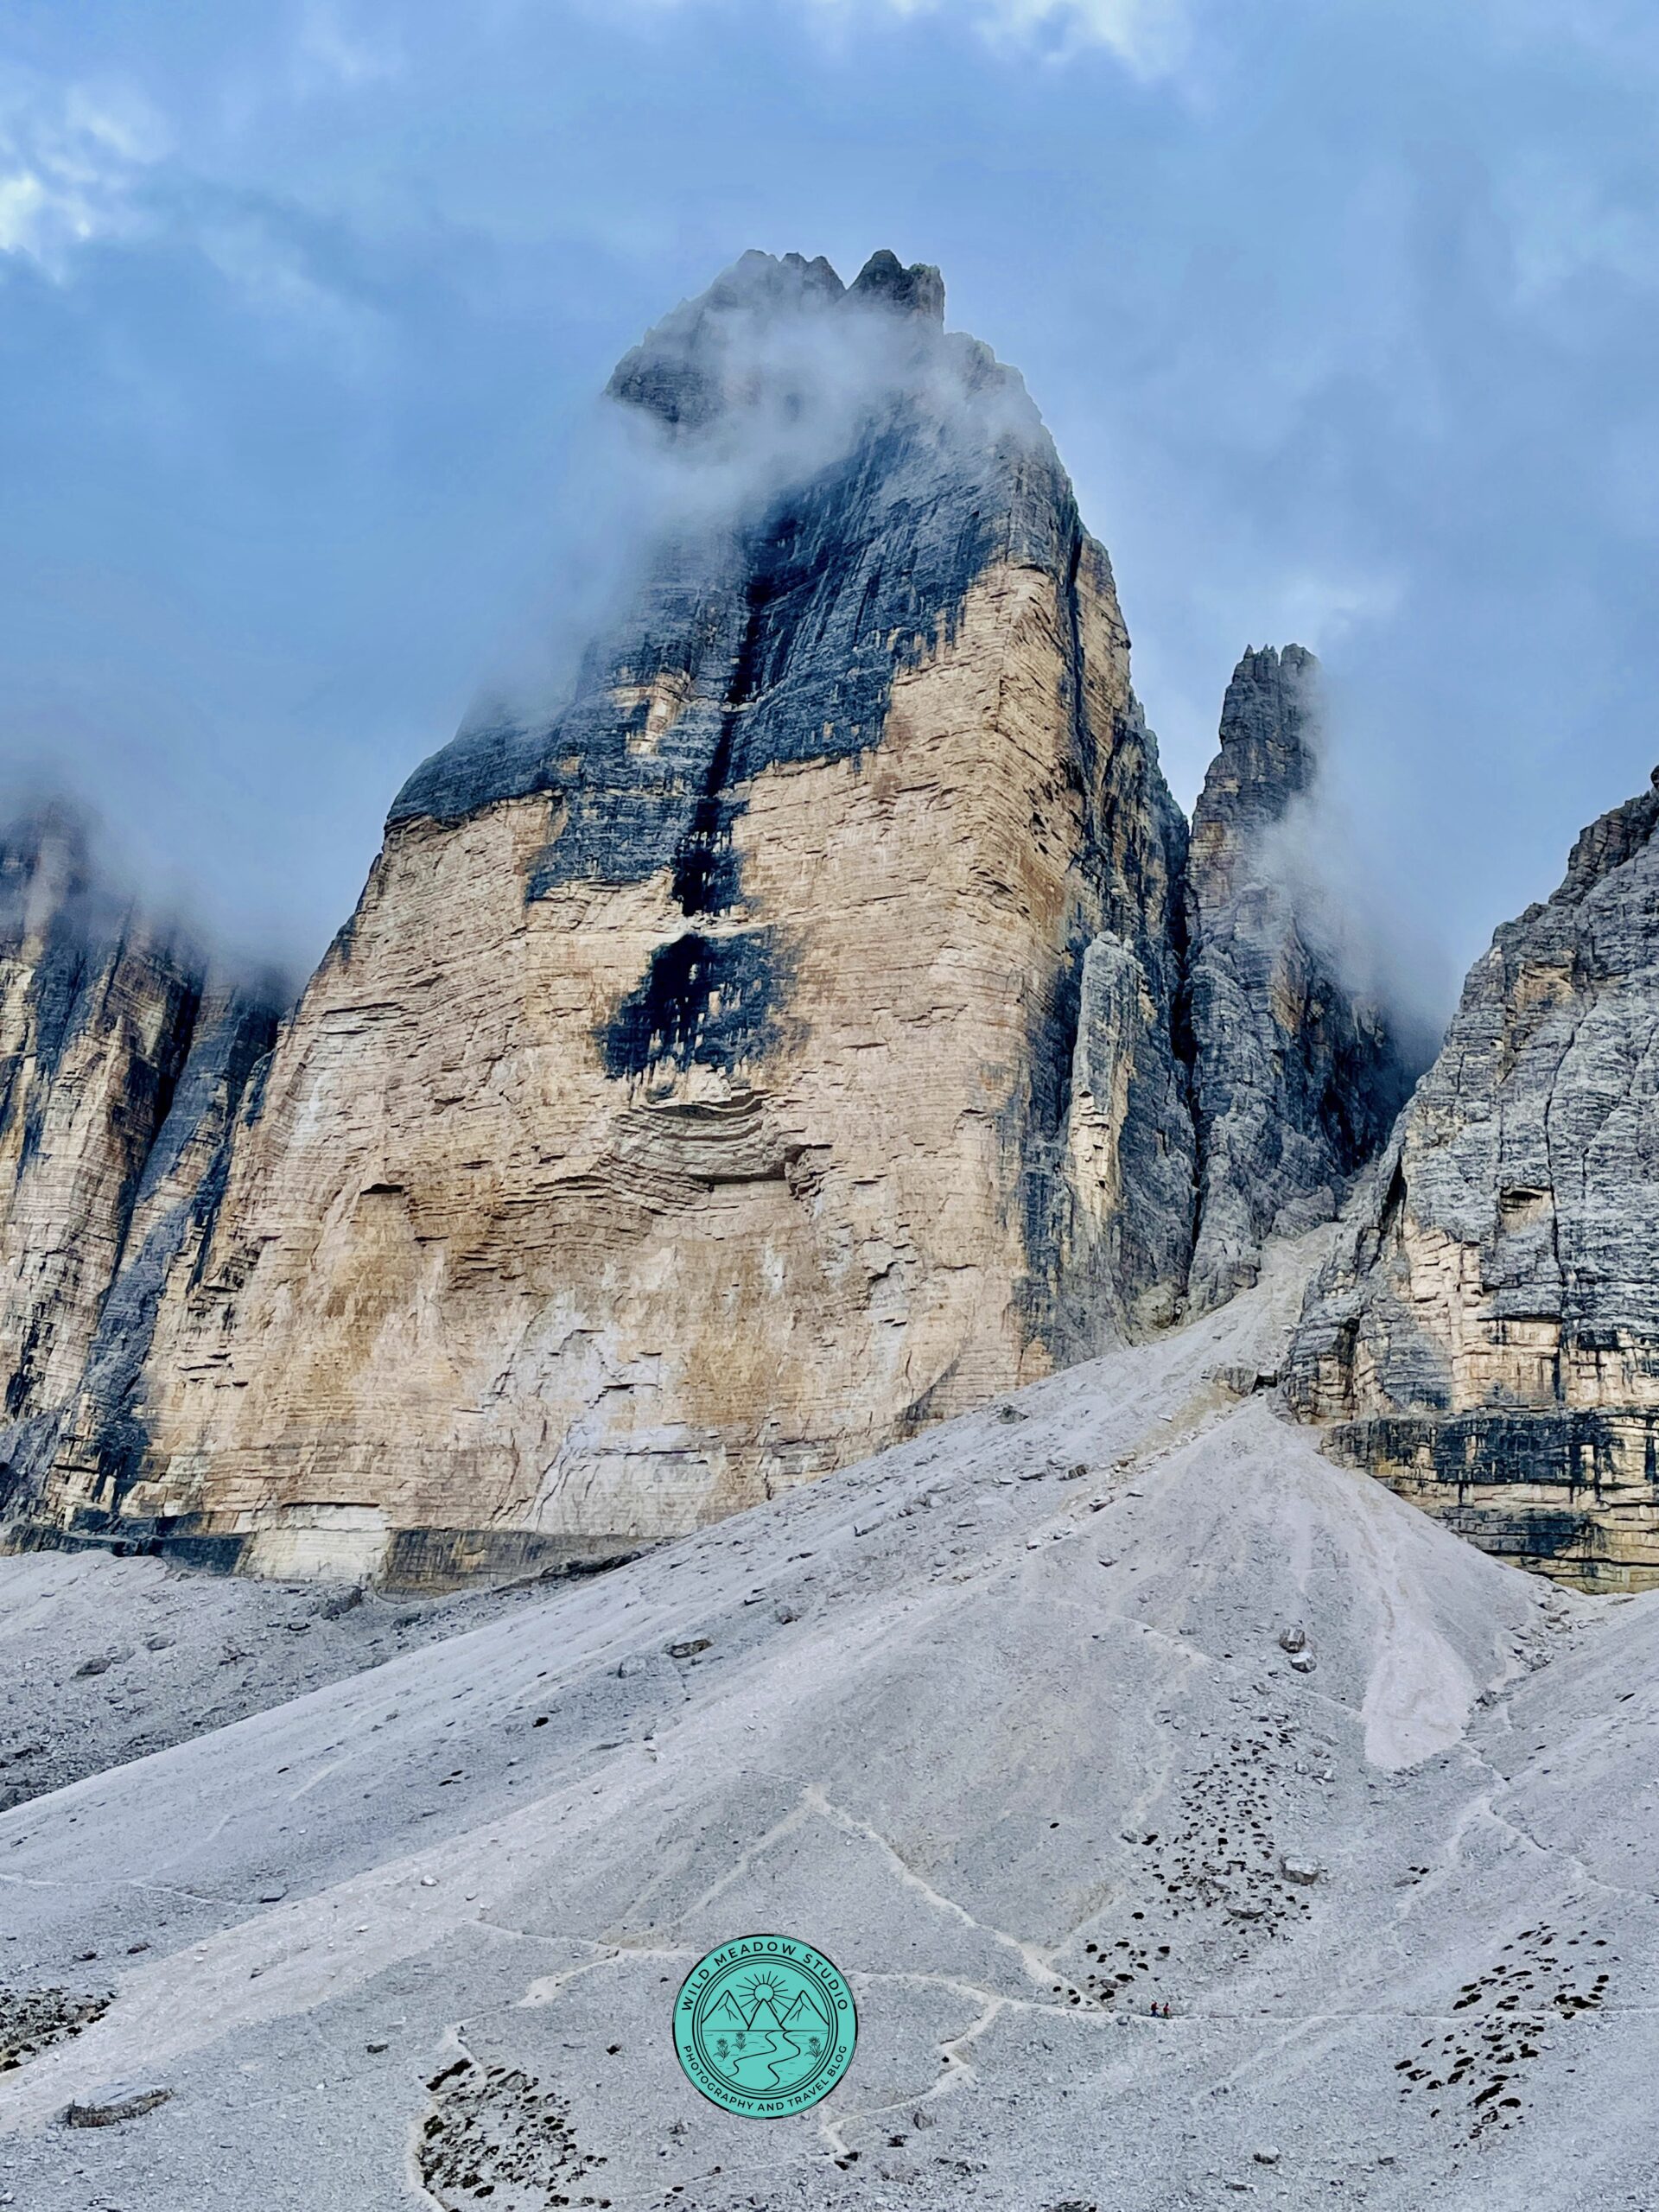
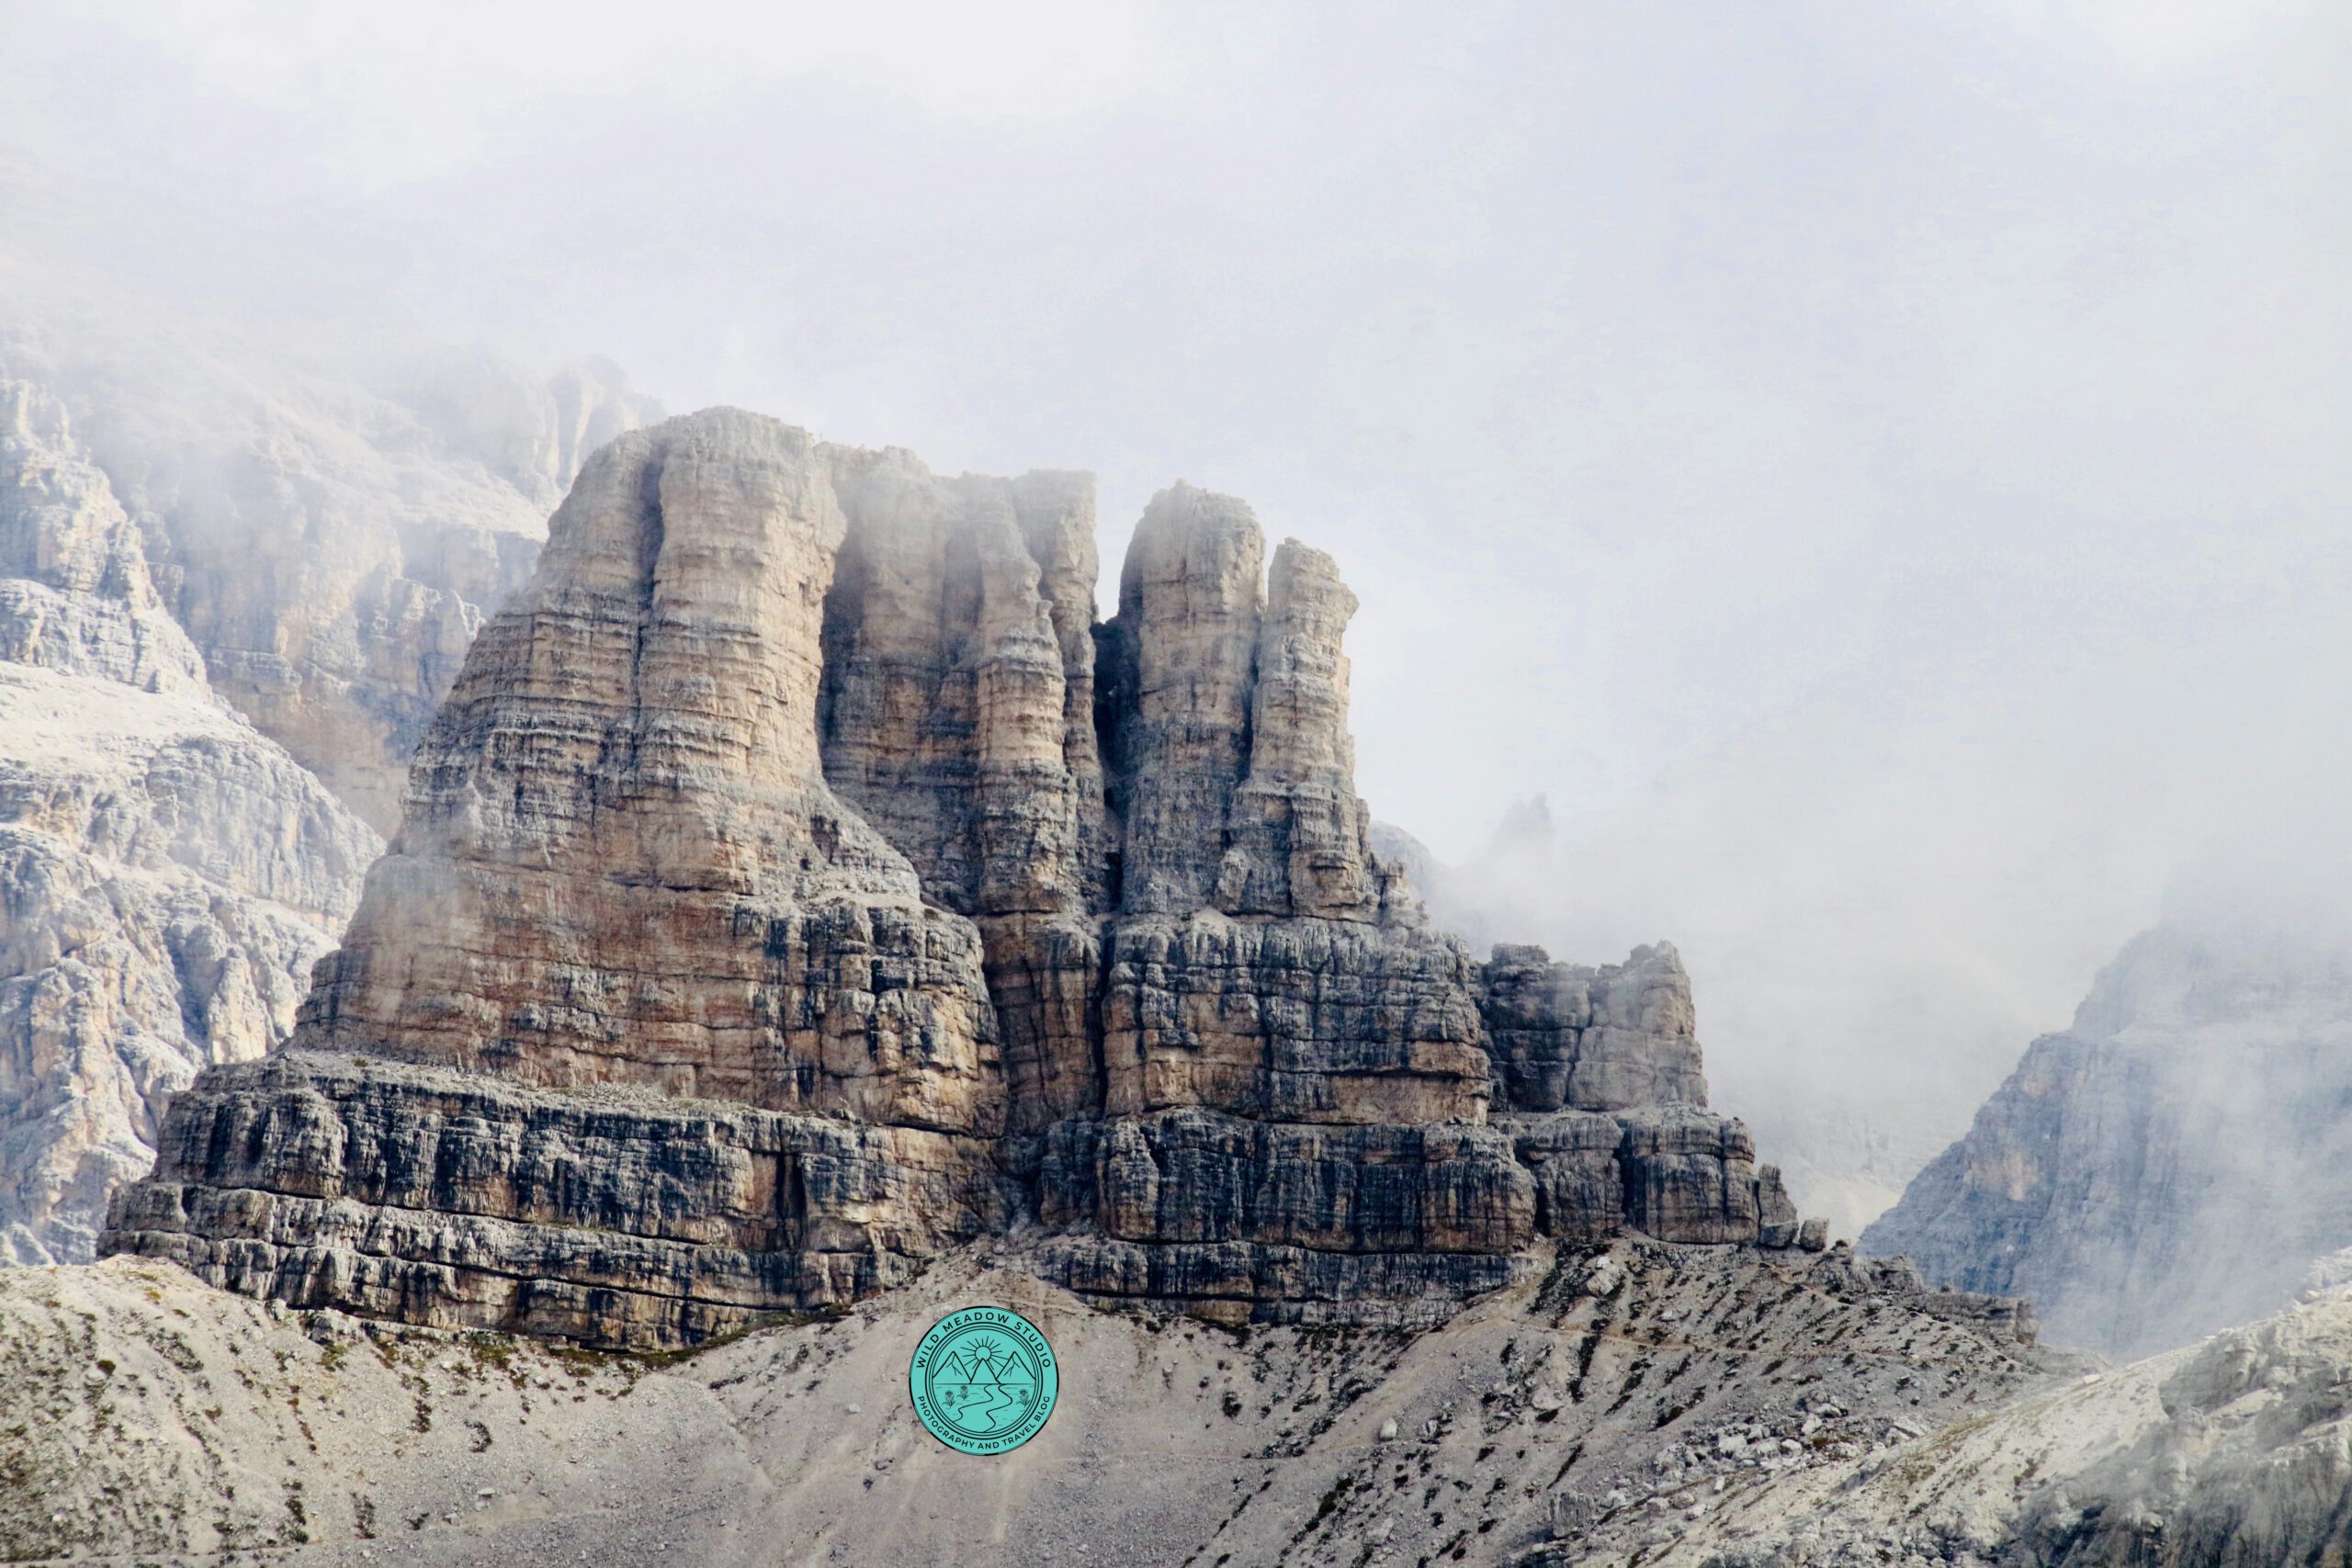
Cima Grande (Big Peak)
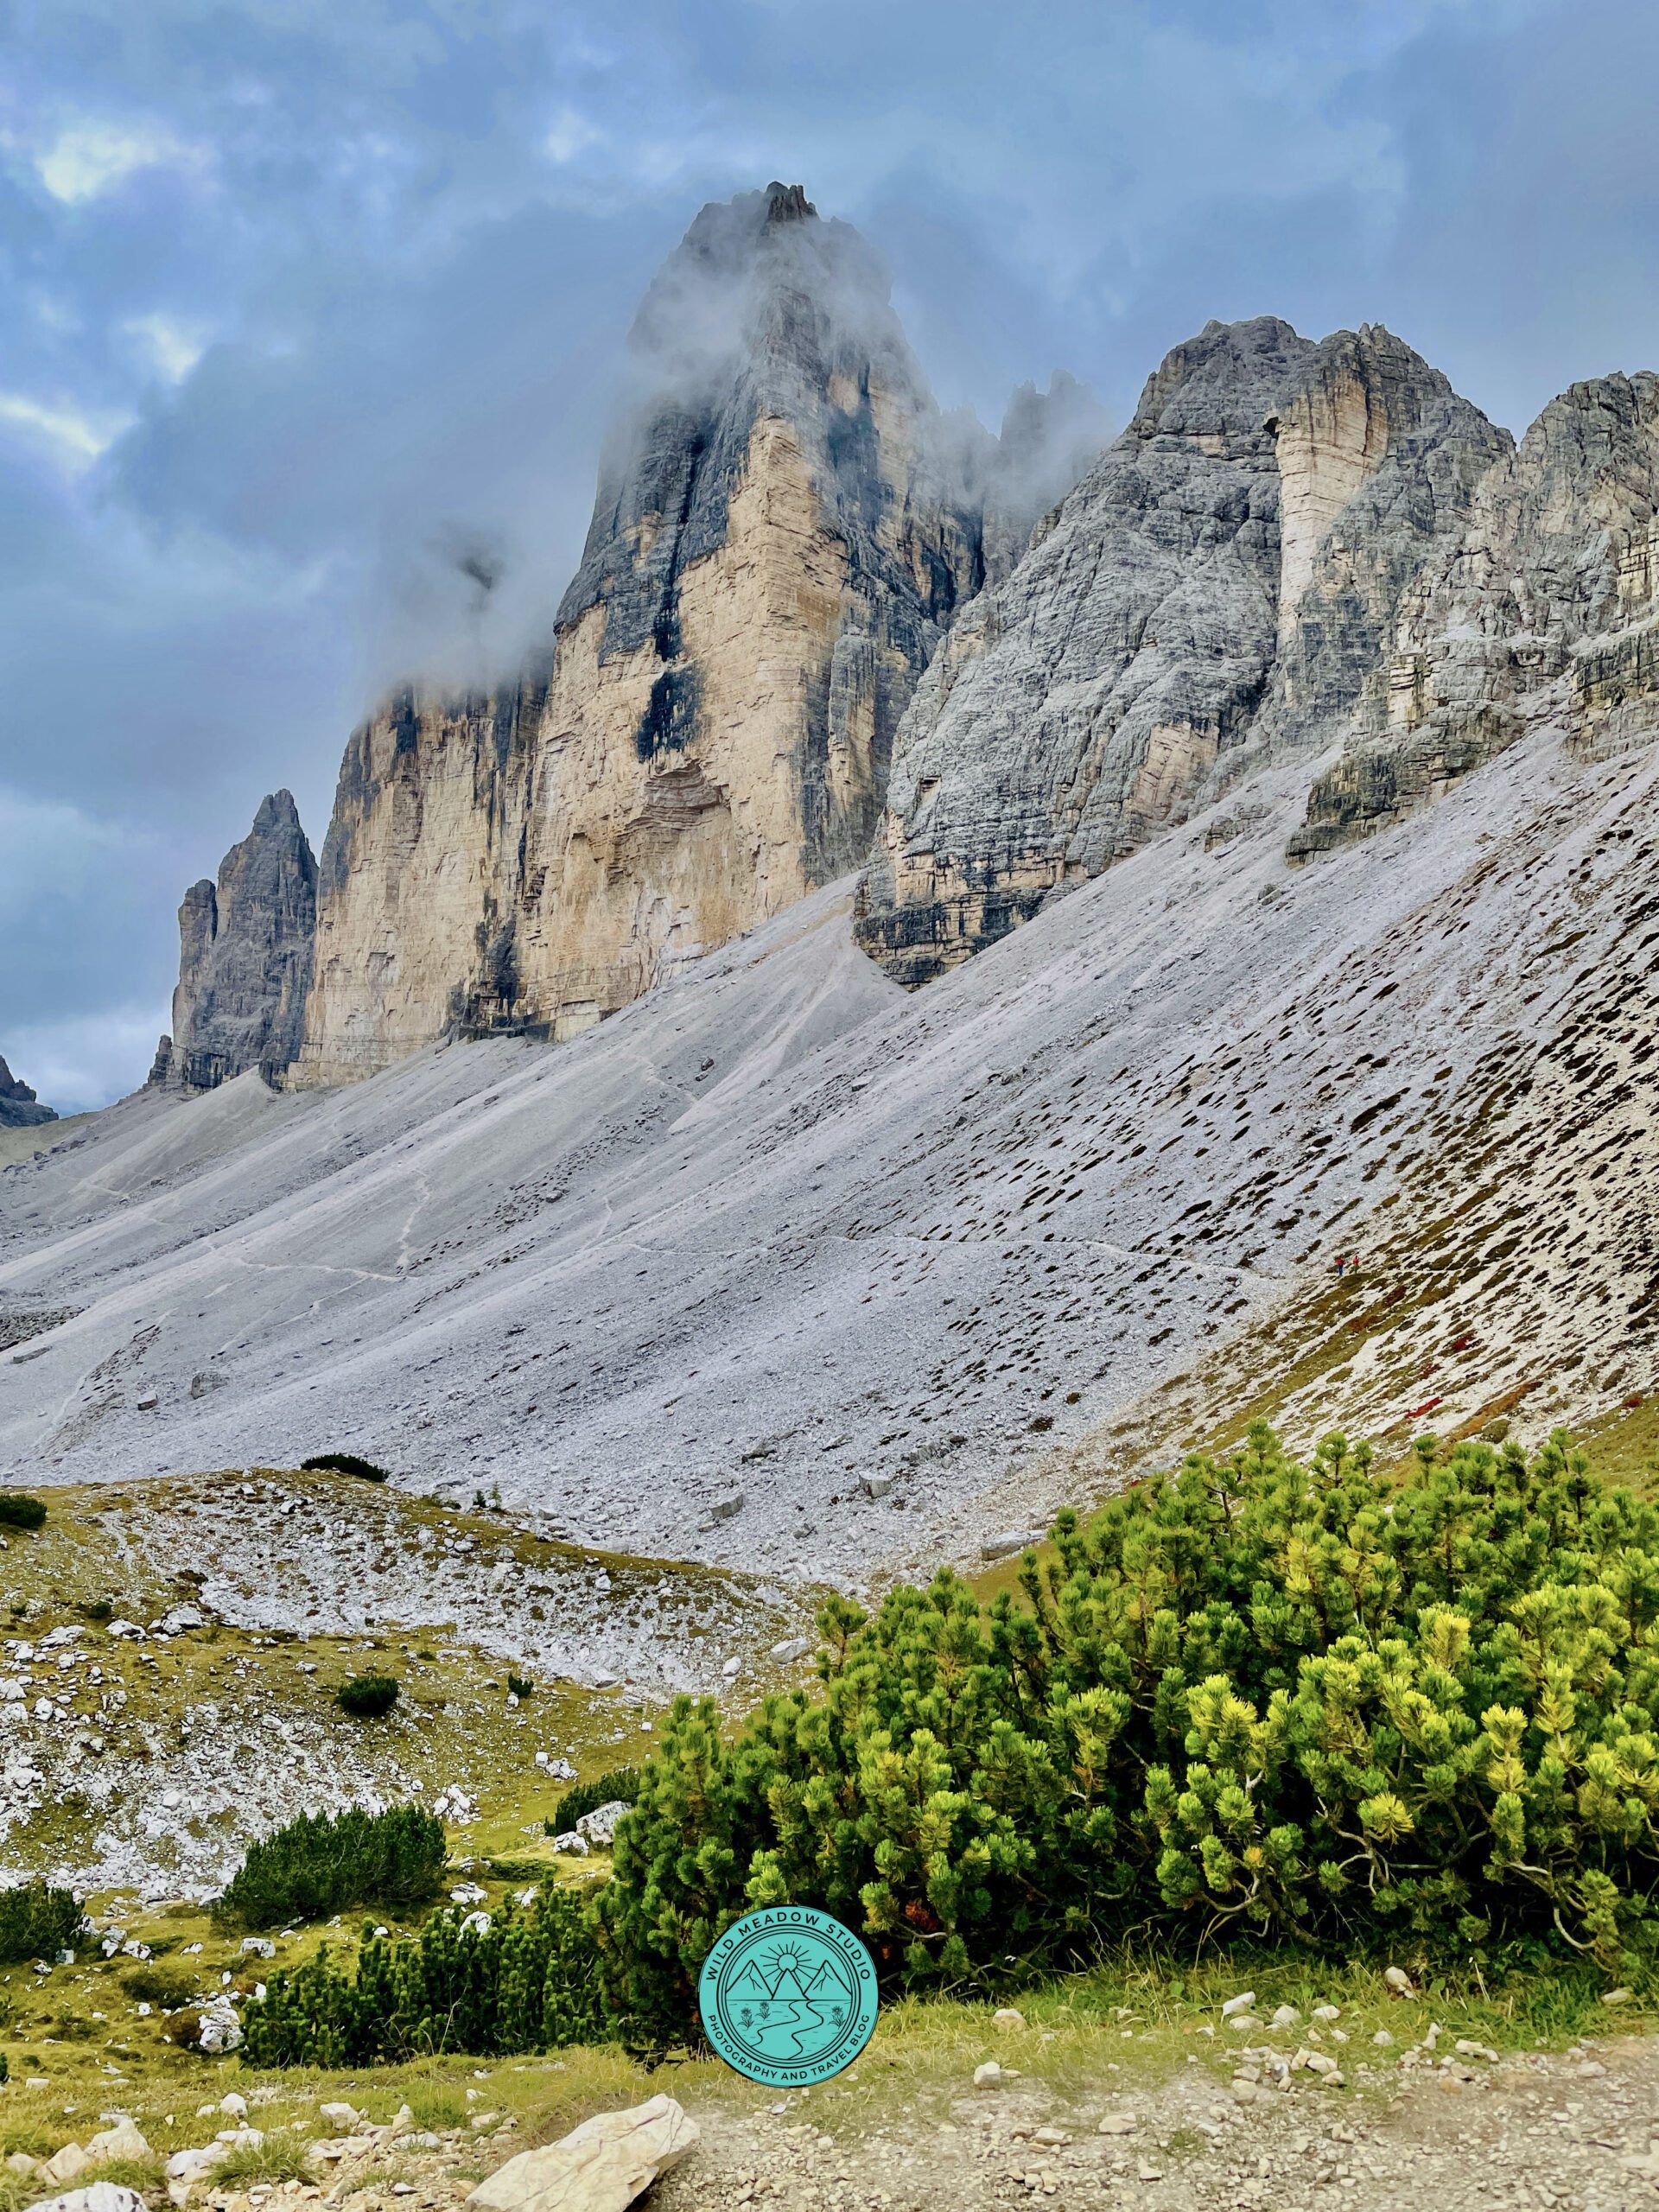
Tre Cime (3 Peaks)
More amazing views during the Tre Cime Hike
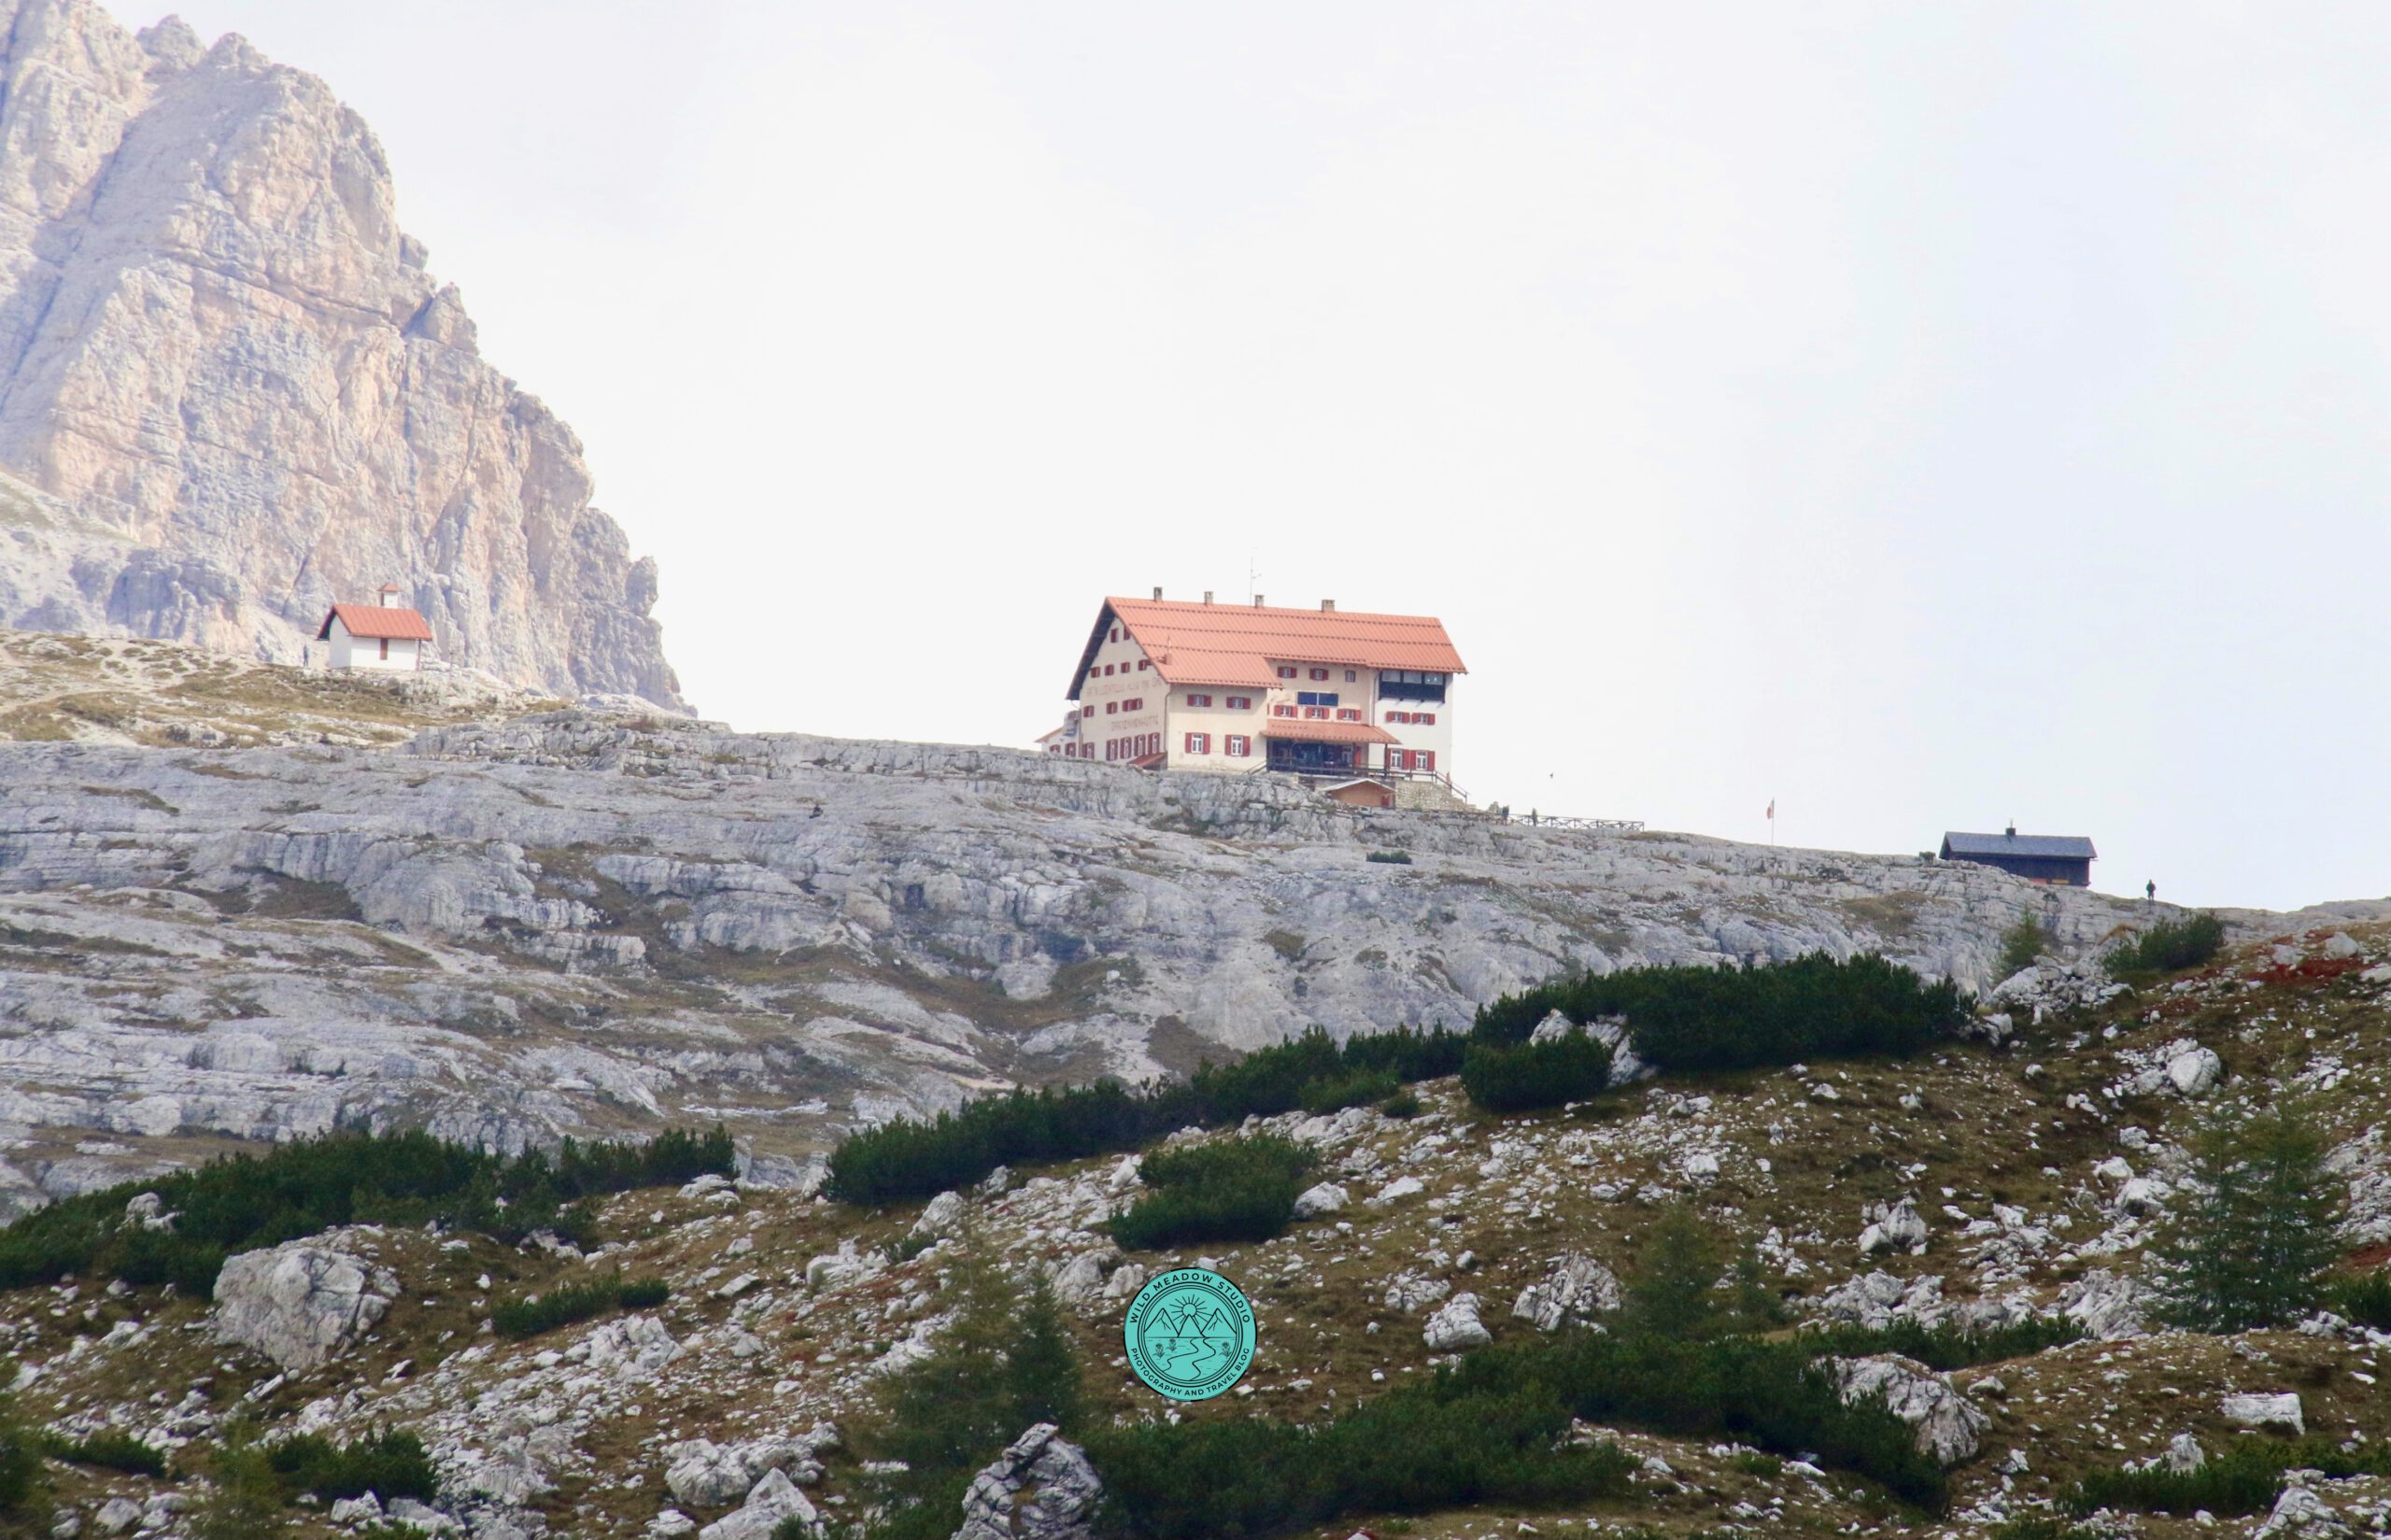
Refugio Drei Zinnen Hütte
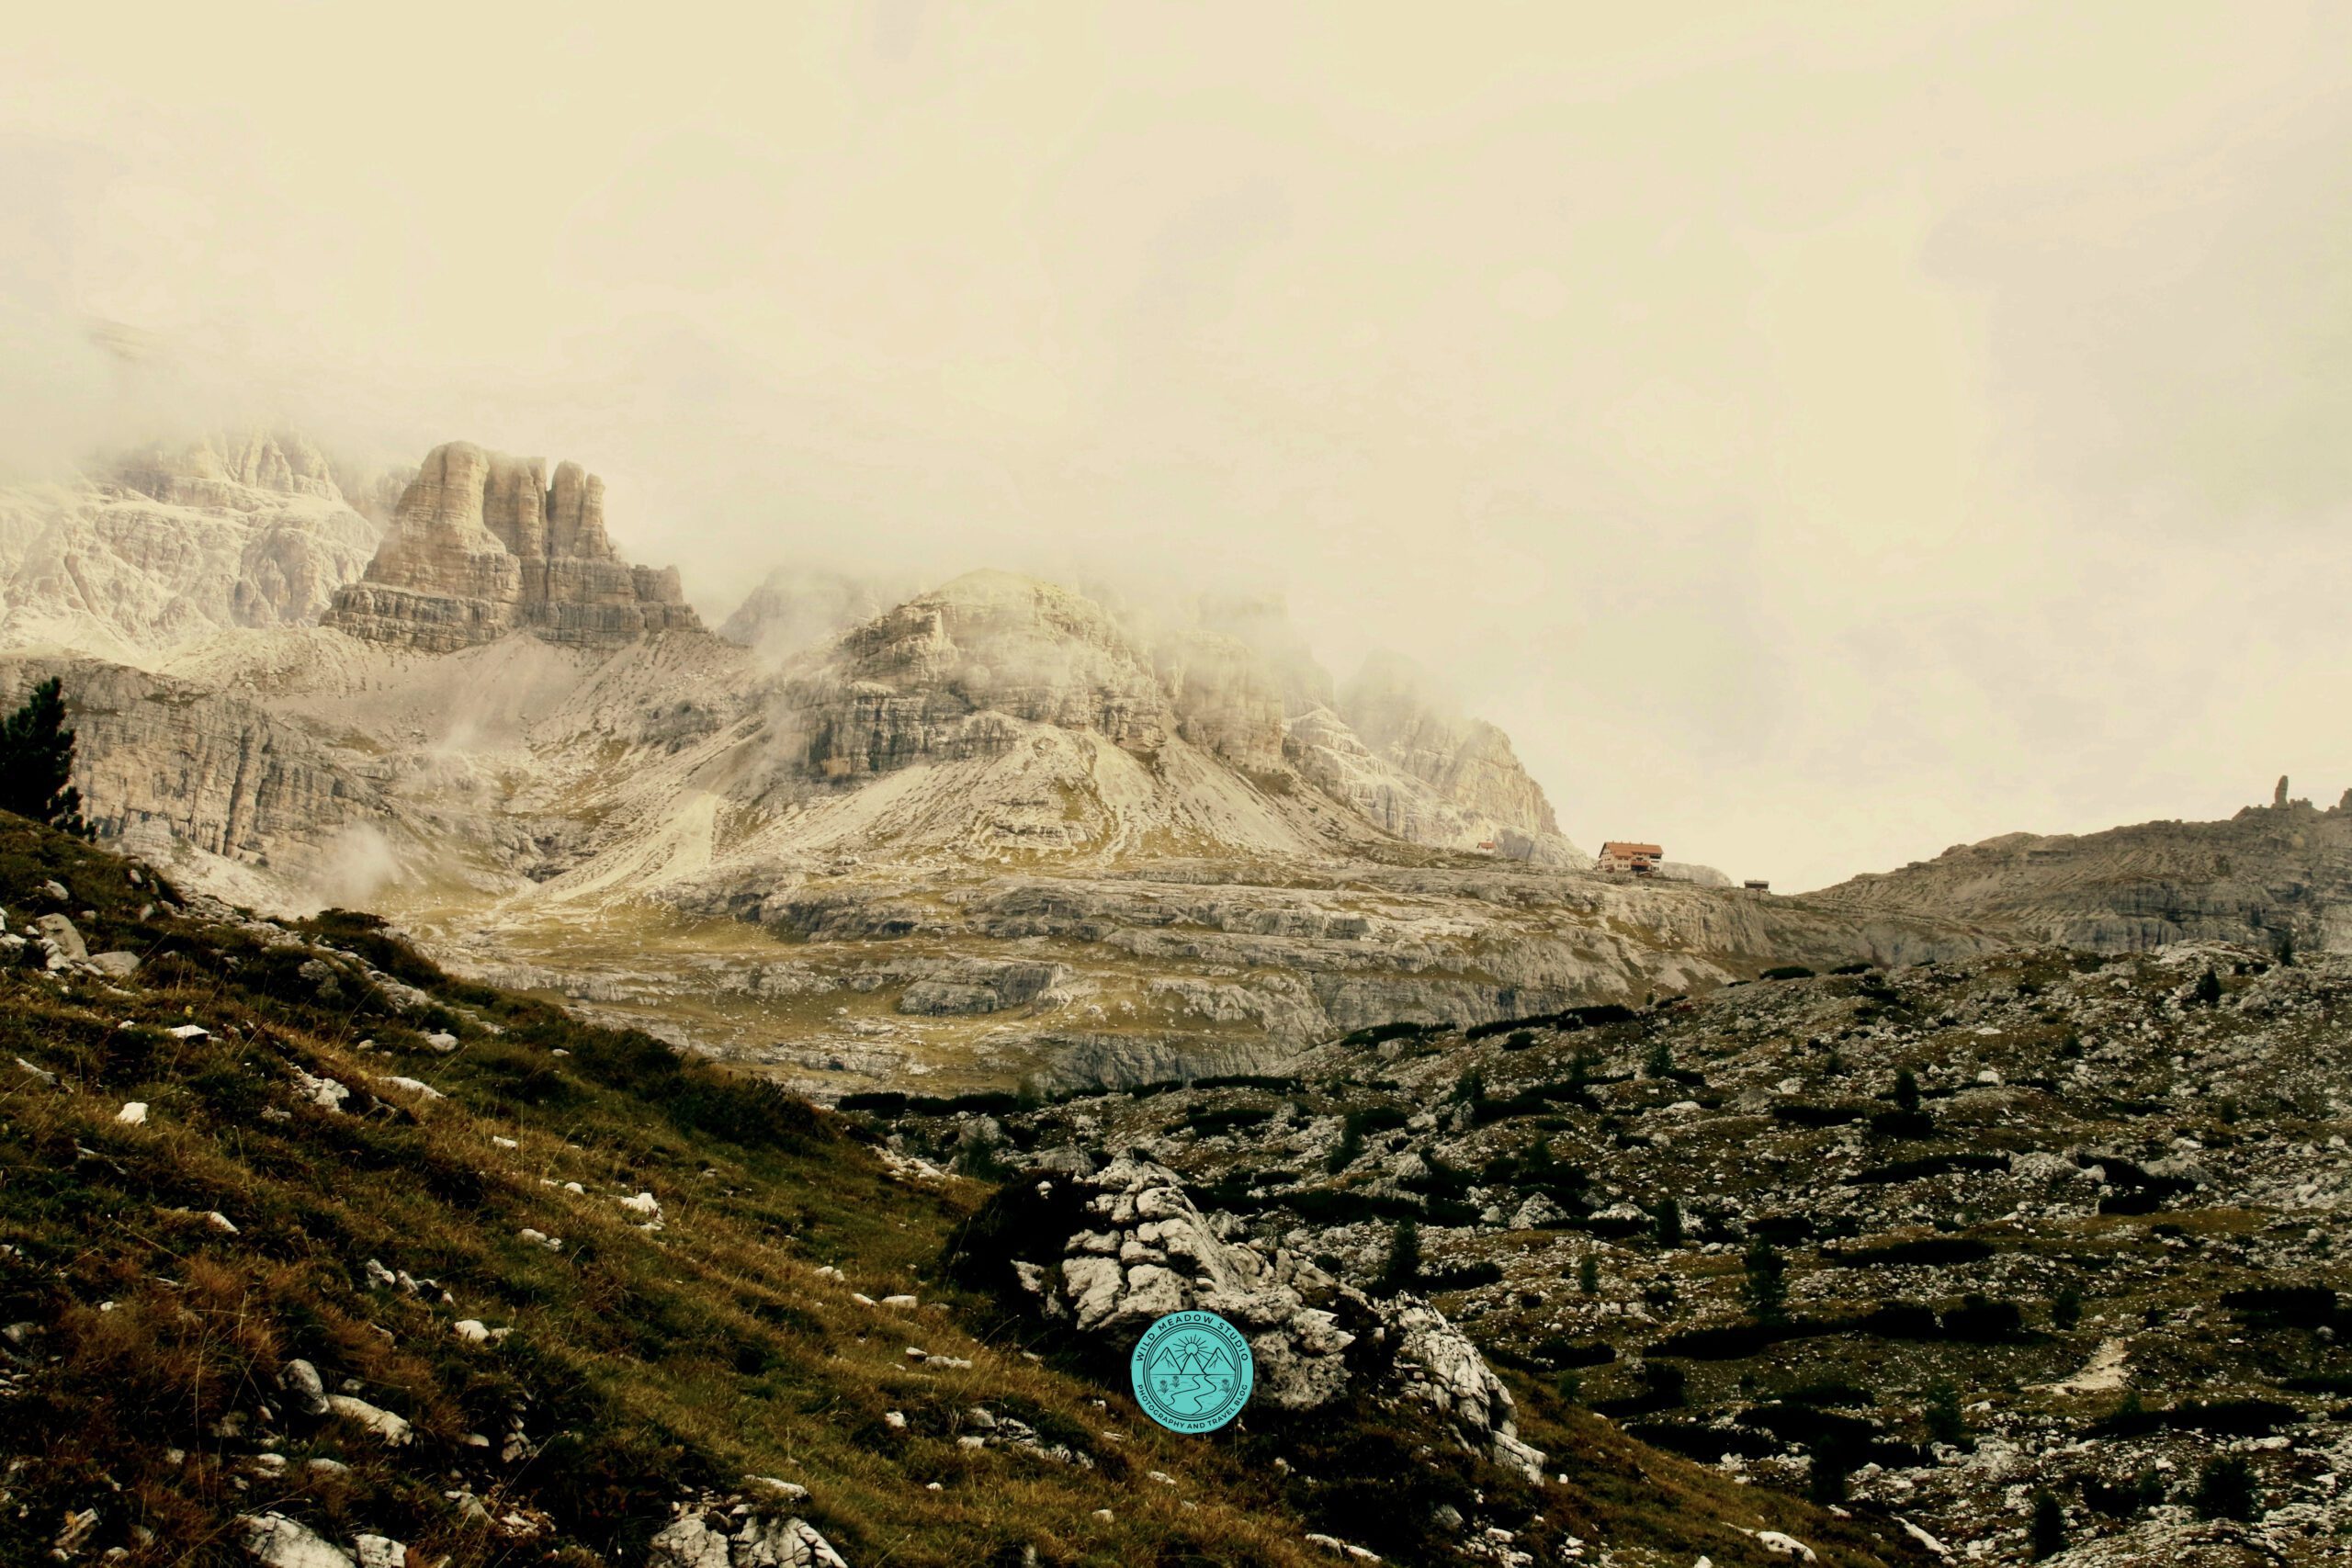
Refugio Drei Zinnen Hütte from the other side of the valley.
Difficulty: Moderate
Highlight: The most iconic peaks in the Dolomites, stunning views.
Time: ~3–4 hours (took us just over 4 hours, with photo stops, lunch & for me to catch my breath)
Distance: 11kms
Practical tips:
- Go early (before 9am) to avoid crowds.
- Book toll road and parking online in advance, see more below.
- Bring layers — weather can change quickly at this altitude.
- Wear sturdy hiking shoes.
- Bring food and water, you can stop at a *Rifugio along the route for food or pack your own snacks.
- The *Rifugios also have washrooms, (Some you must pay a euro or two to use, so make sure you have some change with you). You will pass 4 Rifugios during this loop trail, including the one you start at.
Why hike Tre Cime di Lavaredo?
This is the most iconic hike in the Dolomites. This loop trail wraps around the famous Three Peaks, offering constant views of towering rock spires, alpine meadows, and rugged mountain landscapes.
Transport & parking
- By car: Drive to the Tre Cime toll road and continue to Rifugio Auronzo car park.
- Parking: Parking must be booked in advance at Auronzo.info or pass.auronzo.info it’s aprox. 40 euros/car, which includes the toll road and the parking at the Rifugio Auronzo and is good for 12 hours. When booking, select vehicle type, date and entry time, then make the payment and you’ll receive a digital pass associated to your license plate. Make sure you do this in advance, especially in the peak summer months.
- By bus: Seasonal shuttle buses run from Misurina and Cortina d’Ampezzo, as an option.
- GPS: When driving put Rifugio Auronzo into your GPS.
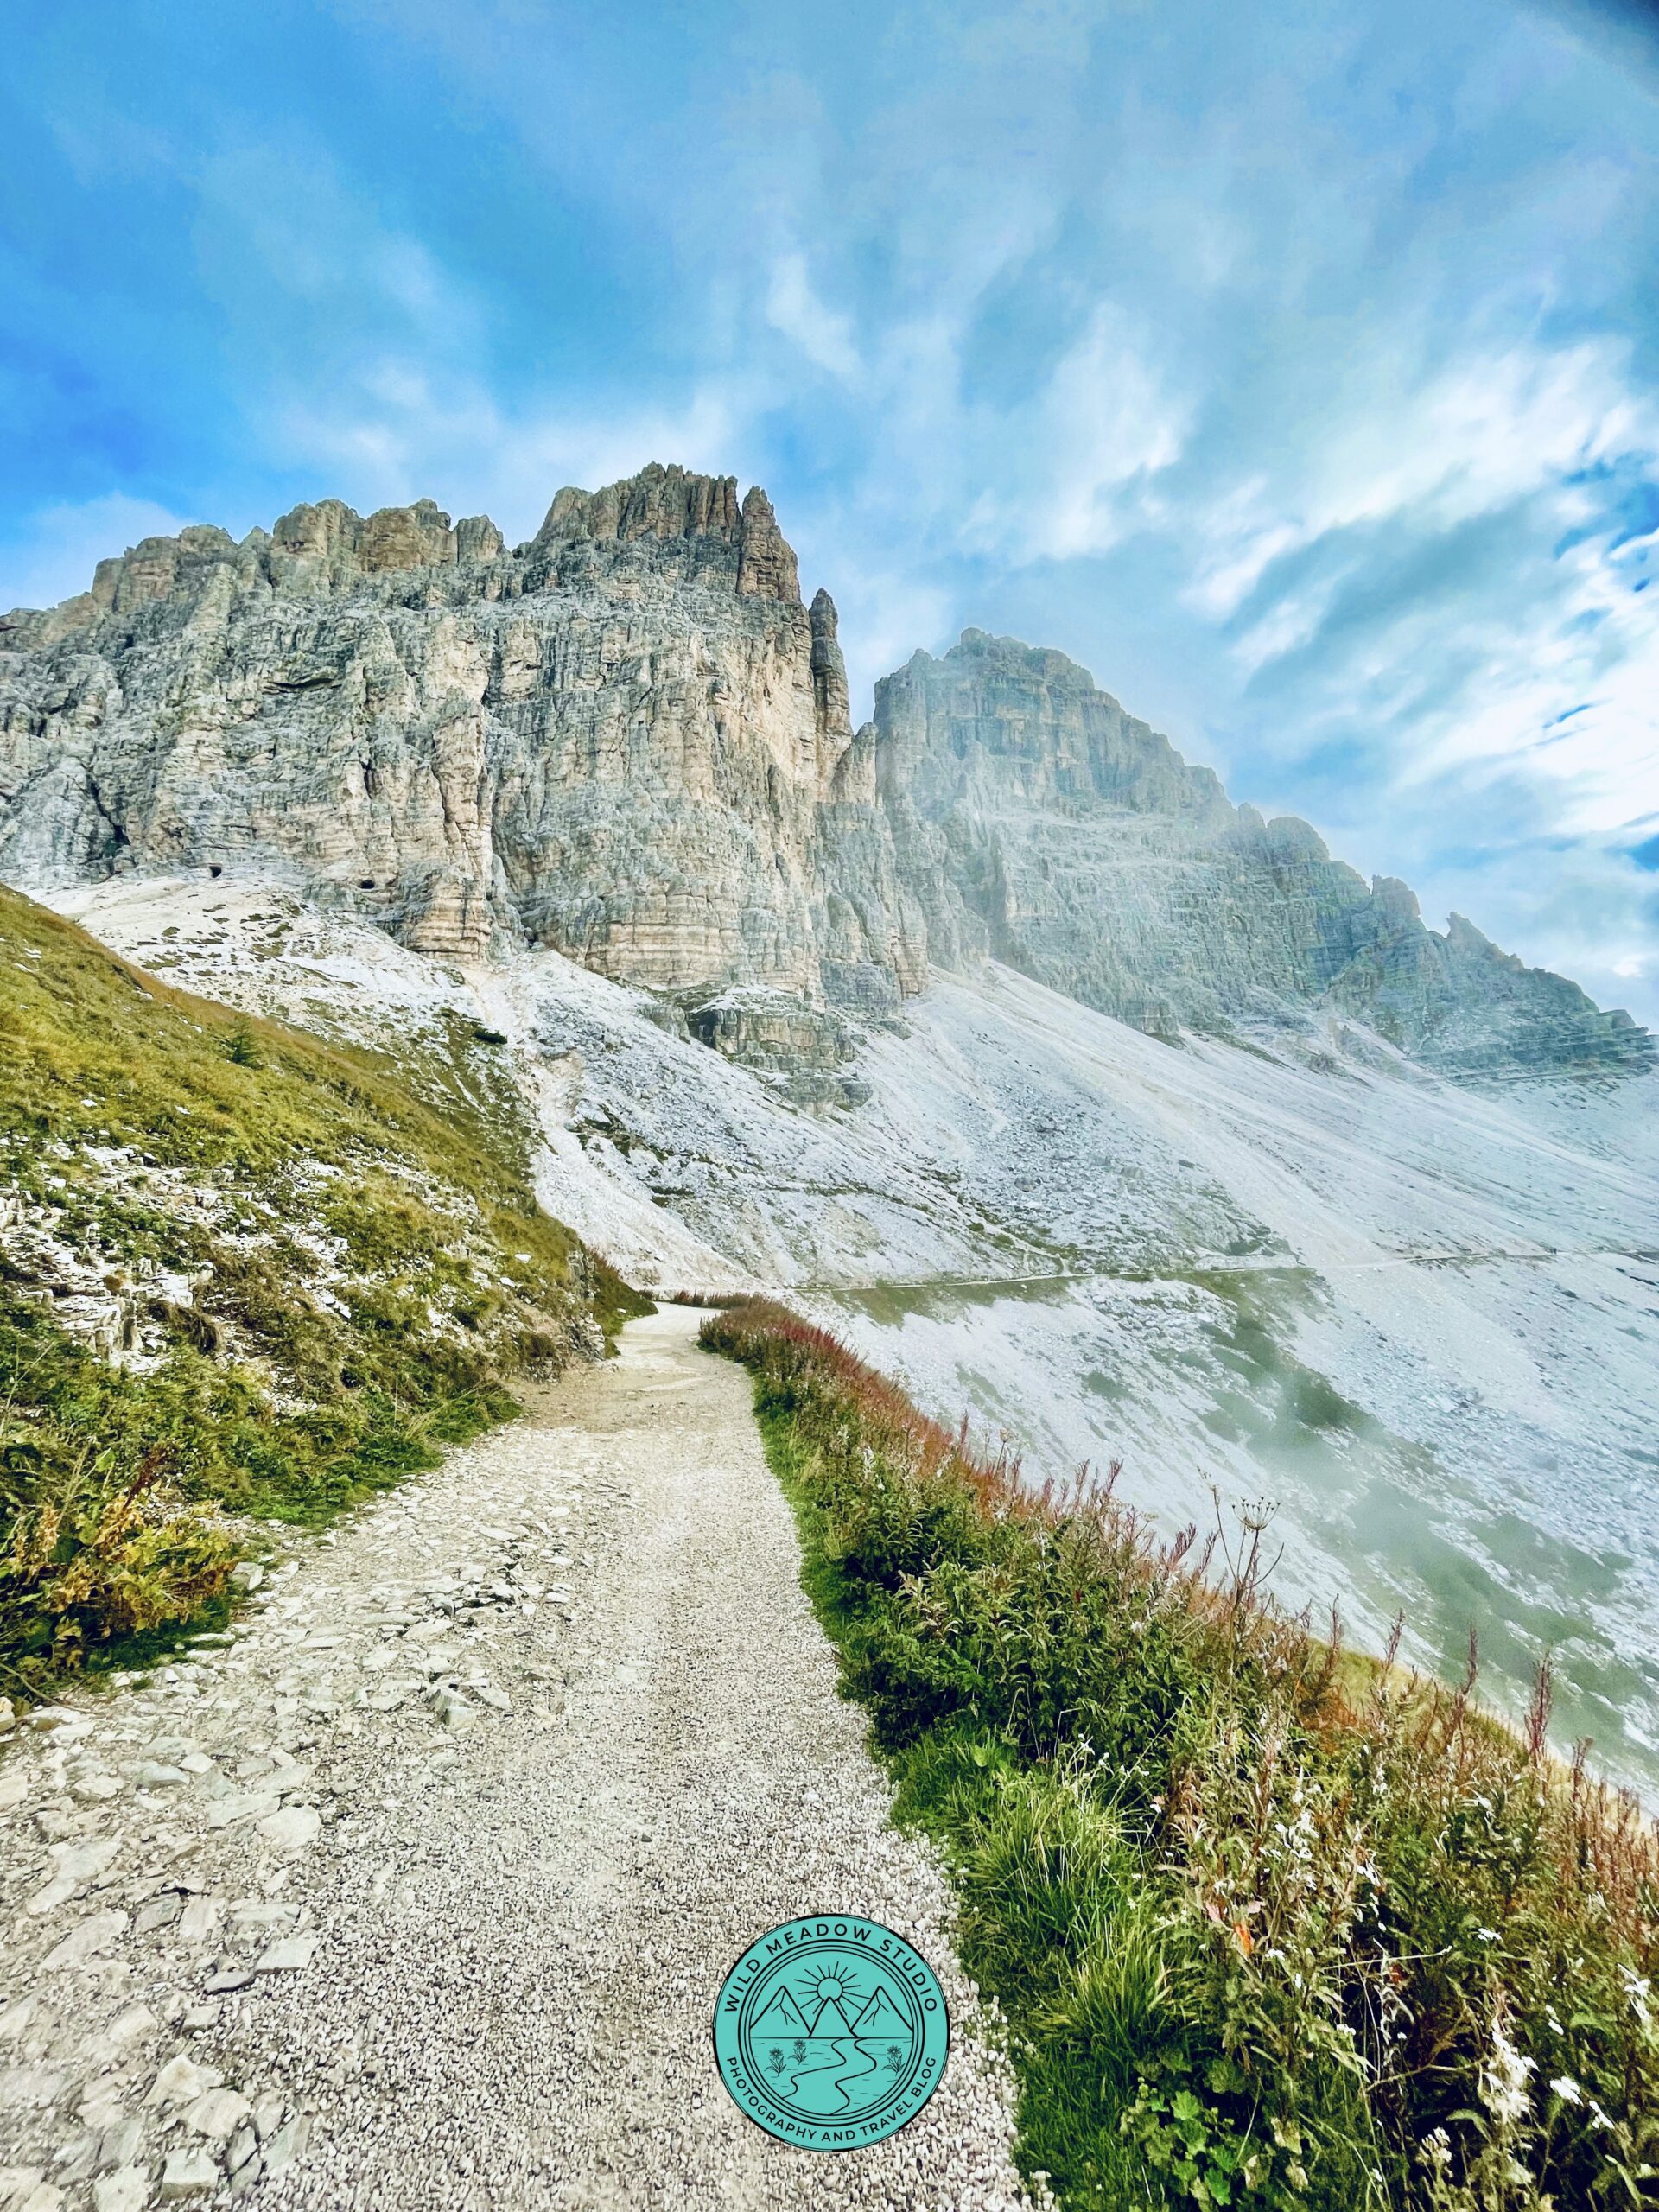
The Tre Cime di Lavaredo Loop is easily one of the most famous hikes in Italy — and for good reason. This well-maintained circular trail wraps around the dramatic Three Peaks, offering nonstop stunning views.
While the trail isn’t technically difficult, the altitude and length add a moderate challenge. There is a section where you climb down into a valley and then climb back up on the other side, making it a little more challenging, but along the way, you will pass the mountain *Rifugio’s where you can stop for food, rest or simply to soak in the views. Every section of this hike feels iconic. We went mid-September, early morning and had no problems, wasn’t busy at all, it was a little cloudy that day, which may have deterred some people, but this was our only day to do this hike, so we went for it and were happy we did. It was foggy to start, which was very cool, there were cute cows with the big bells around their necks, and at points the bell got pretty loud, which added to the atmosphere. Once you get around closer to the 3rdRifugio you’ll get that popular shot of the 3 peaks, but really, it’s beautiful the whole way around.
Why it’s worth it: Classic Dolomites scenery and jaw dropping views from start to finish!!
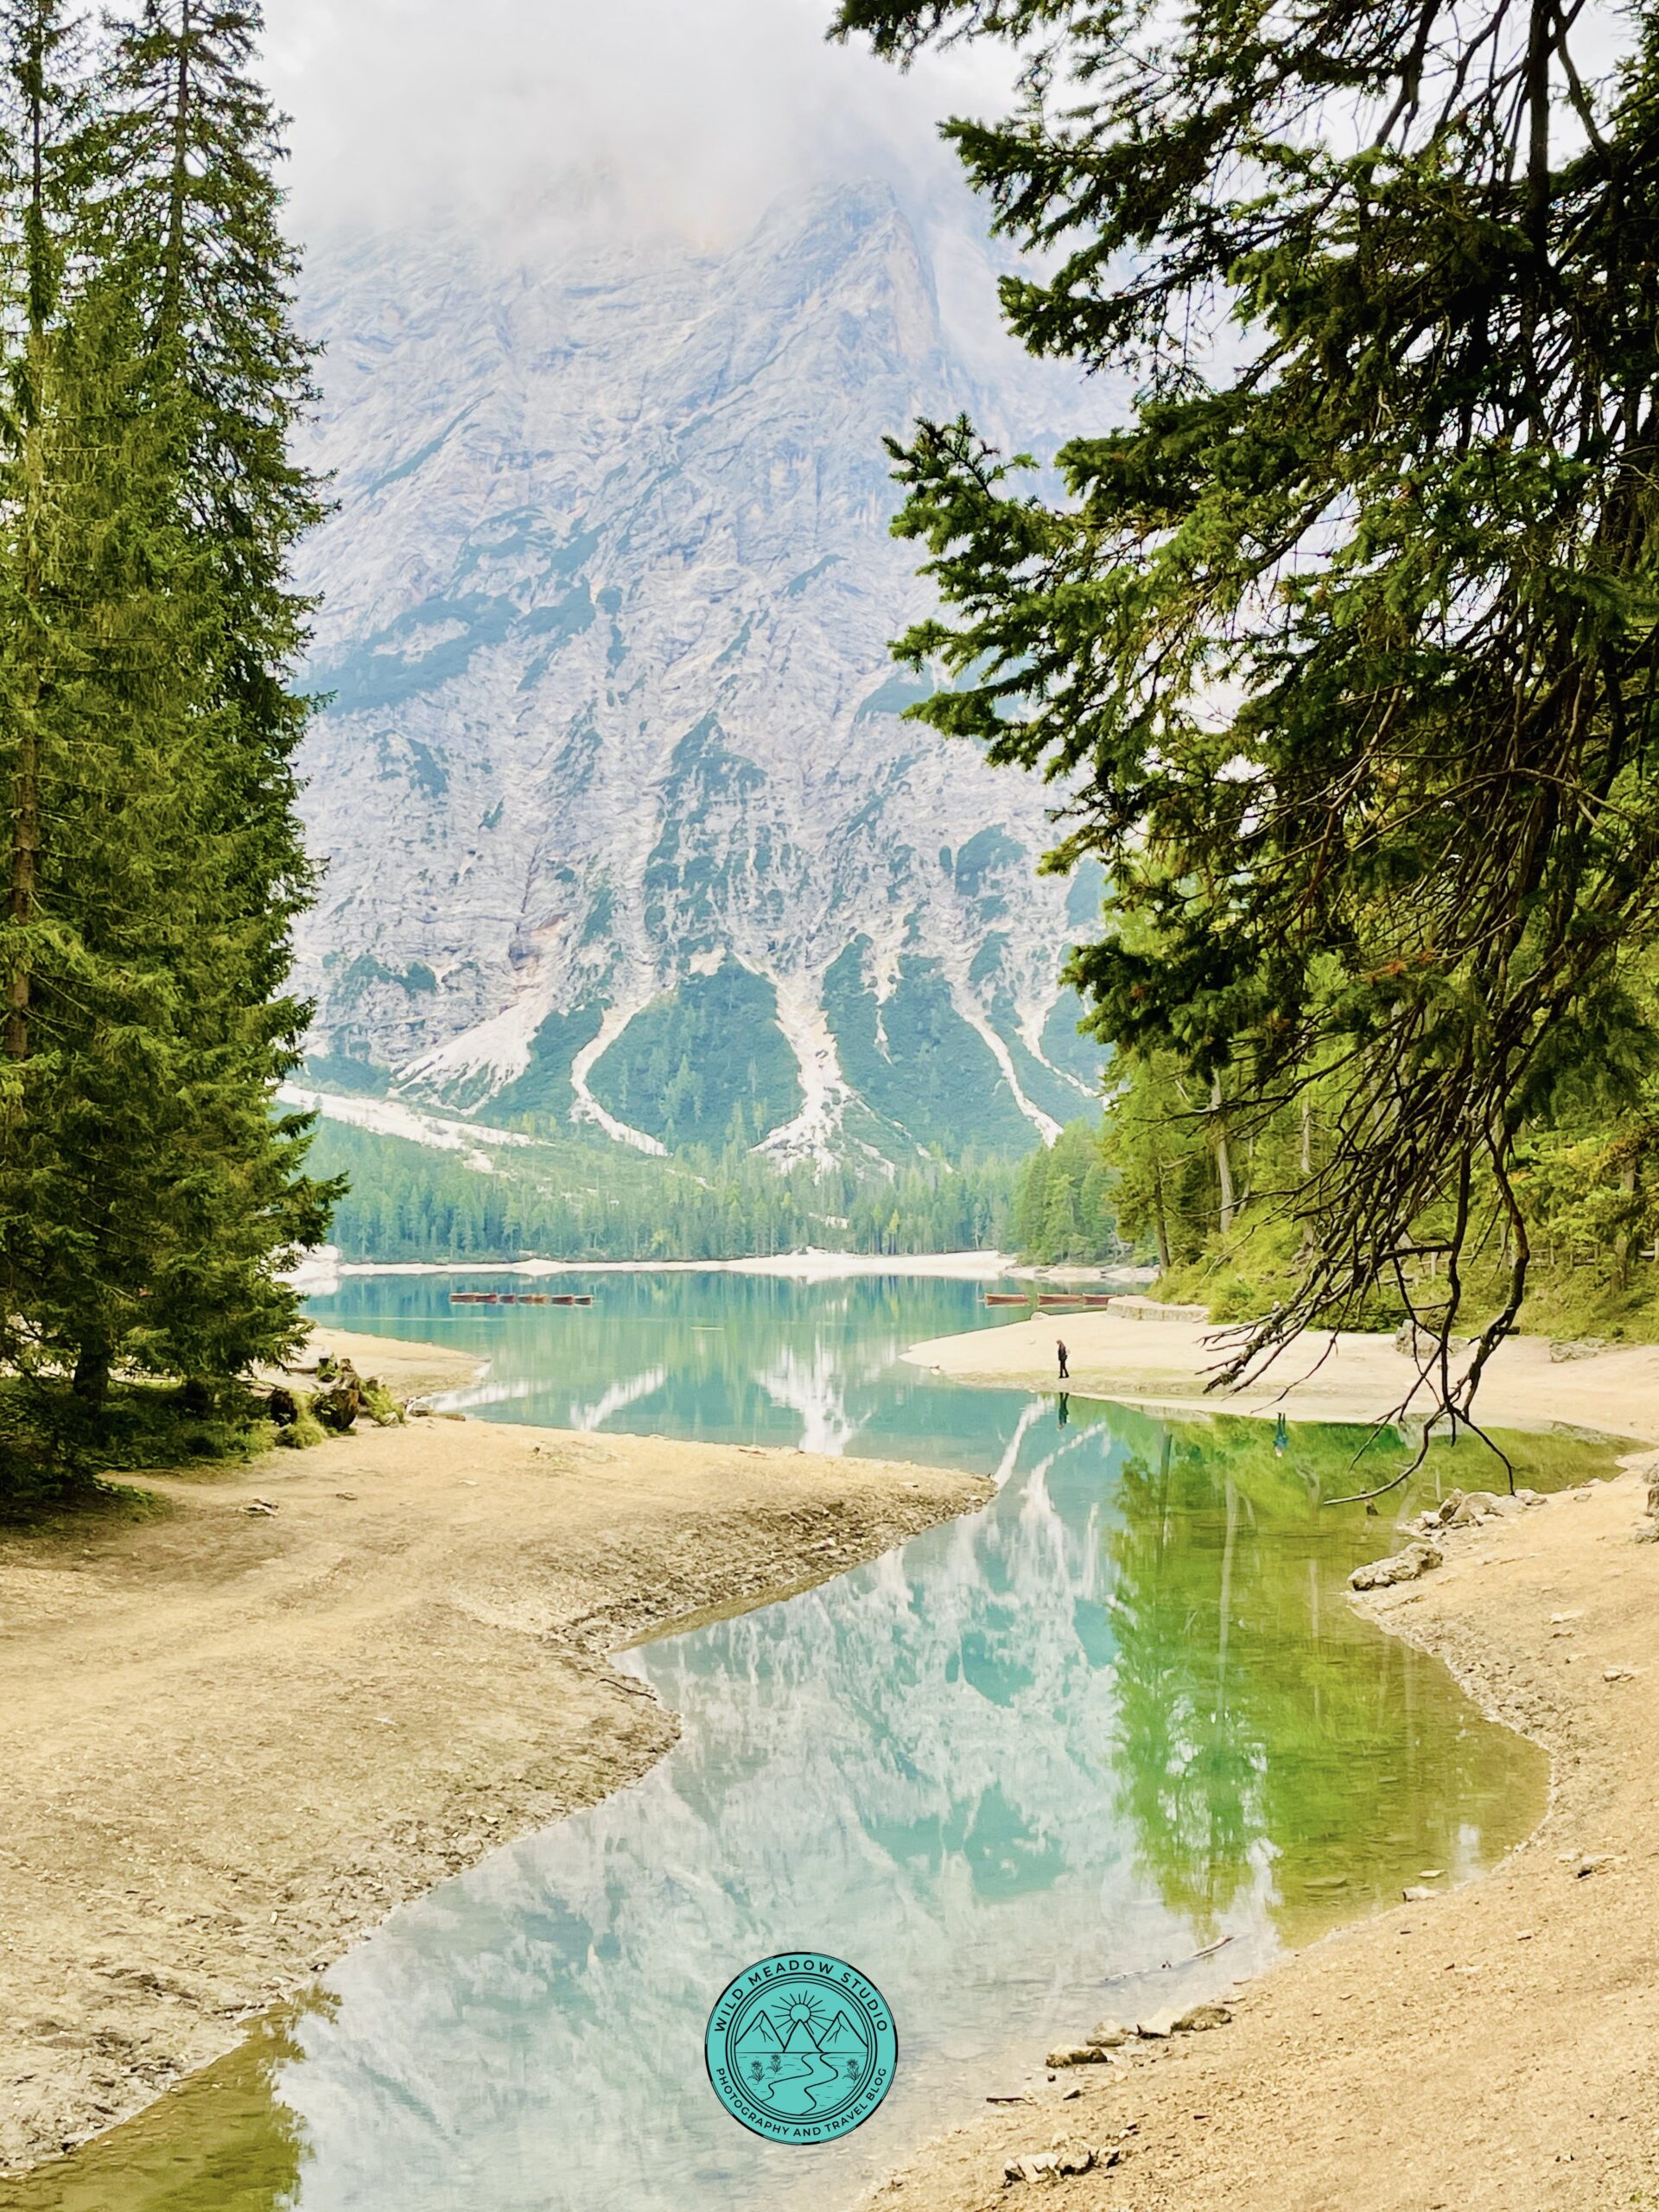
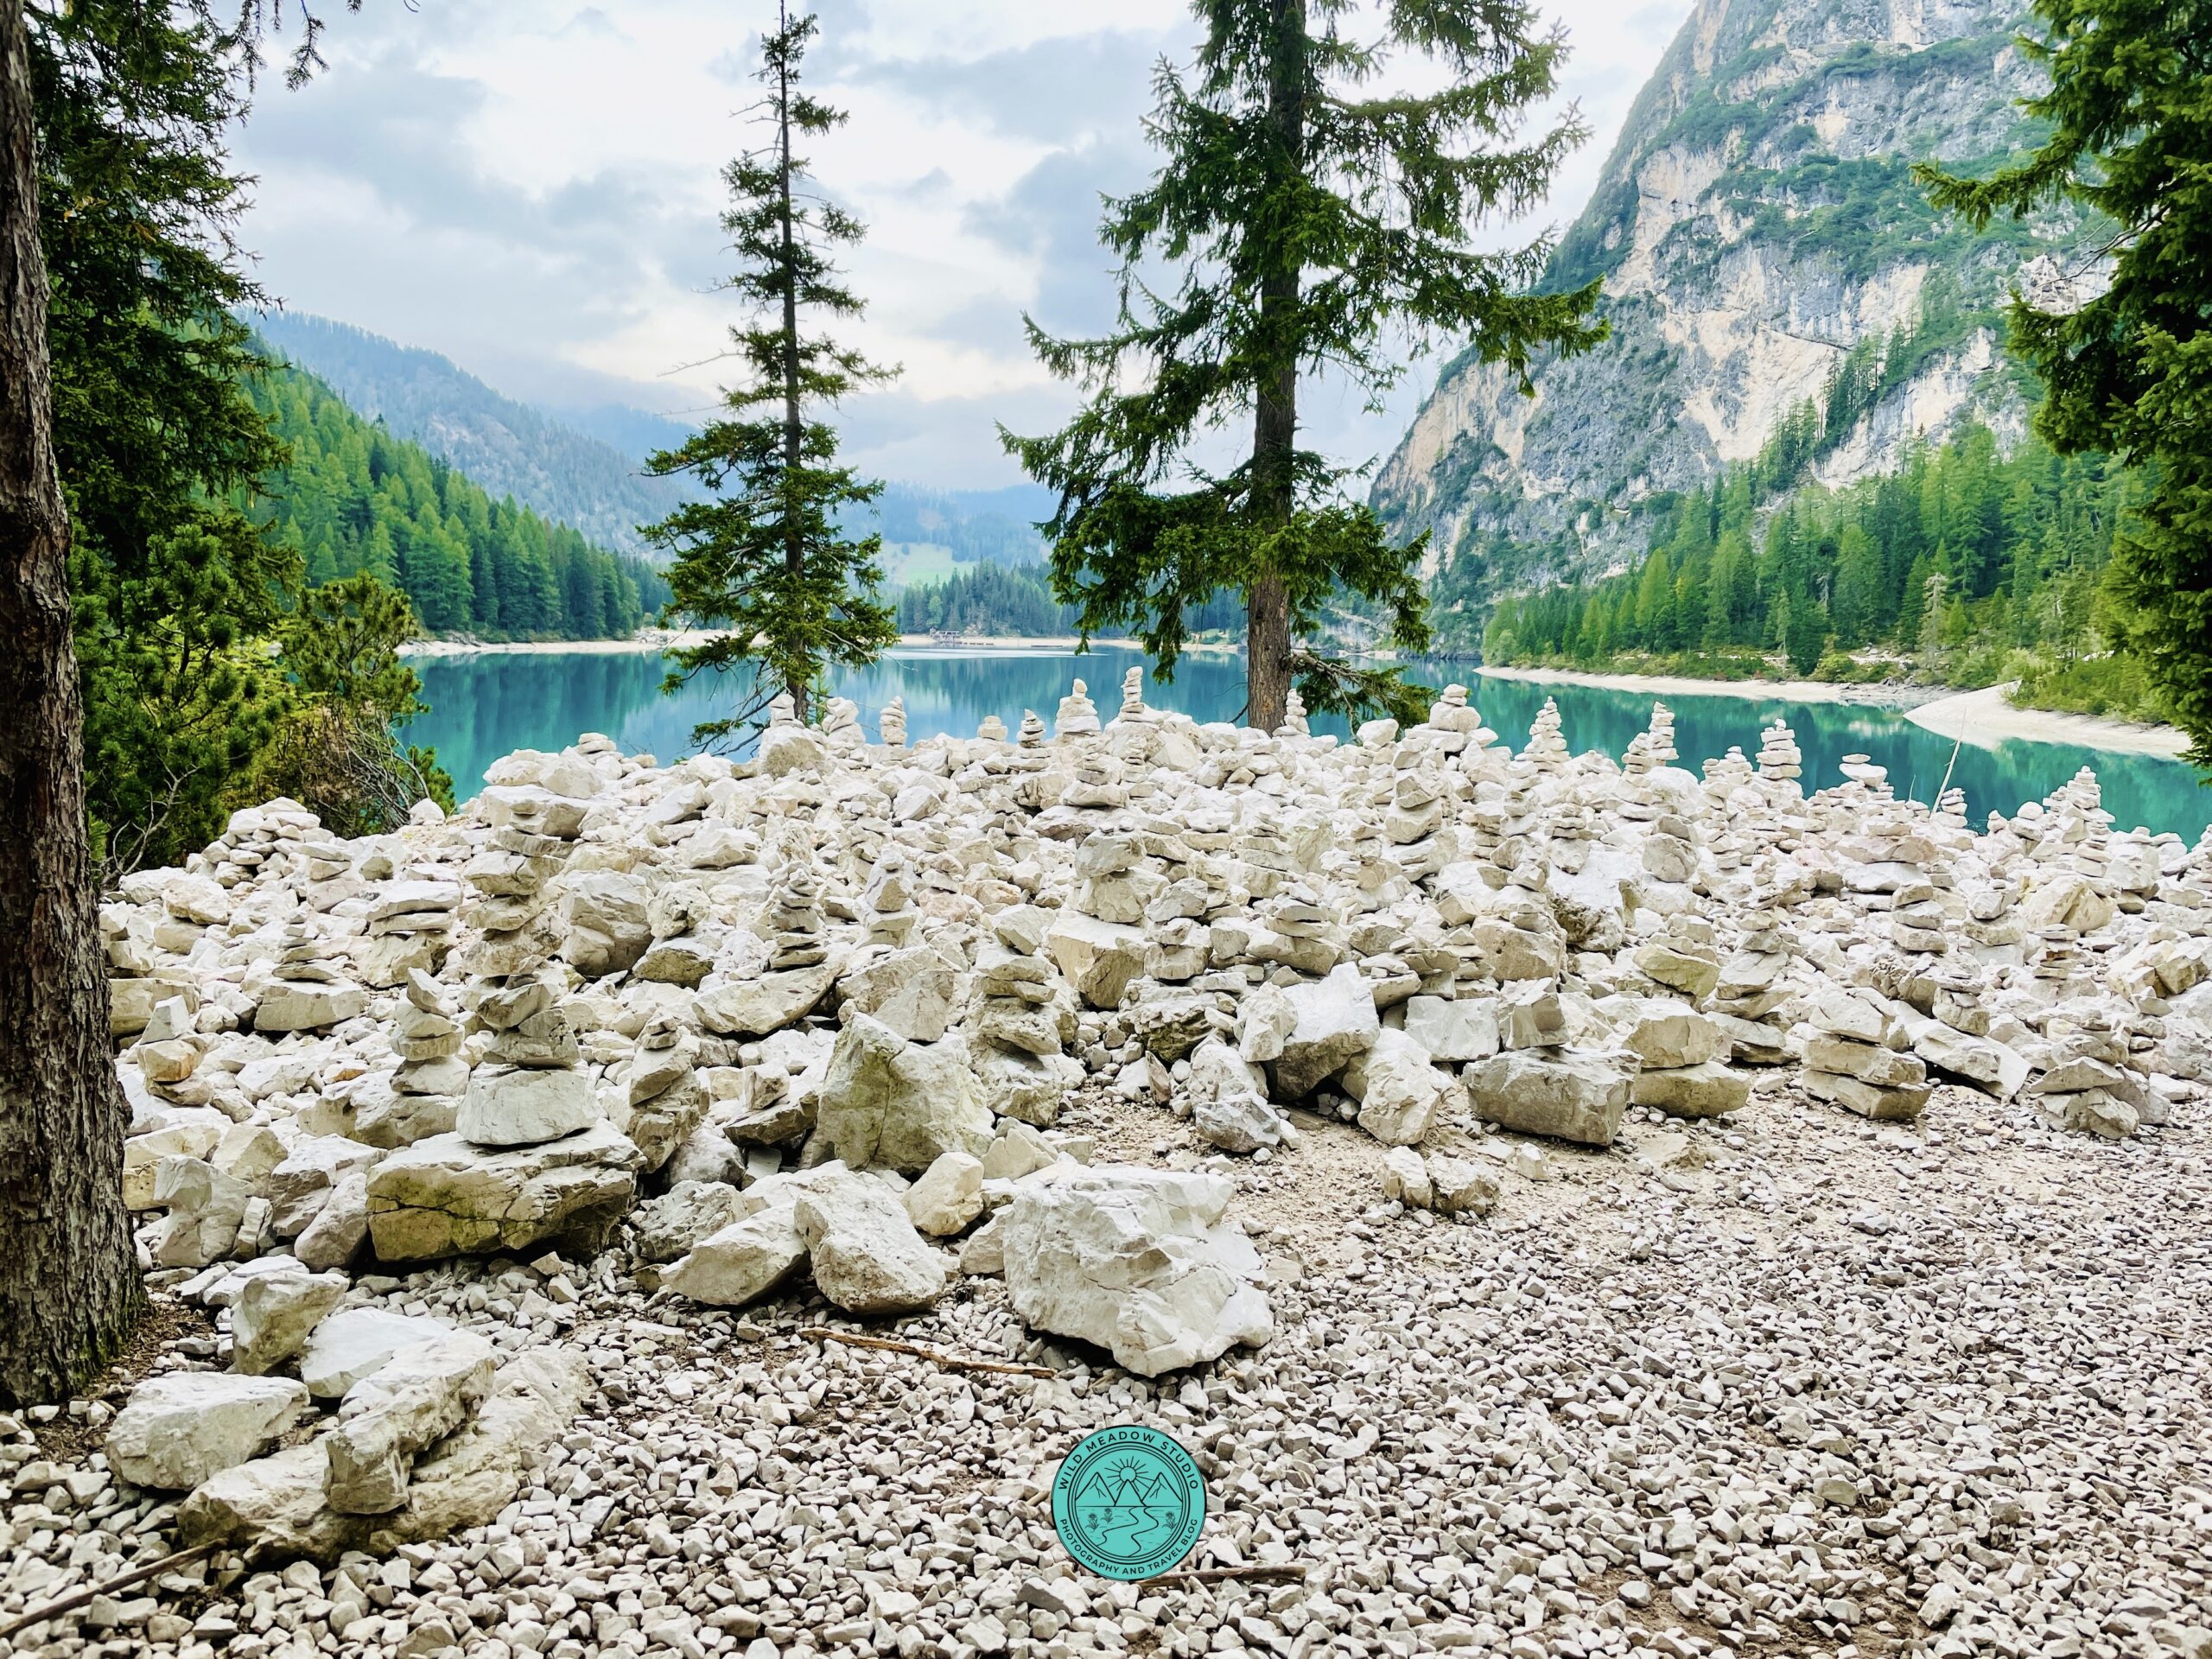
2. Lago di Braies Loop:
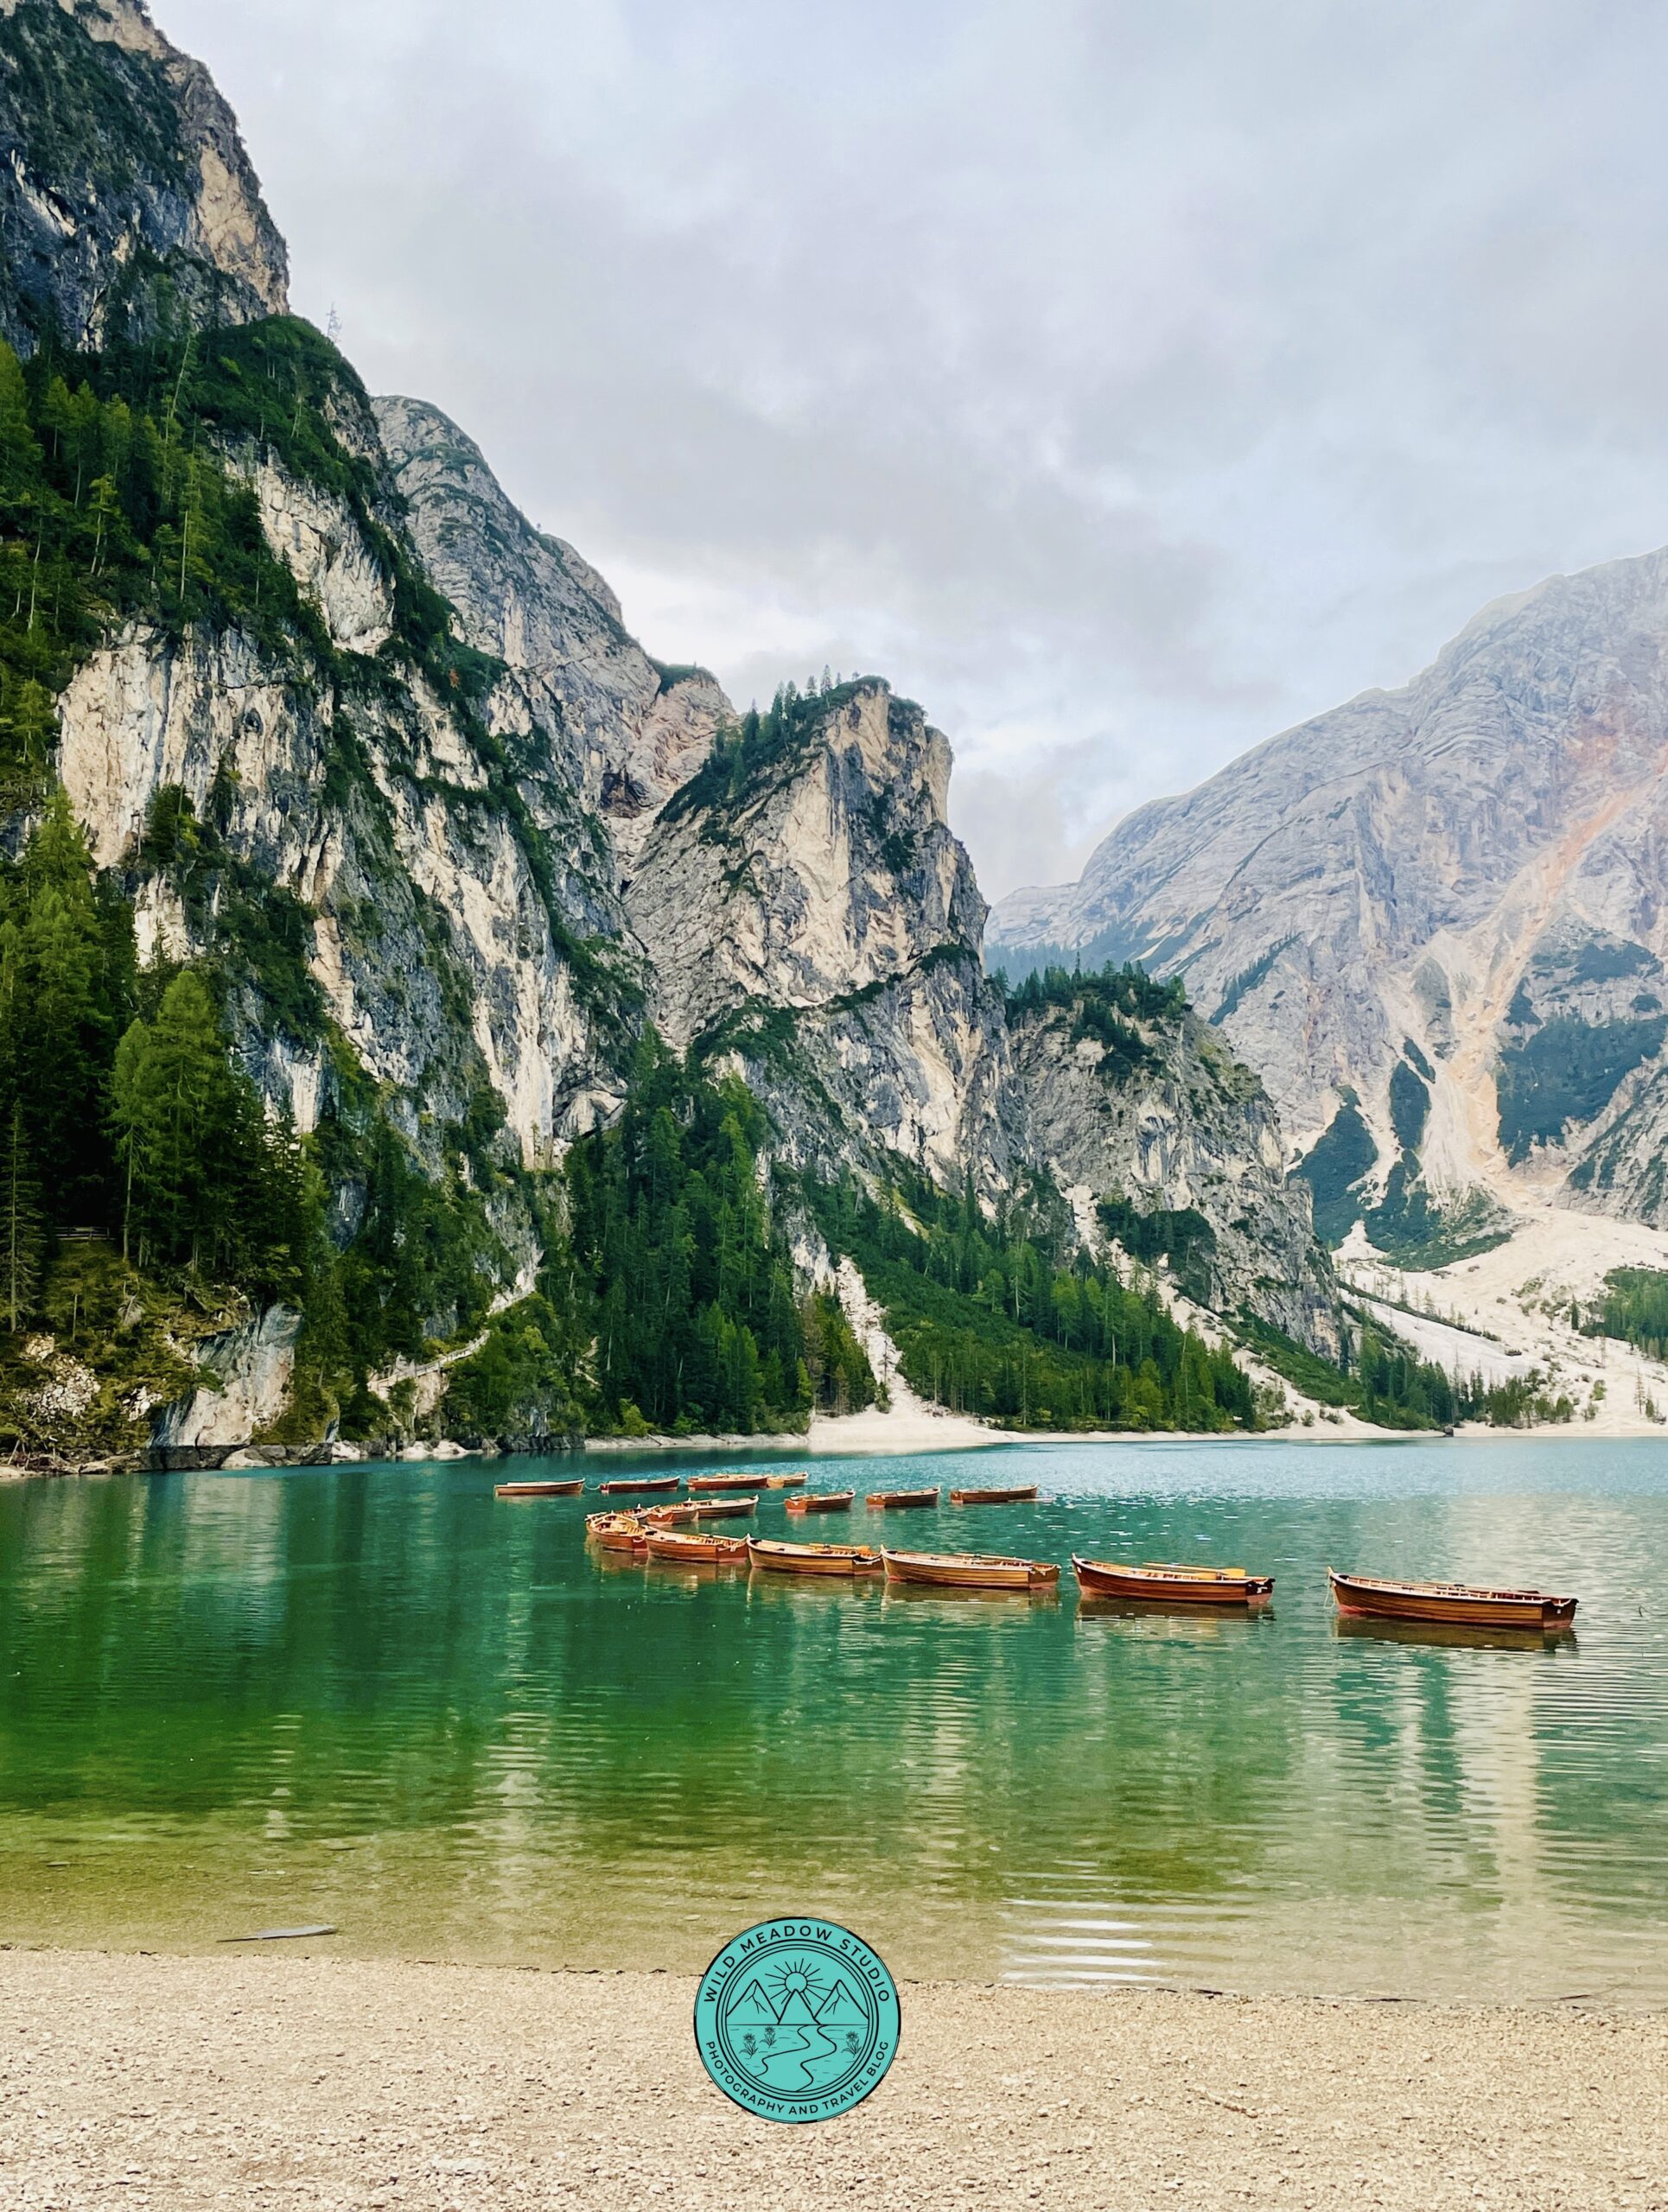
Lago di Braies with Rowboats
Lago di Braies Hike

The Boathouse
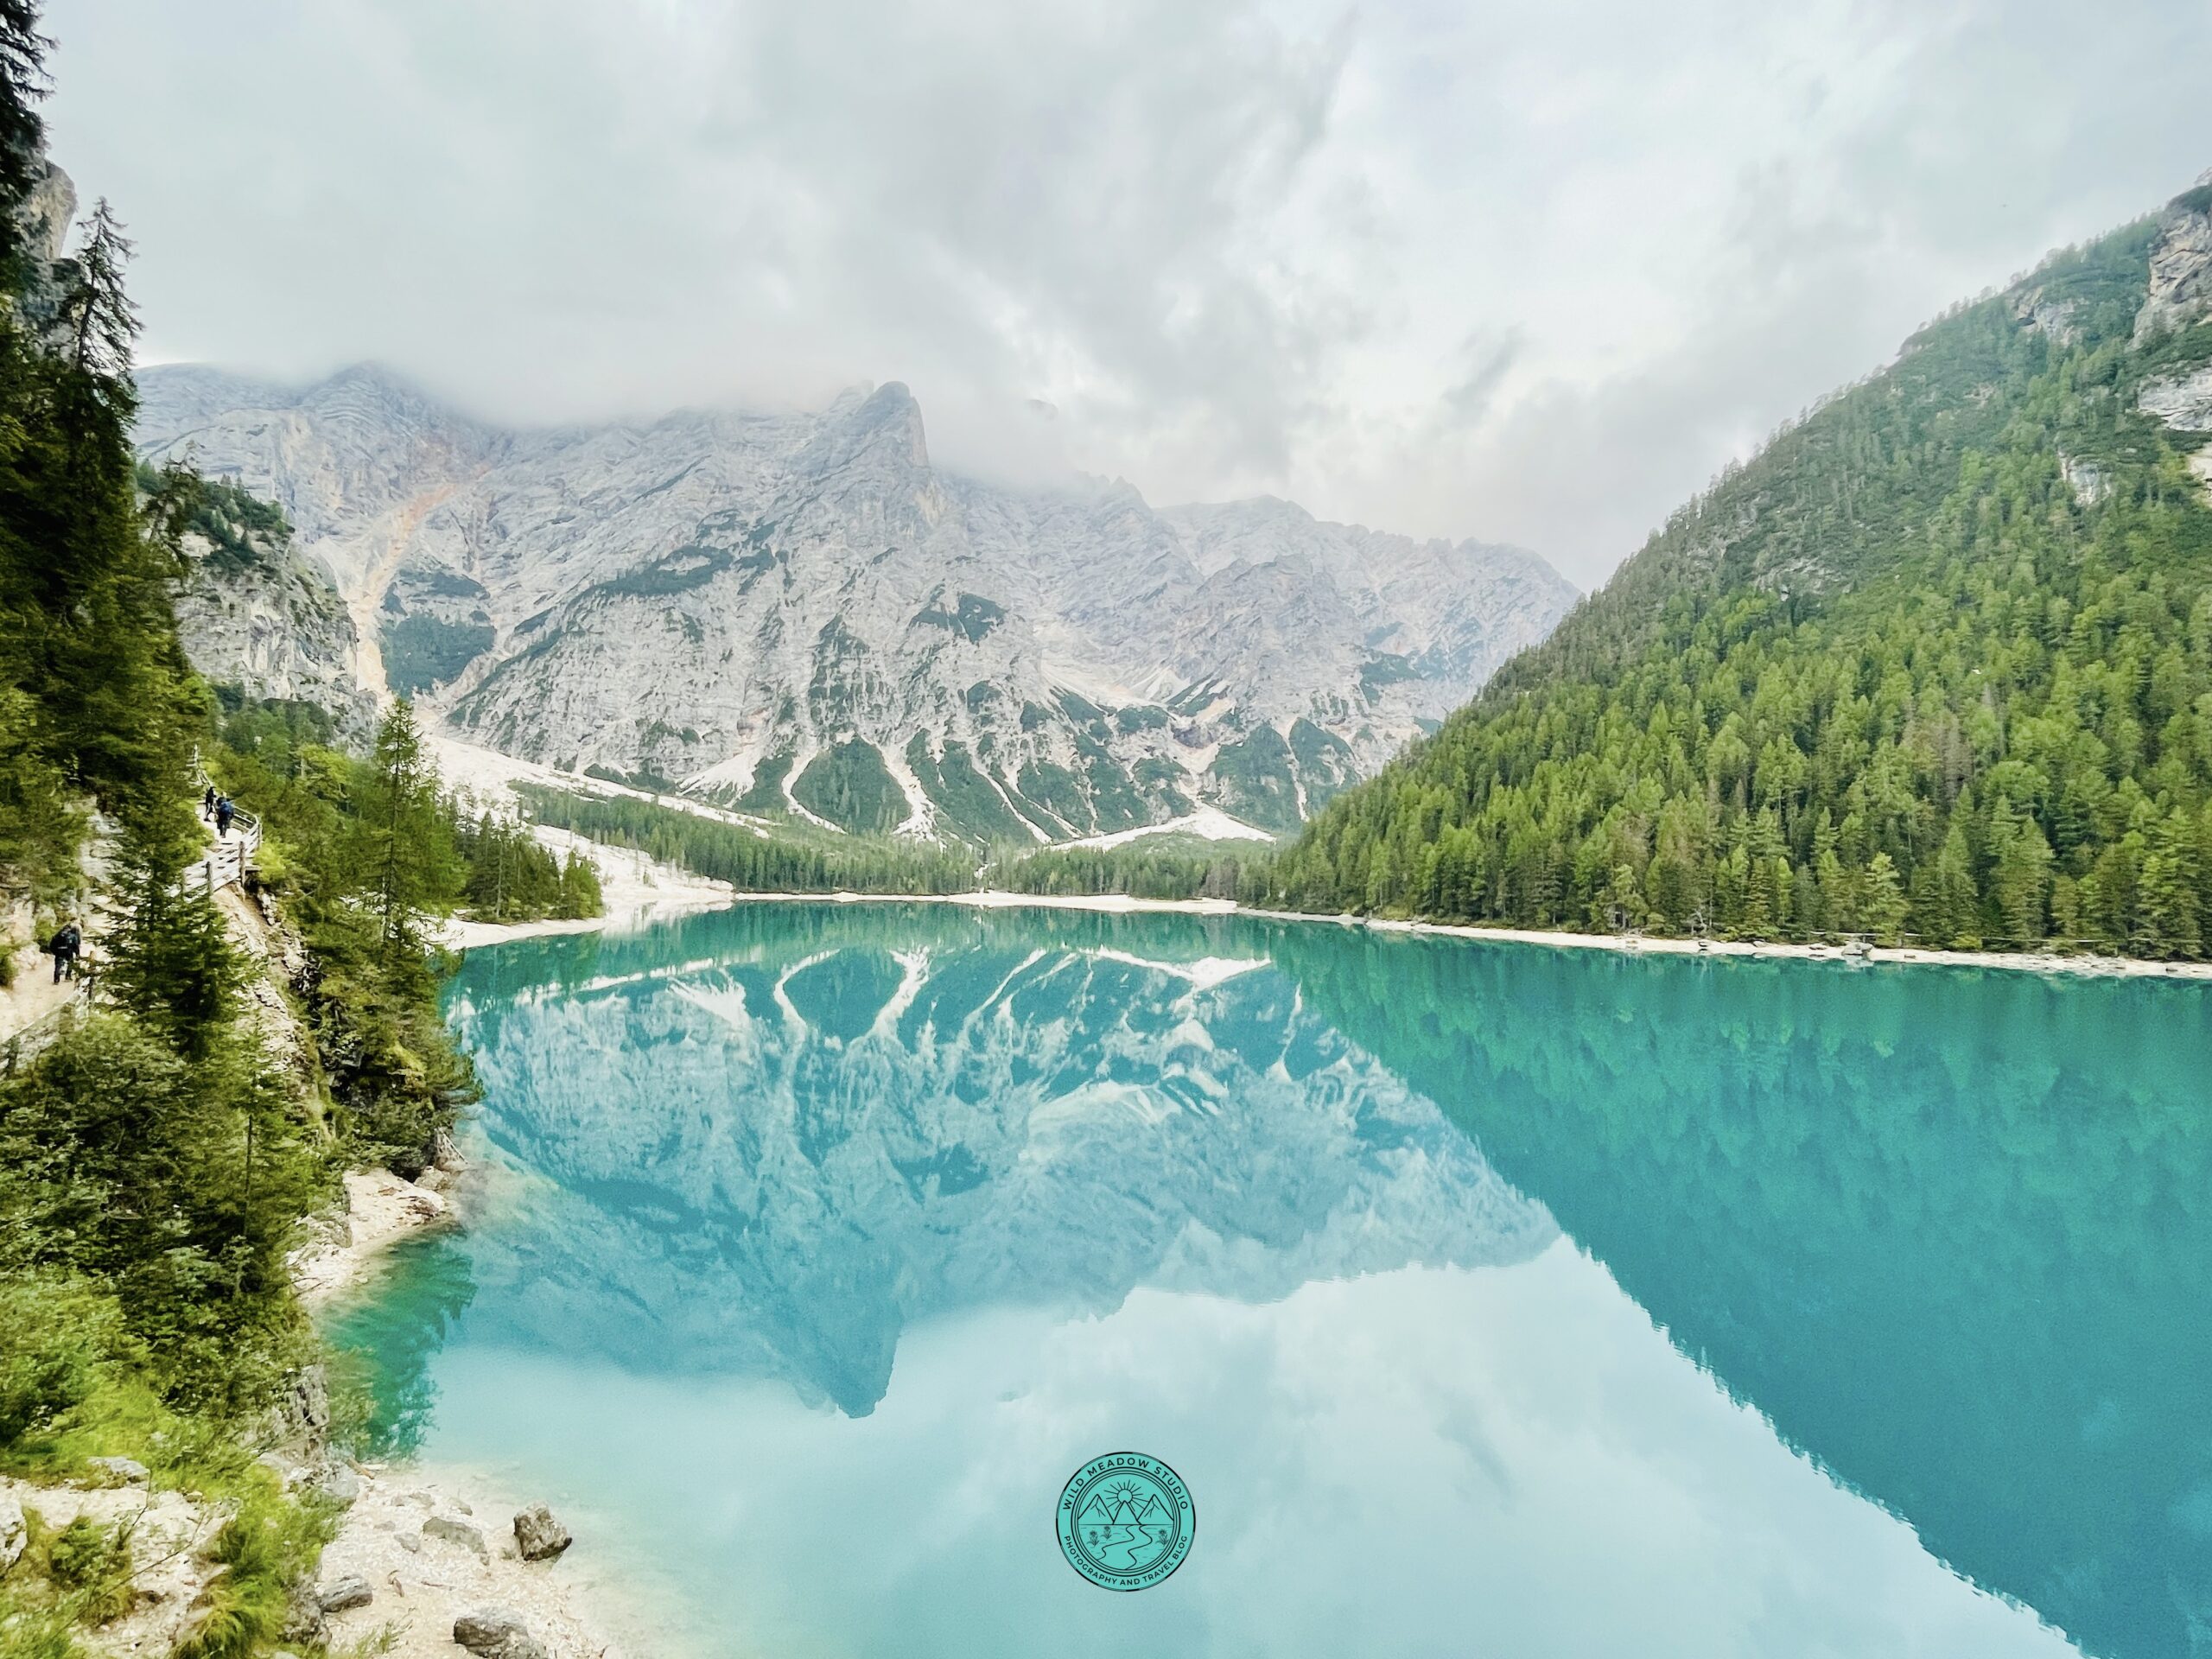
Mountain Reflections

Chapel near the Lake.
By the Lake
Difficulty: Easy
Highlight: A fairytale alpine lake
Time: ~1 to 1.5 hours
Distance: 2.5kms
Practical tips:
- Early morning or late afternoon offers the calmest water and best reflections.
- The loop is mostly flat, making it ideal for a recovery day or if you’re short on time.
- Summer parking is restricted — check access rules in advance.
- A light jacket is useful even on warm days due to cool lake air.
Why hike Lago di Braies?
Lago di Braies is one of the most photographed lakes in the Dolomites. The mainly flat loop trail circles the turquoise lake, with reflections of steep mountain walls in the water. As well, there is a photogenic boat house with row boats, attached by a rope out in the lake, so if you get there early, and nobody is in them, you can get some great photos. There is also a pretty church on the west side of the lake, (on the right if coming from the parking lot).
Transport & parking
- By car: Accessible via the Braies Valley road.
- Parking: Designated paid parking areas near the lake.
- Restrictions: In peak summer months, access may be limited during the day — check local regulations in advance. To get a spot in the closets parking lot (P4), typically between July 10th and Sept. 10th, you need to pre-book online. Check out Prags.bz or Pragsparking.com for more information.
- Alternate Parking: There are other parking lots a little farther away, that offer shuttle services during the peak season, these don’t need to be pre-booked, but come before 9:00am for the best chance of getting a spot.
- Boat Rental: You can rent the rowboats to paddle around this scenic lake, if interested, they are open around 9:00am to 5:00pm or later in the summer season.
- By bus: Seasonal buses operate from Dobbiaco (the 442) or from Cortina (take the 445 to Dobbiaco then take the 442).
- GPS: Put Lago di Braies into your GPS.
The Lago di Braies loop is one of the easiest hikes on this list, but it’s also one of the most beautiful. This short, flat trail circles a brilliant turquoise lake surrounded by steep mountain walls and dense forest. We got here early, before 7:00am, mid-September, parked in the closest parking lot, saw a handful of people, got great shots of the mountains with the rowboats and some of the boathouse, the pretty church and more. We highly recommend getting here early, it’s very popular, so gets crowded, if you really want to rent a rowboat, get here before 9:00am when they open as they sellout fast.
The reflections on the water are stunning, especially in the morning, and the walk is acceptable for nearly all fitness levels. It’s perfect if you want incredible views without a strenuous climb or hike.
Why it’s worth it: Maximum beauty with minimal effort!
3. Seceda Ridgeline Hike:
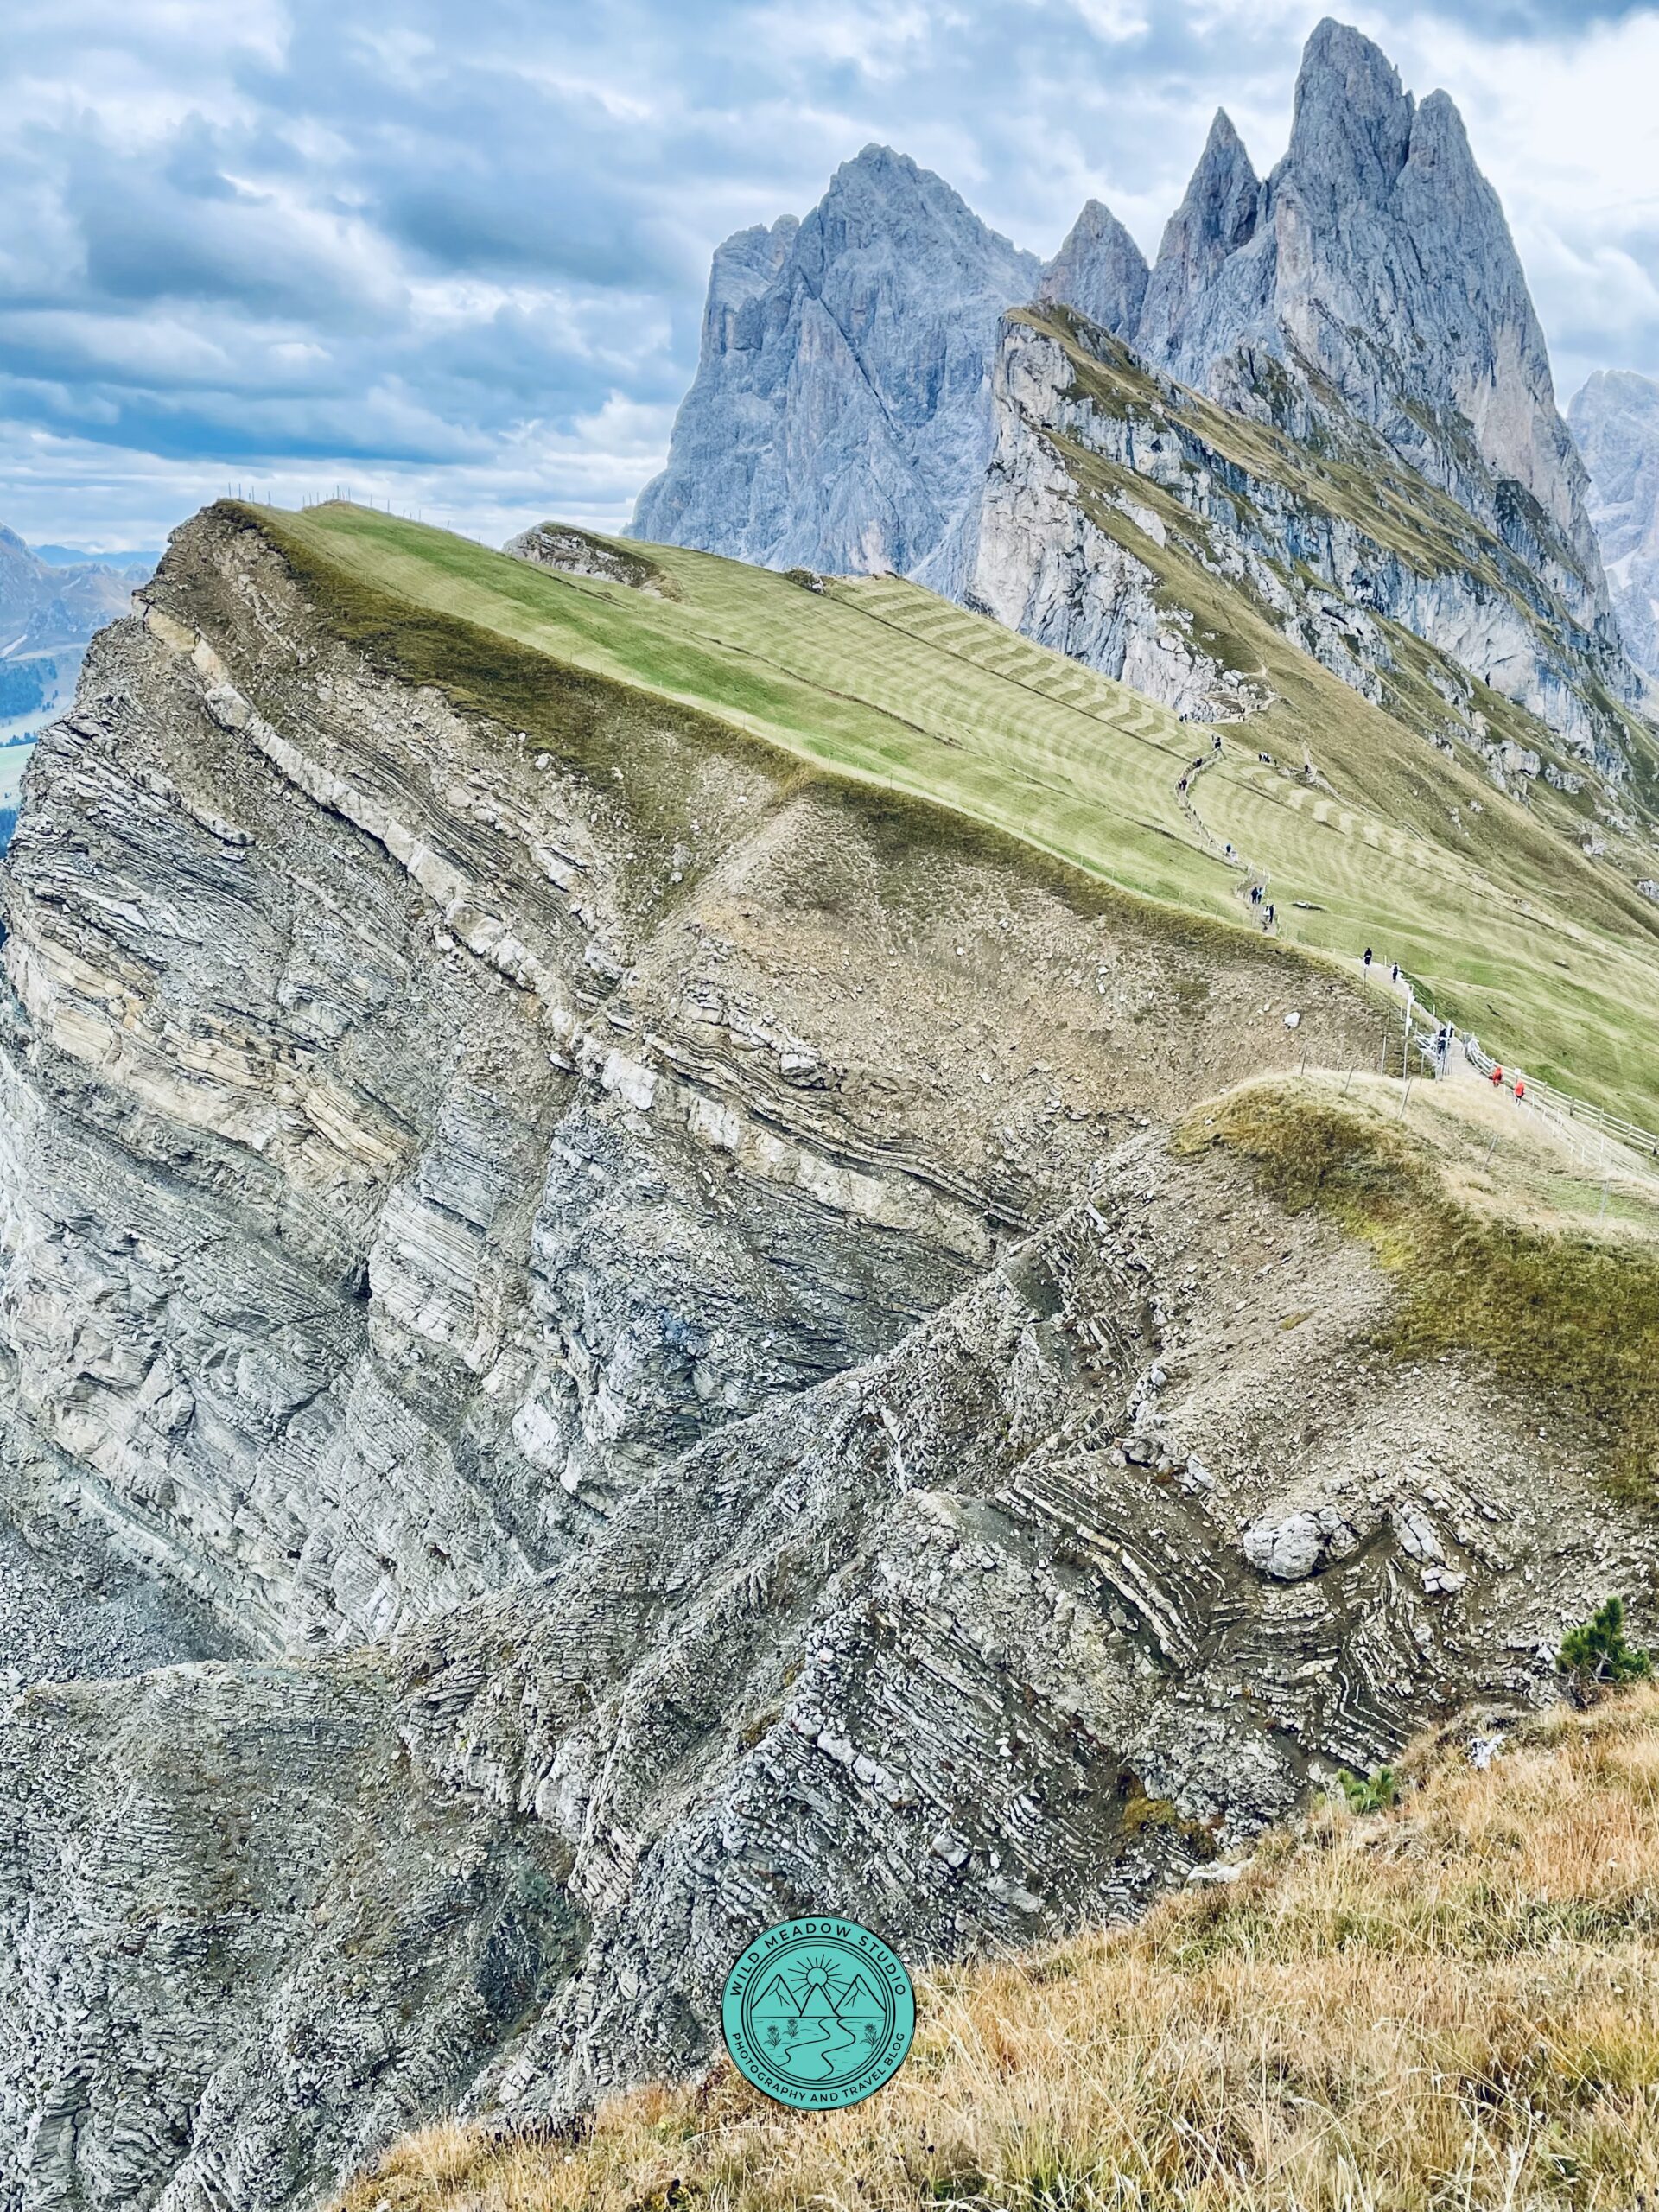
Seceda Ridgeline Hike
Along the Hike

Along the Seceda Hike
Stunning Views
Worth every Step!
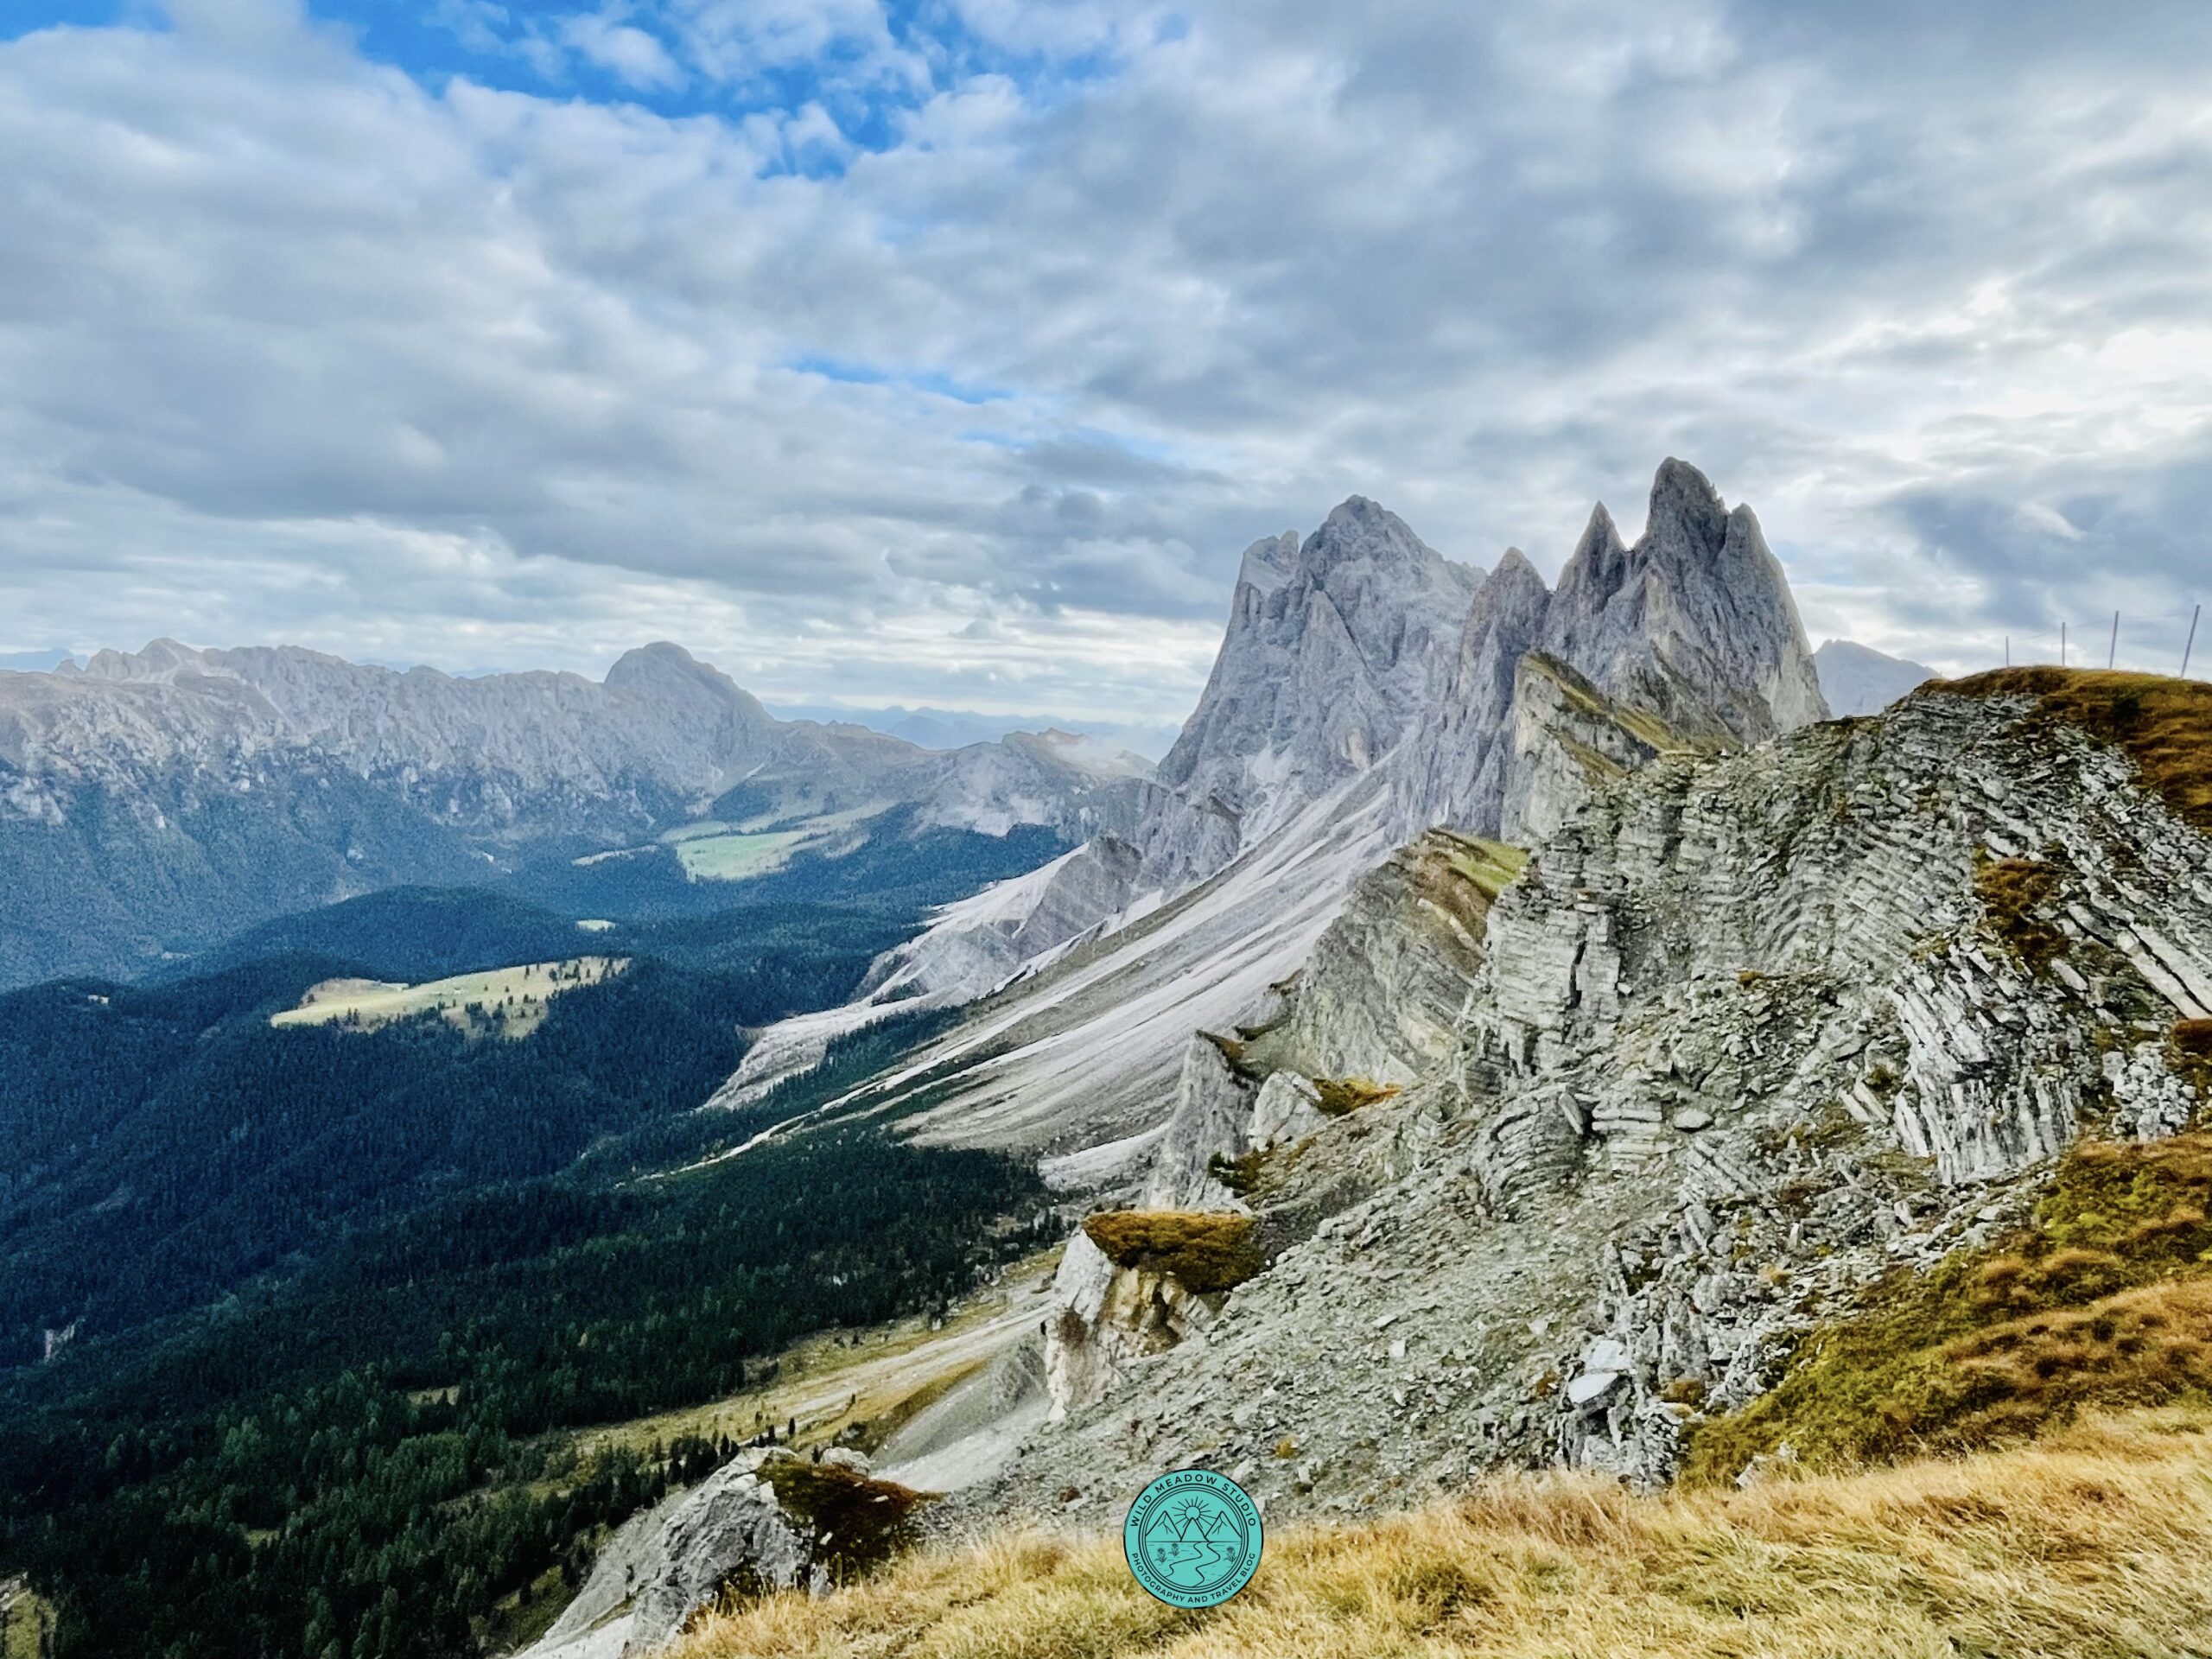
Popular shot, breathtaking views
Difficulty: Easy
Highlight: One of the best viewpoints in the Dolomites
Time: ~1–2 hours (exploring viewpoints)
Distance: 2.5kms
Practical tips:
- Use the cable car from Ortisei to save energy and time.
- Stay on marked paths — steep drop-offs are common along the ridge.
- Bring sun protection; there’s very little shade.
- Visit on a clear day for the best valley and mountain views.
Why hike Seceda Ridgeline?
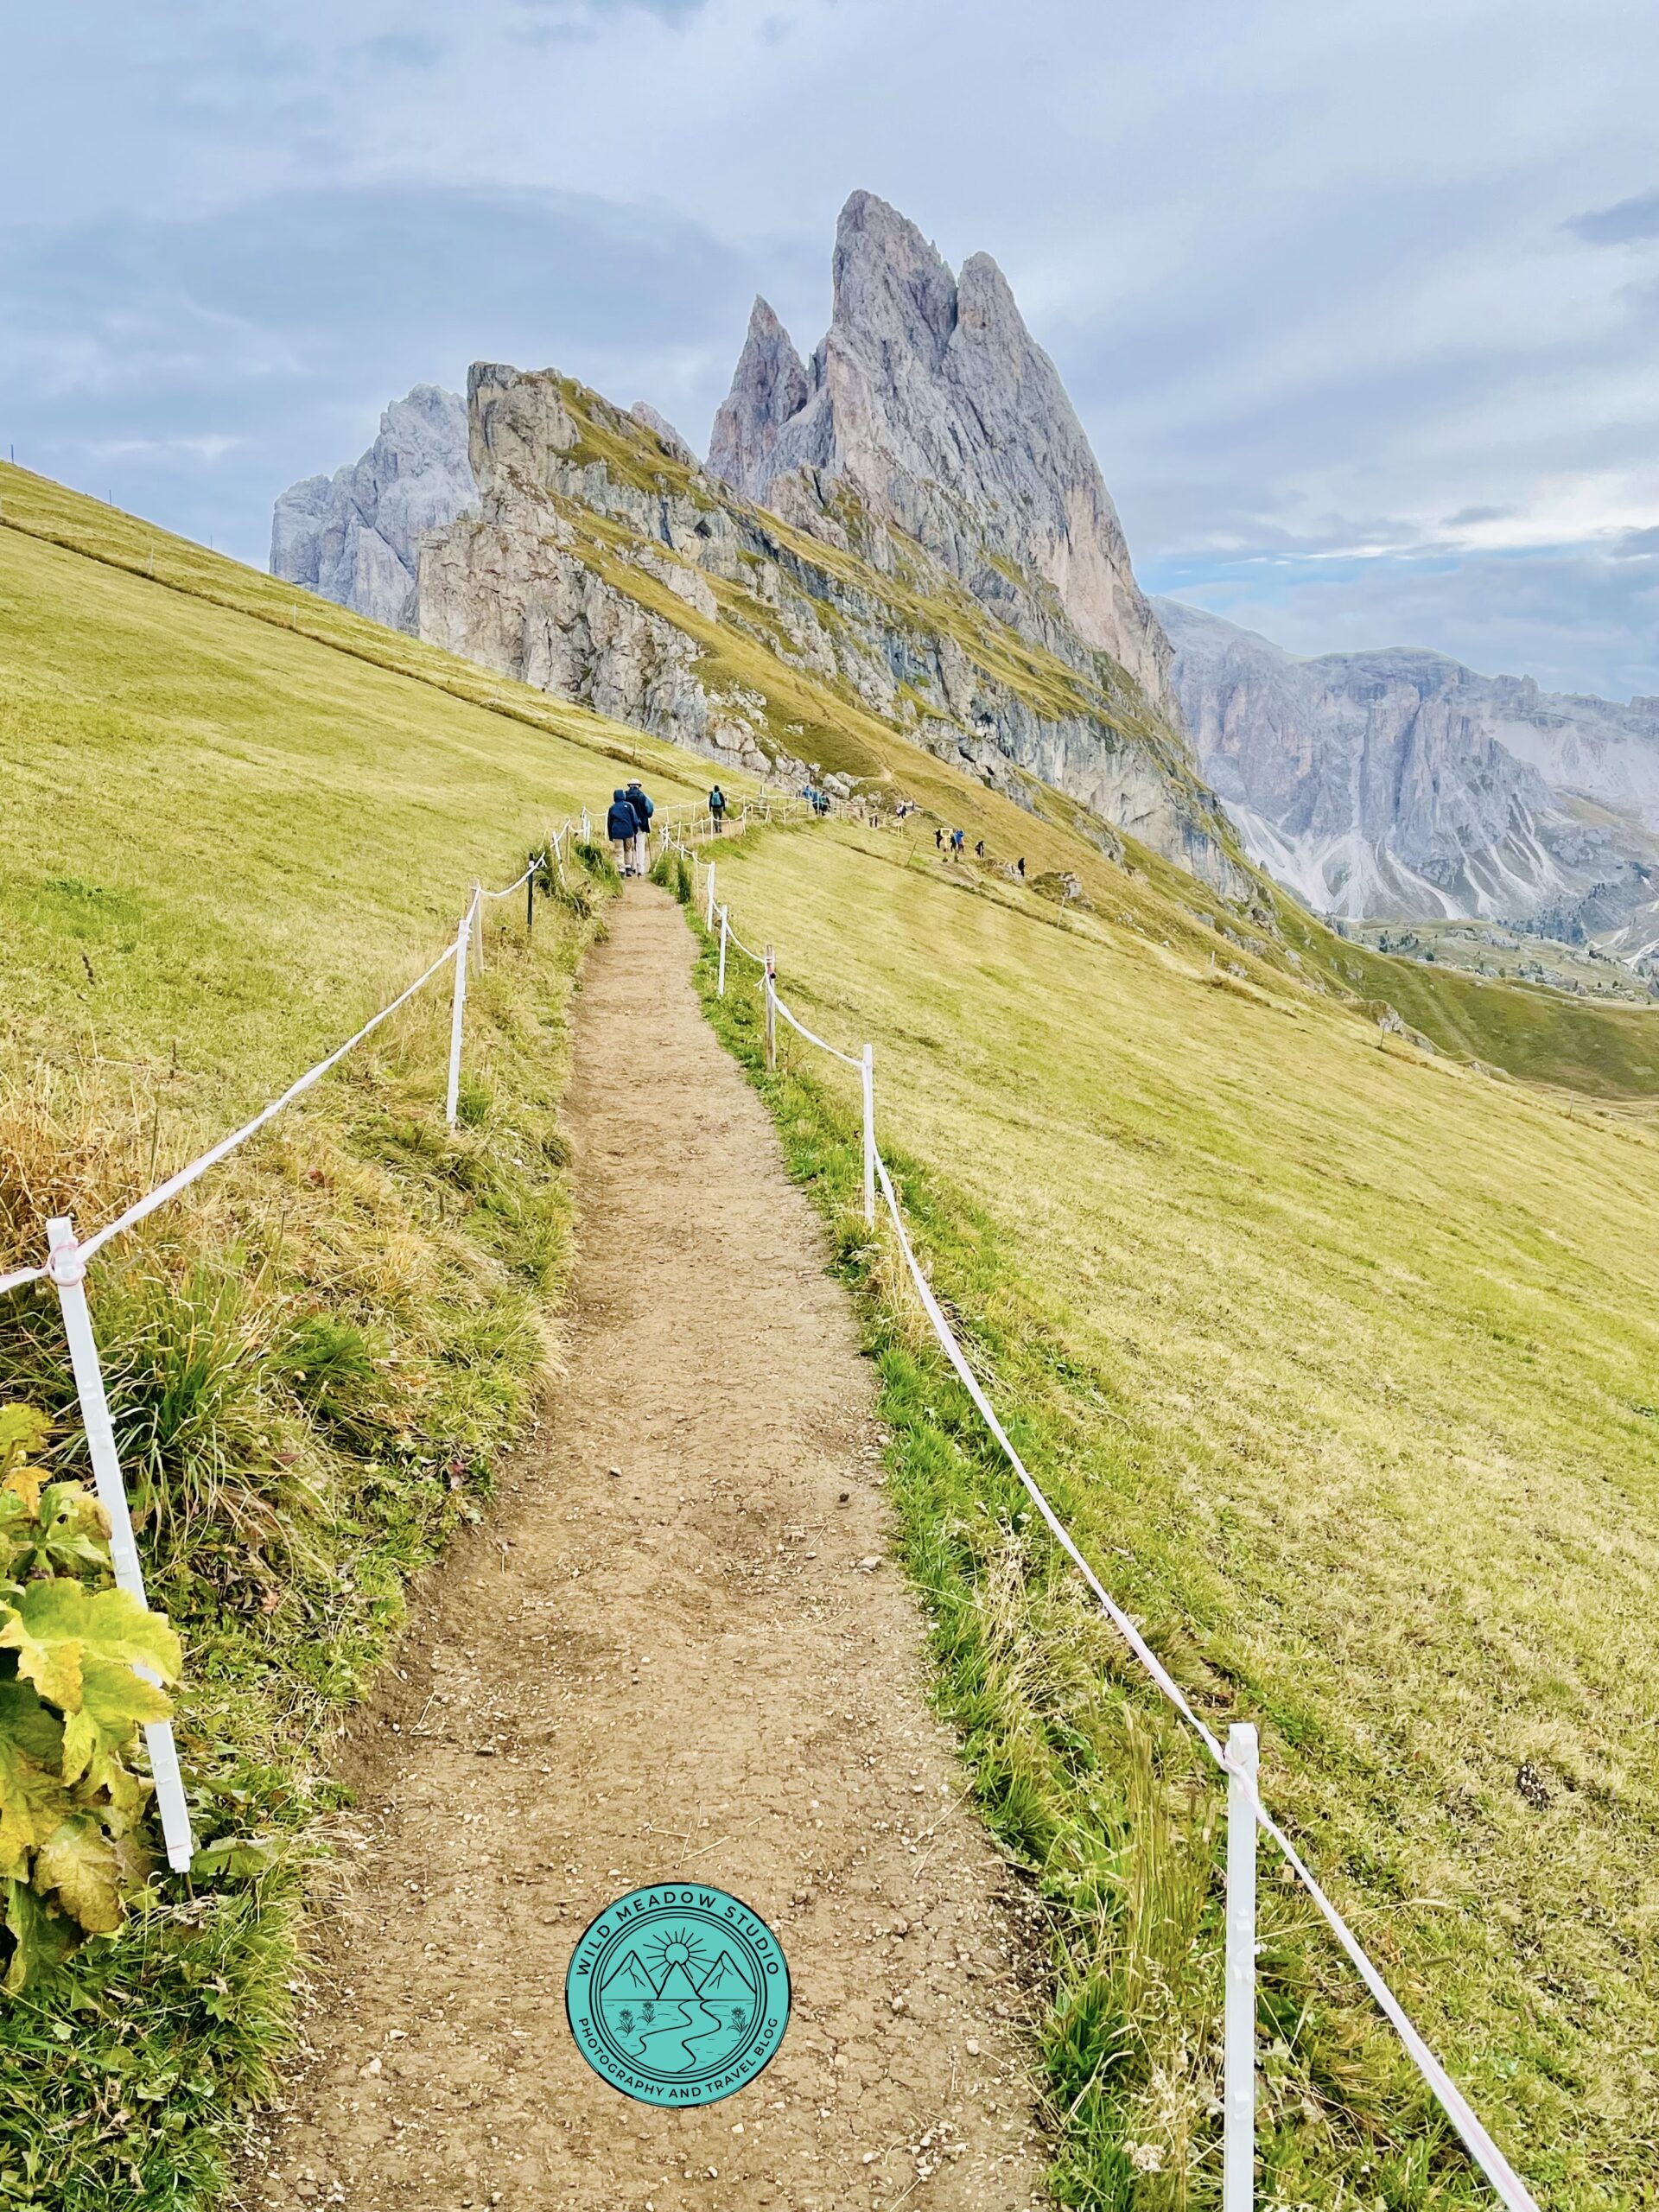
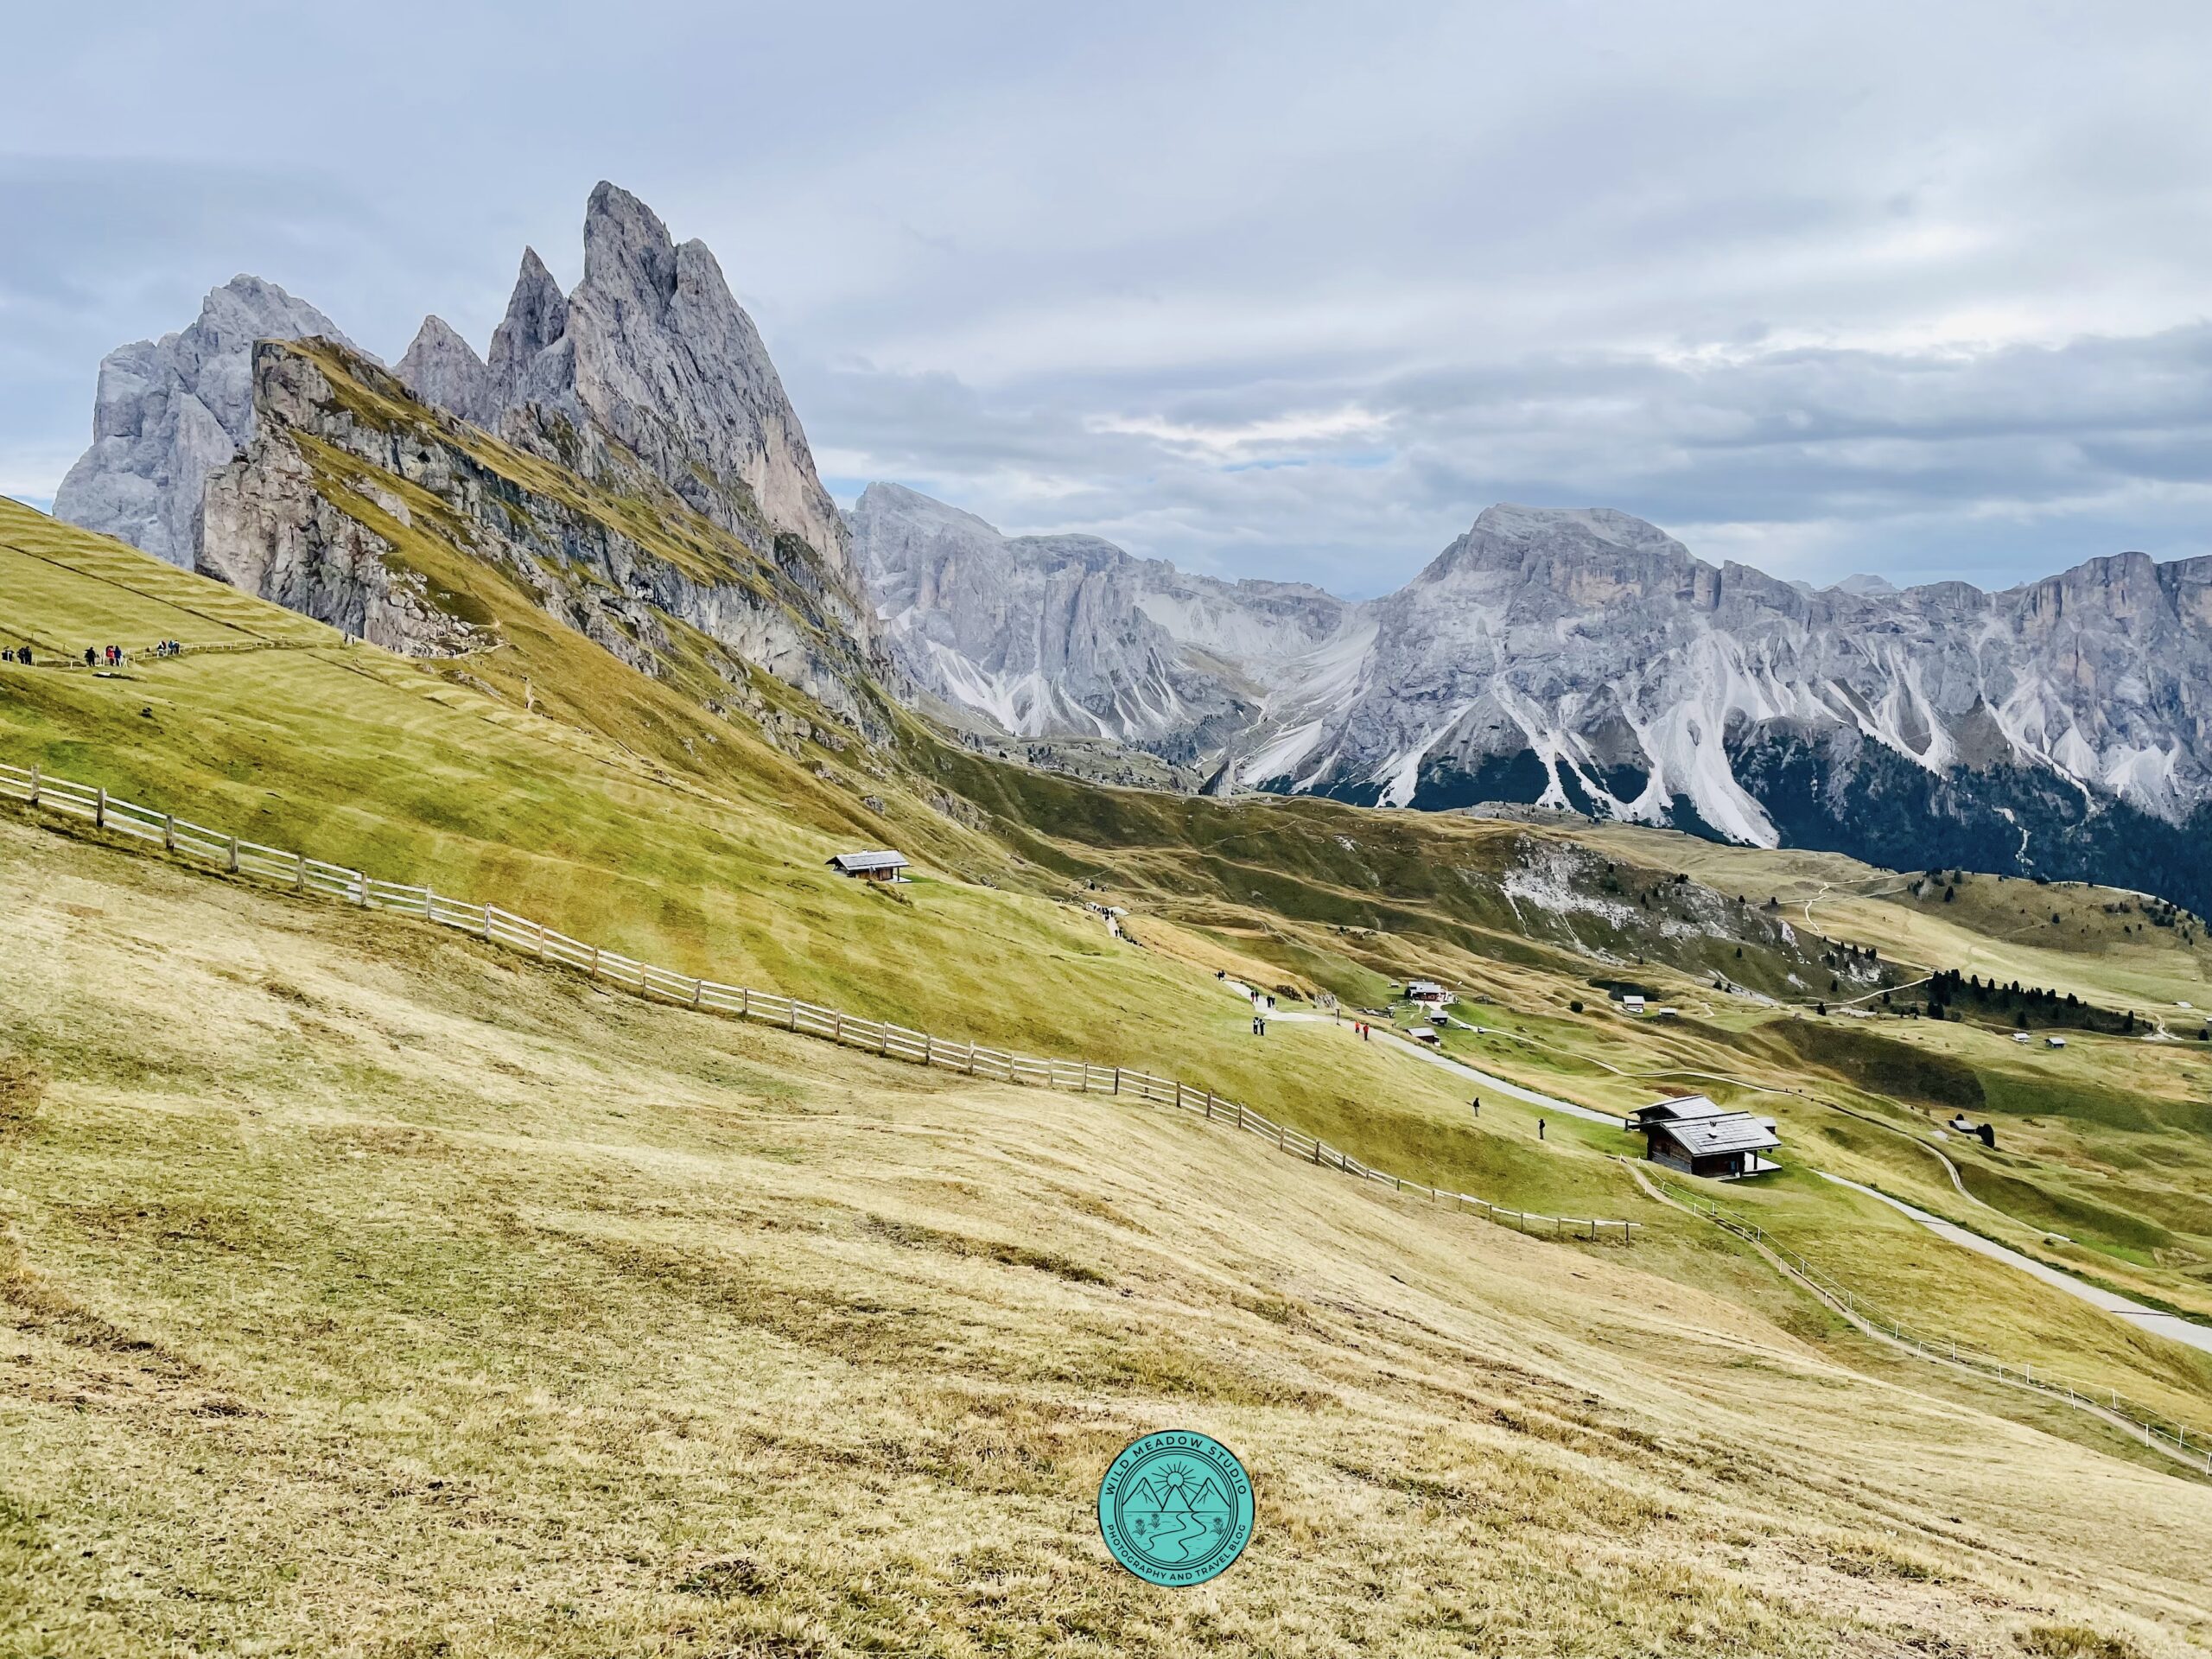
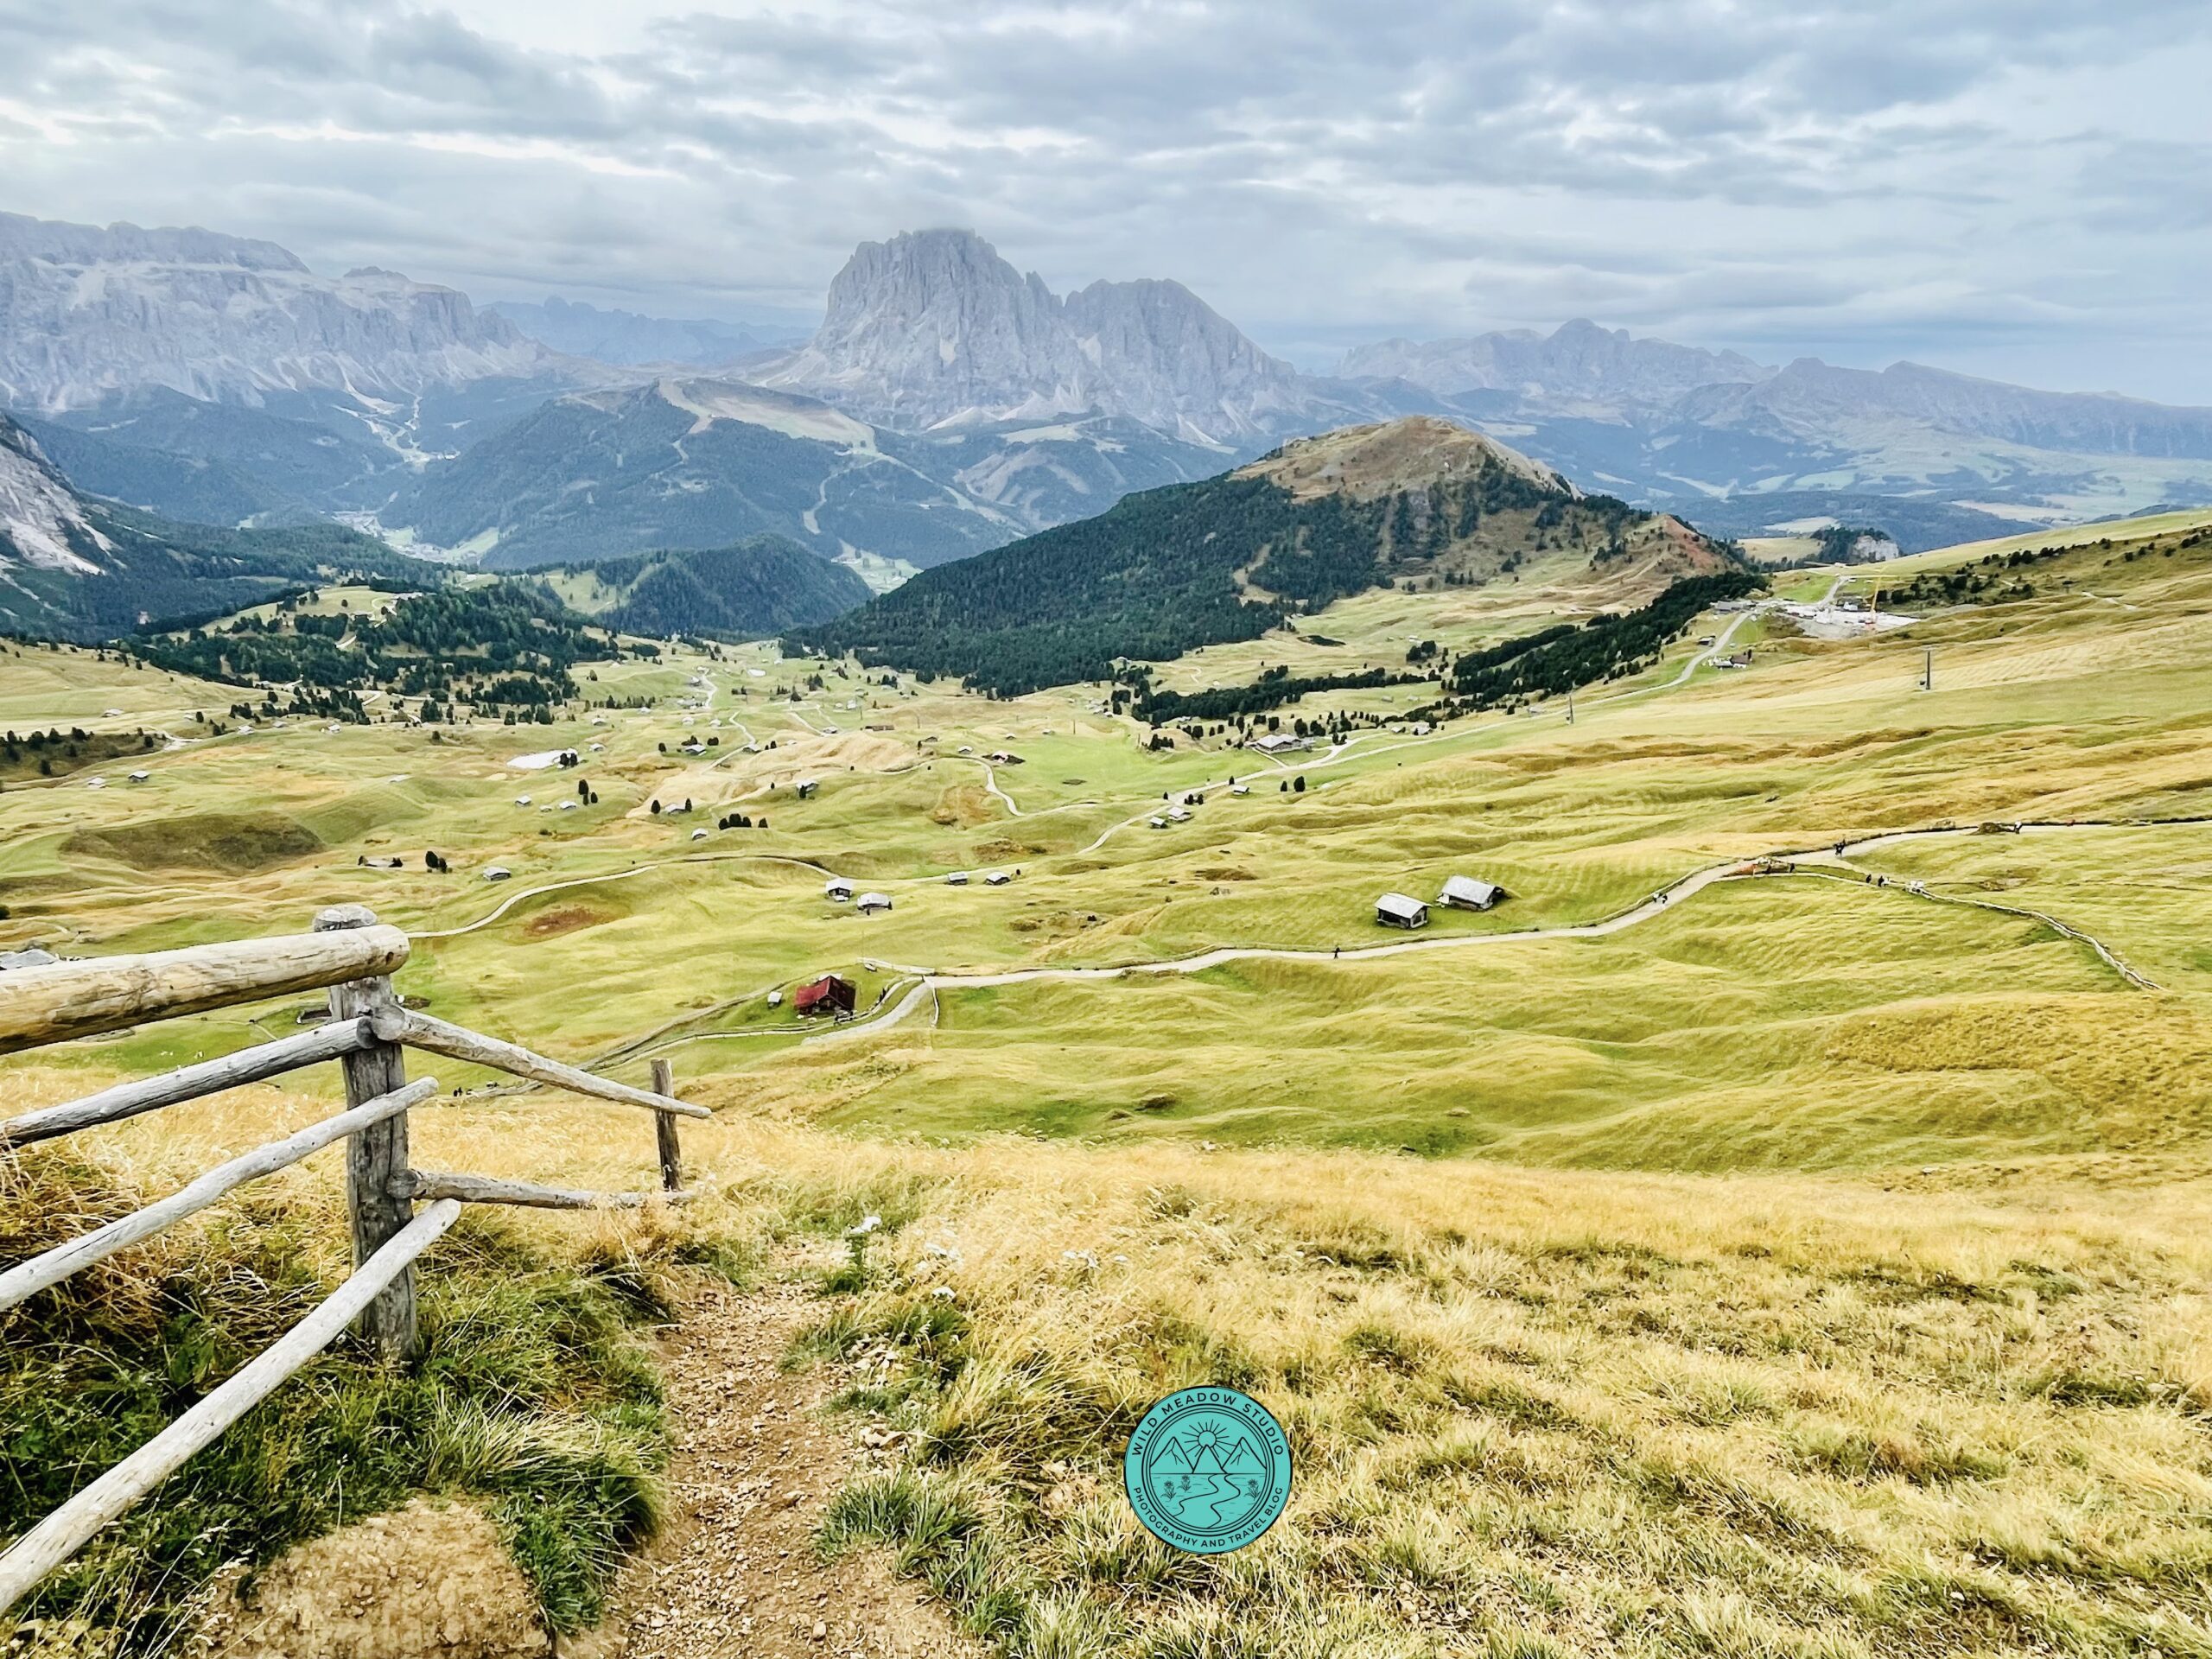
The Seceda ridgeline offers one of the most dramatic viewpoints in the Dolomites, with steep grassy slopes dropping into the valley below and jagged Odle peaks in the distance.
Transport & parking
- By cable car: Take the Ortisei–Furnes–Seceda cable car. The cable car cost about 52 euros per adult, return, for both legs (two separate cable cars each way to reach the top).
- Parking: Paid parking available in Ortisei at the cable car station. There is a multi-level parking garage, with lots of parking, but the earlier the better to make sure you get a spot.
- By bus: Regular buses connect Ortisei with other Val Gardena towns.
- GPS: Seceda Cableways Ag. Via Val d’Anna 2
The Seceda Ridgeline hike delivers some of the most dramatic views in the Dolomites with surprisingly little effort. A set of cable cars takes you most of the way up, leaving only a small section of uphill walking, then the trail follows along the sharp, grassy ridgeline.
From the top, you’ll see sweeping views over the Val Gardena and the jagged peaks of the Odle group. The steep drops and rolling green slopes make this one of the most photogenic spots in the region.
Why it’s worth it: Epic, wide-open views with an easy hike.
4. Kronplatz Summit Loop:

Sculpture on the edge of Kronplatz Mountain
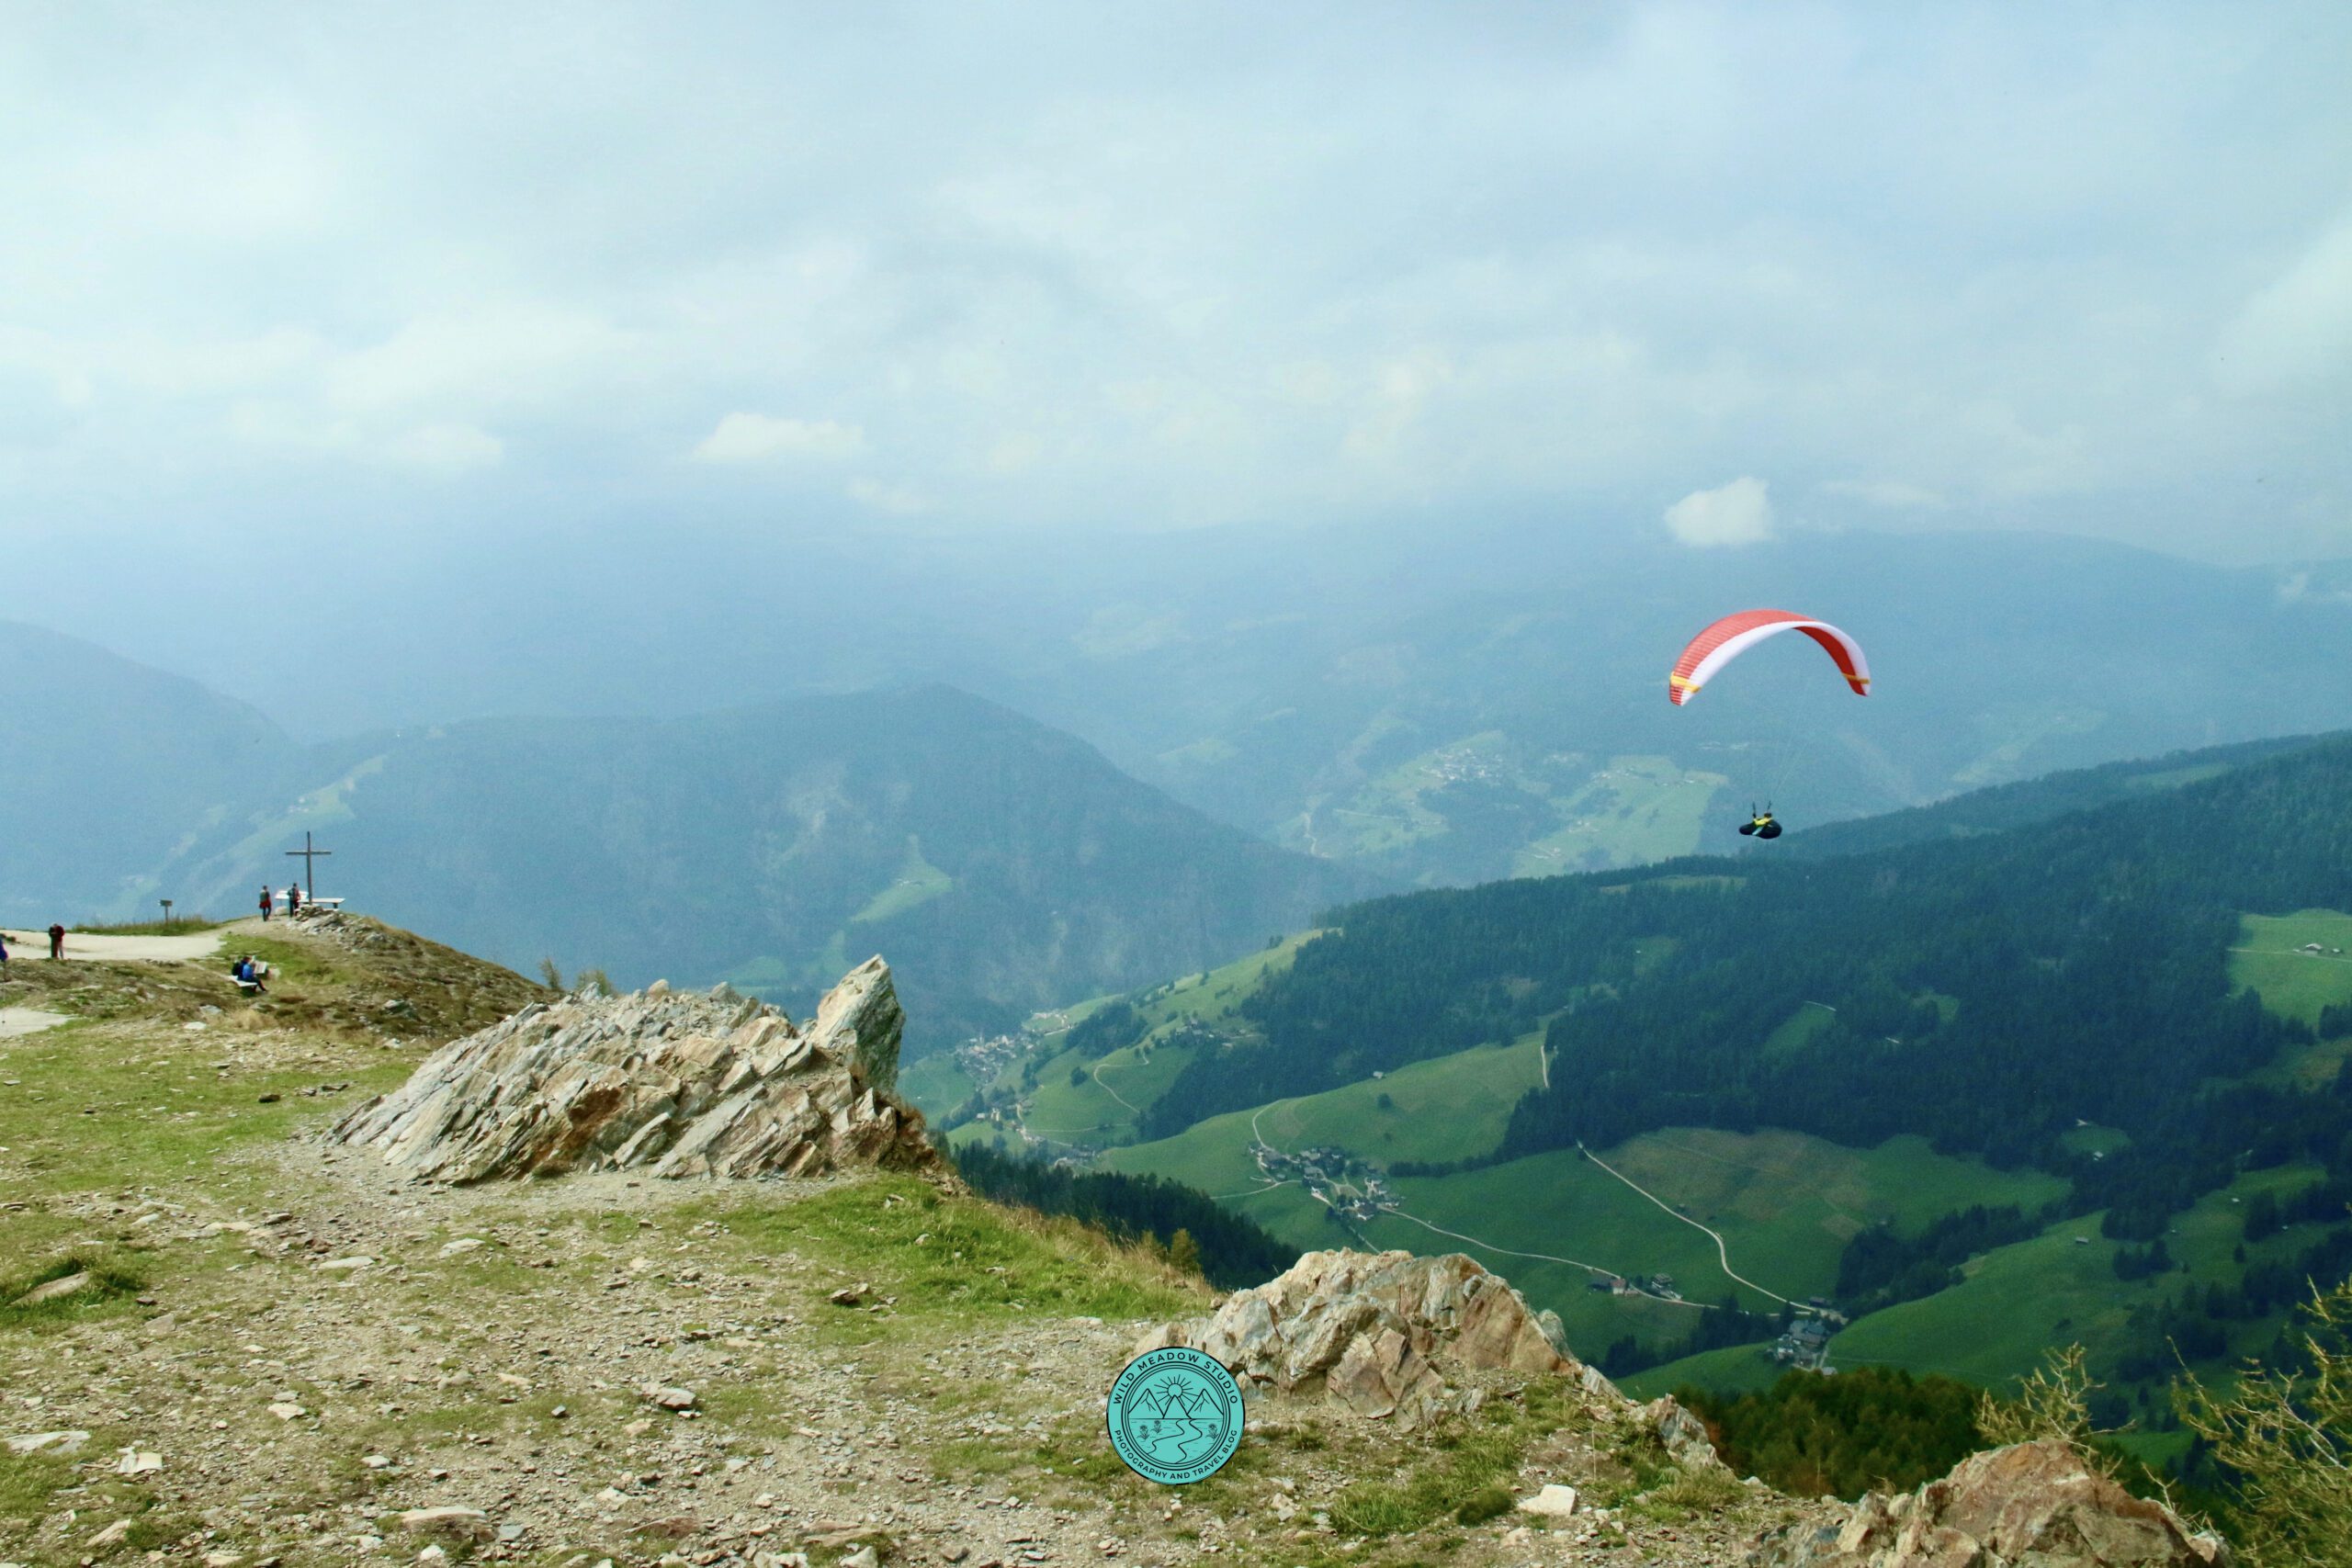
Paragliding off the Mountain
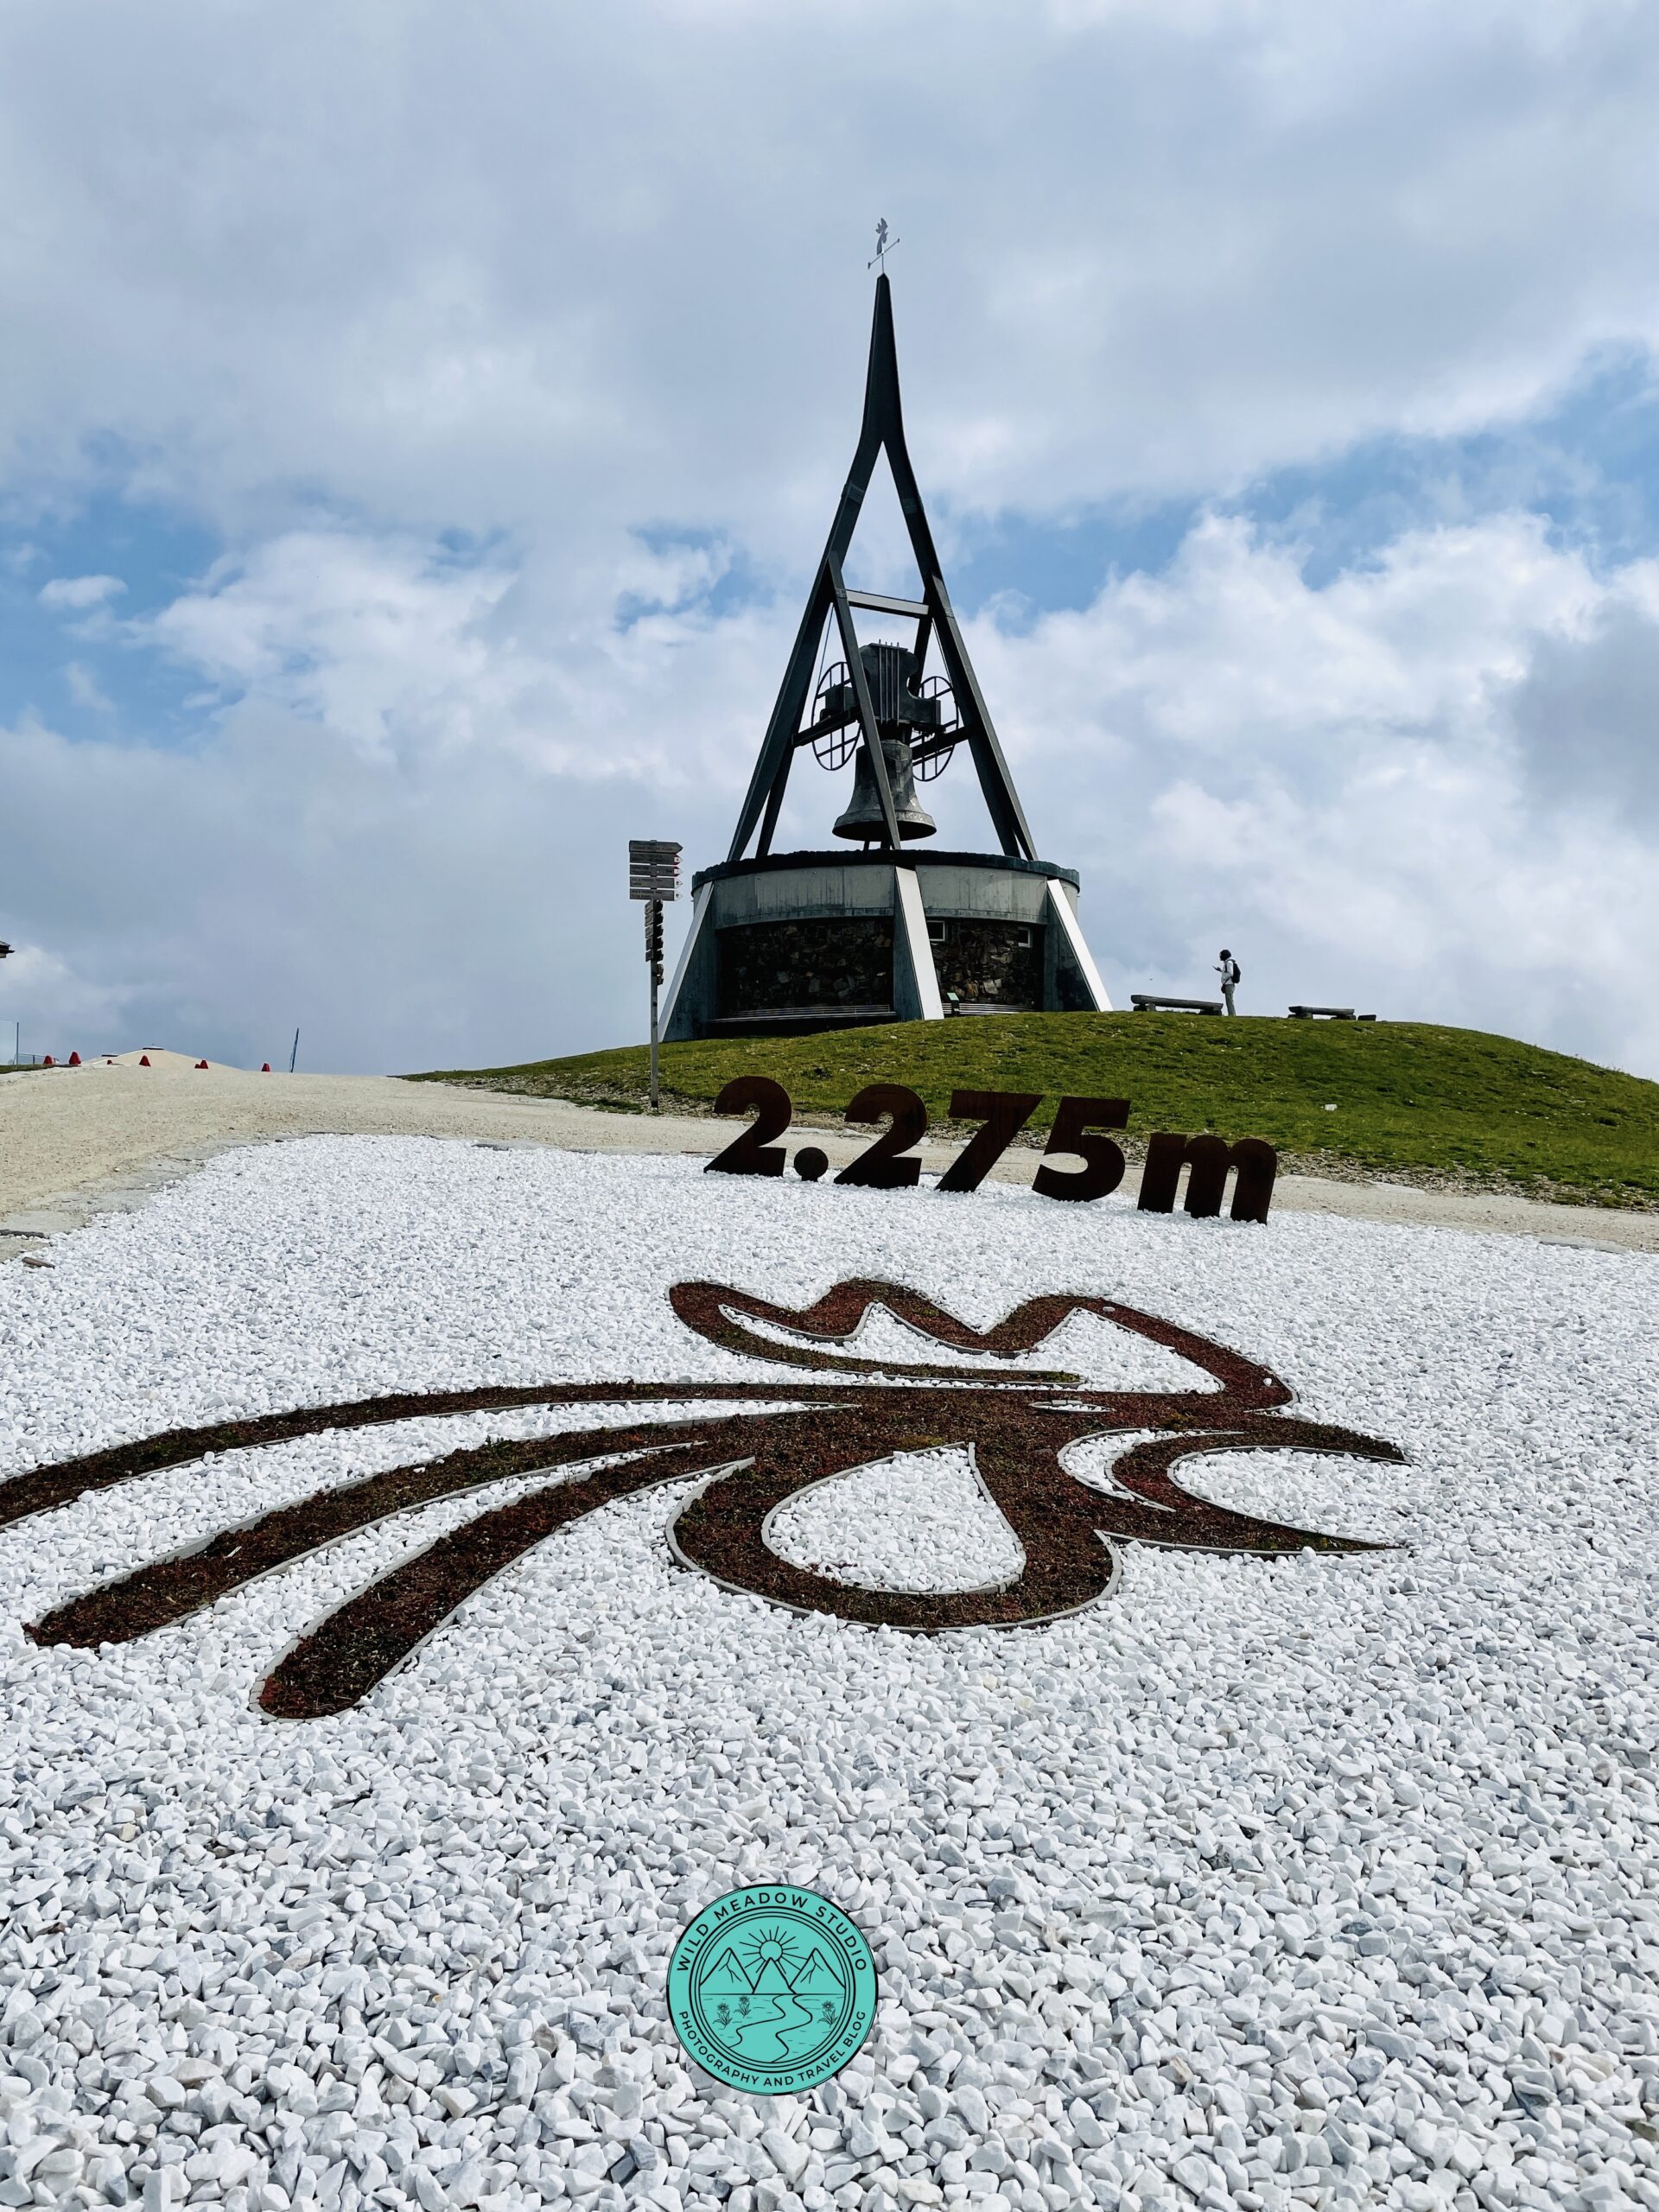
Top of Kronplatz
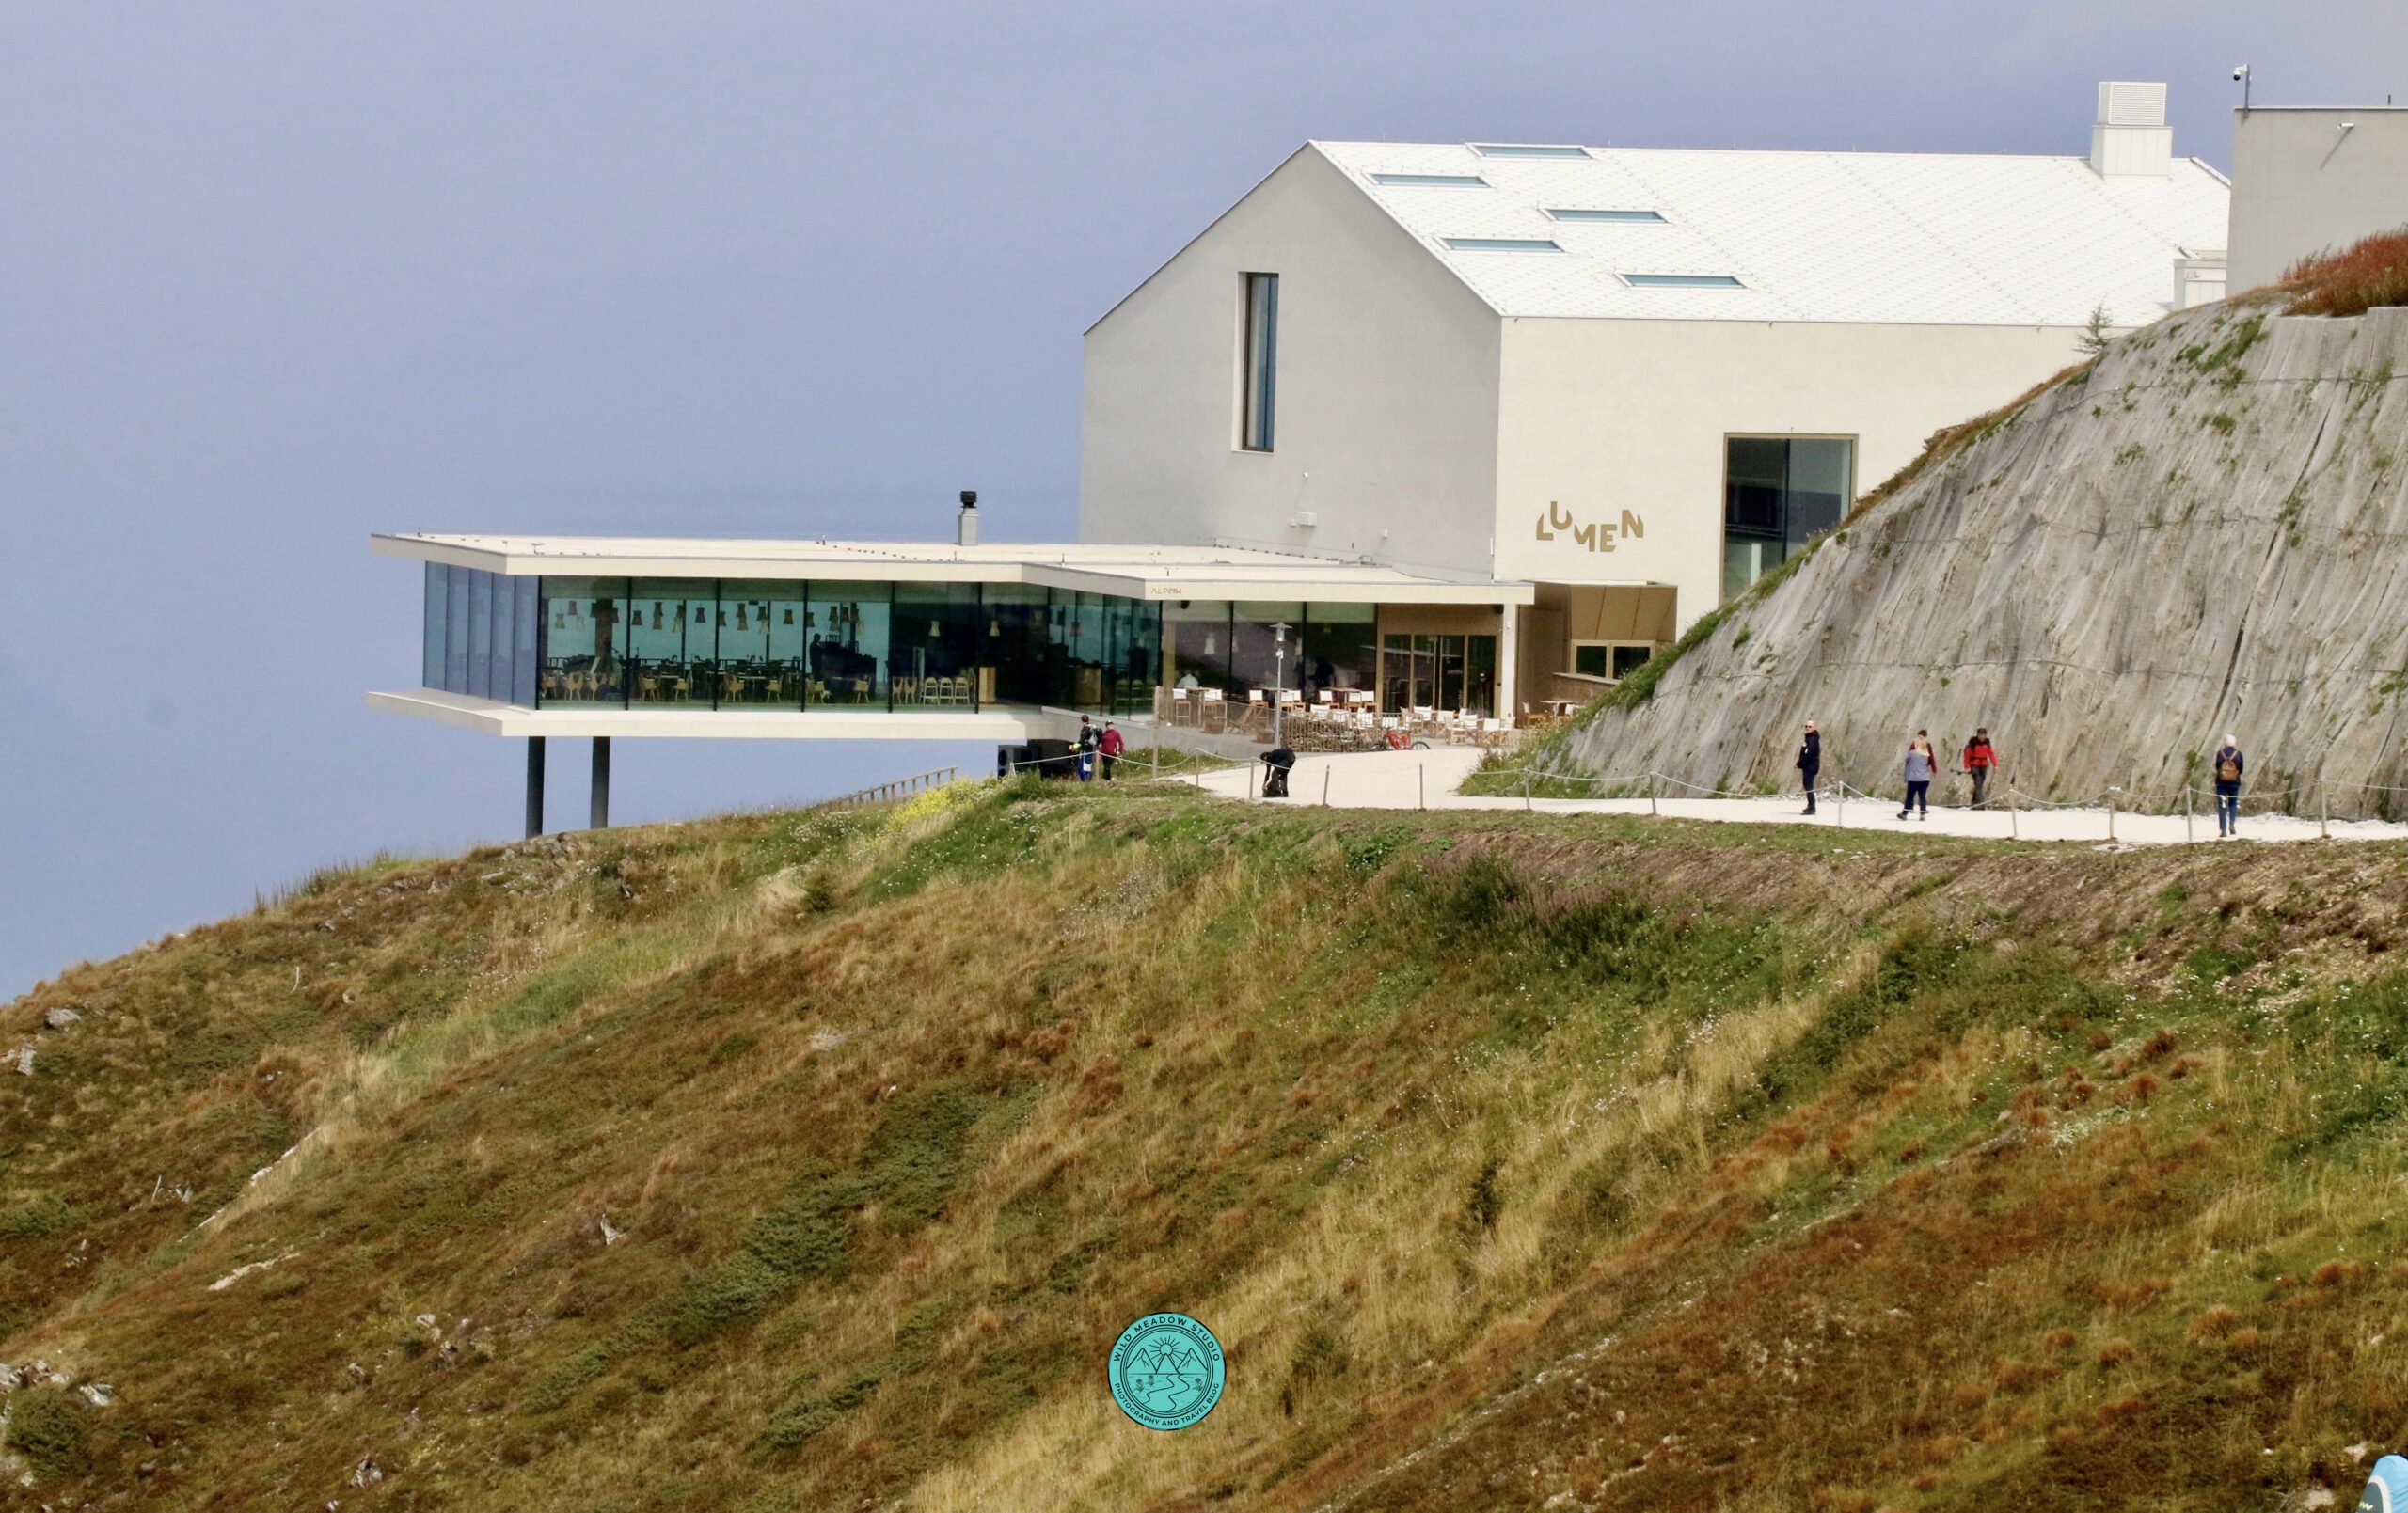
Lumen – Mountain Photography Museum
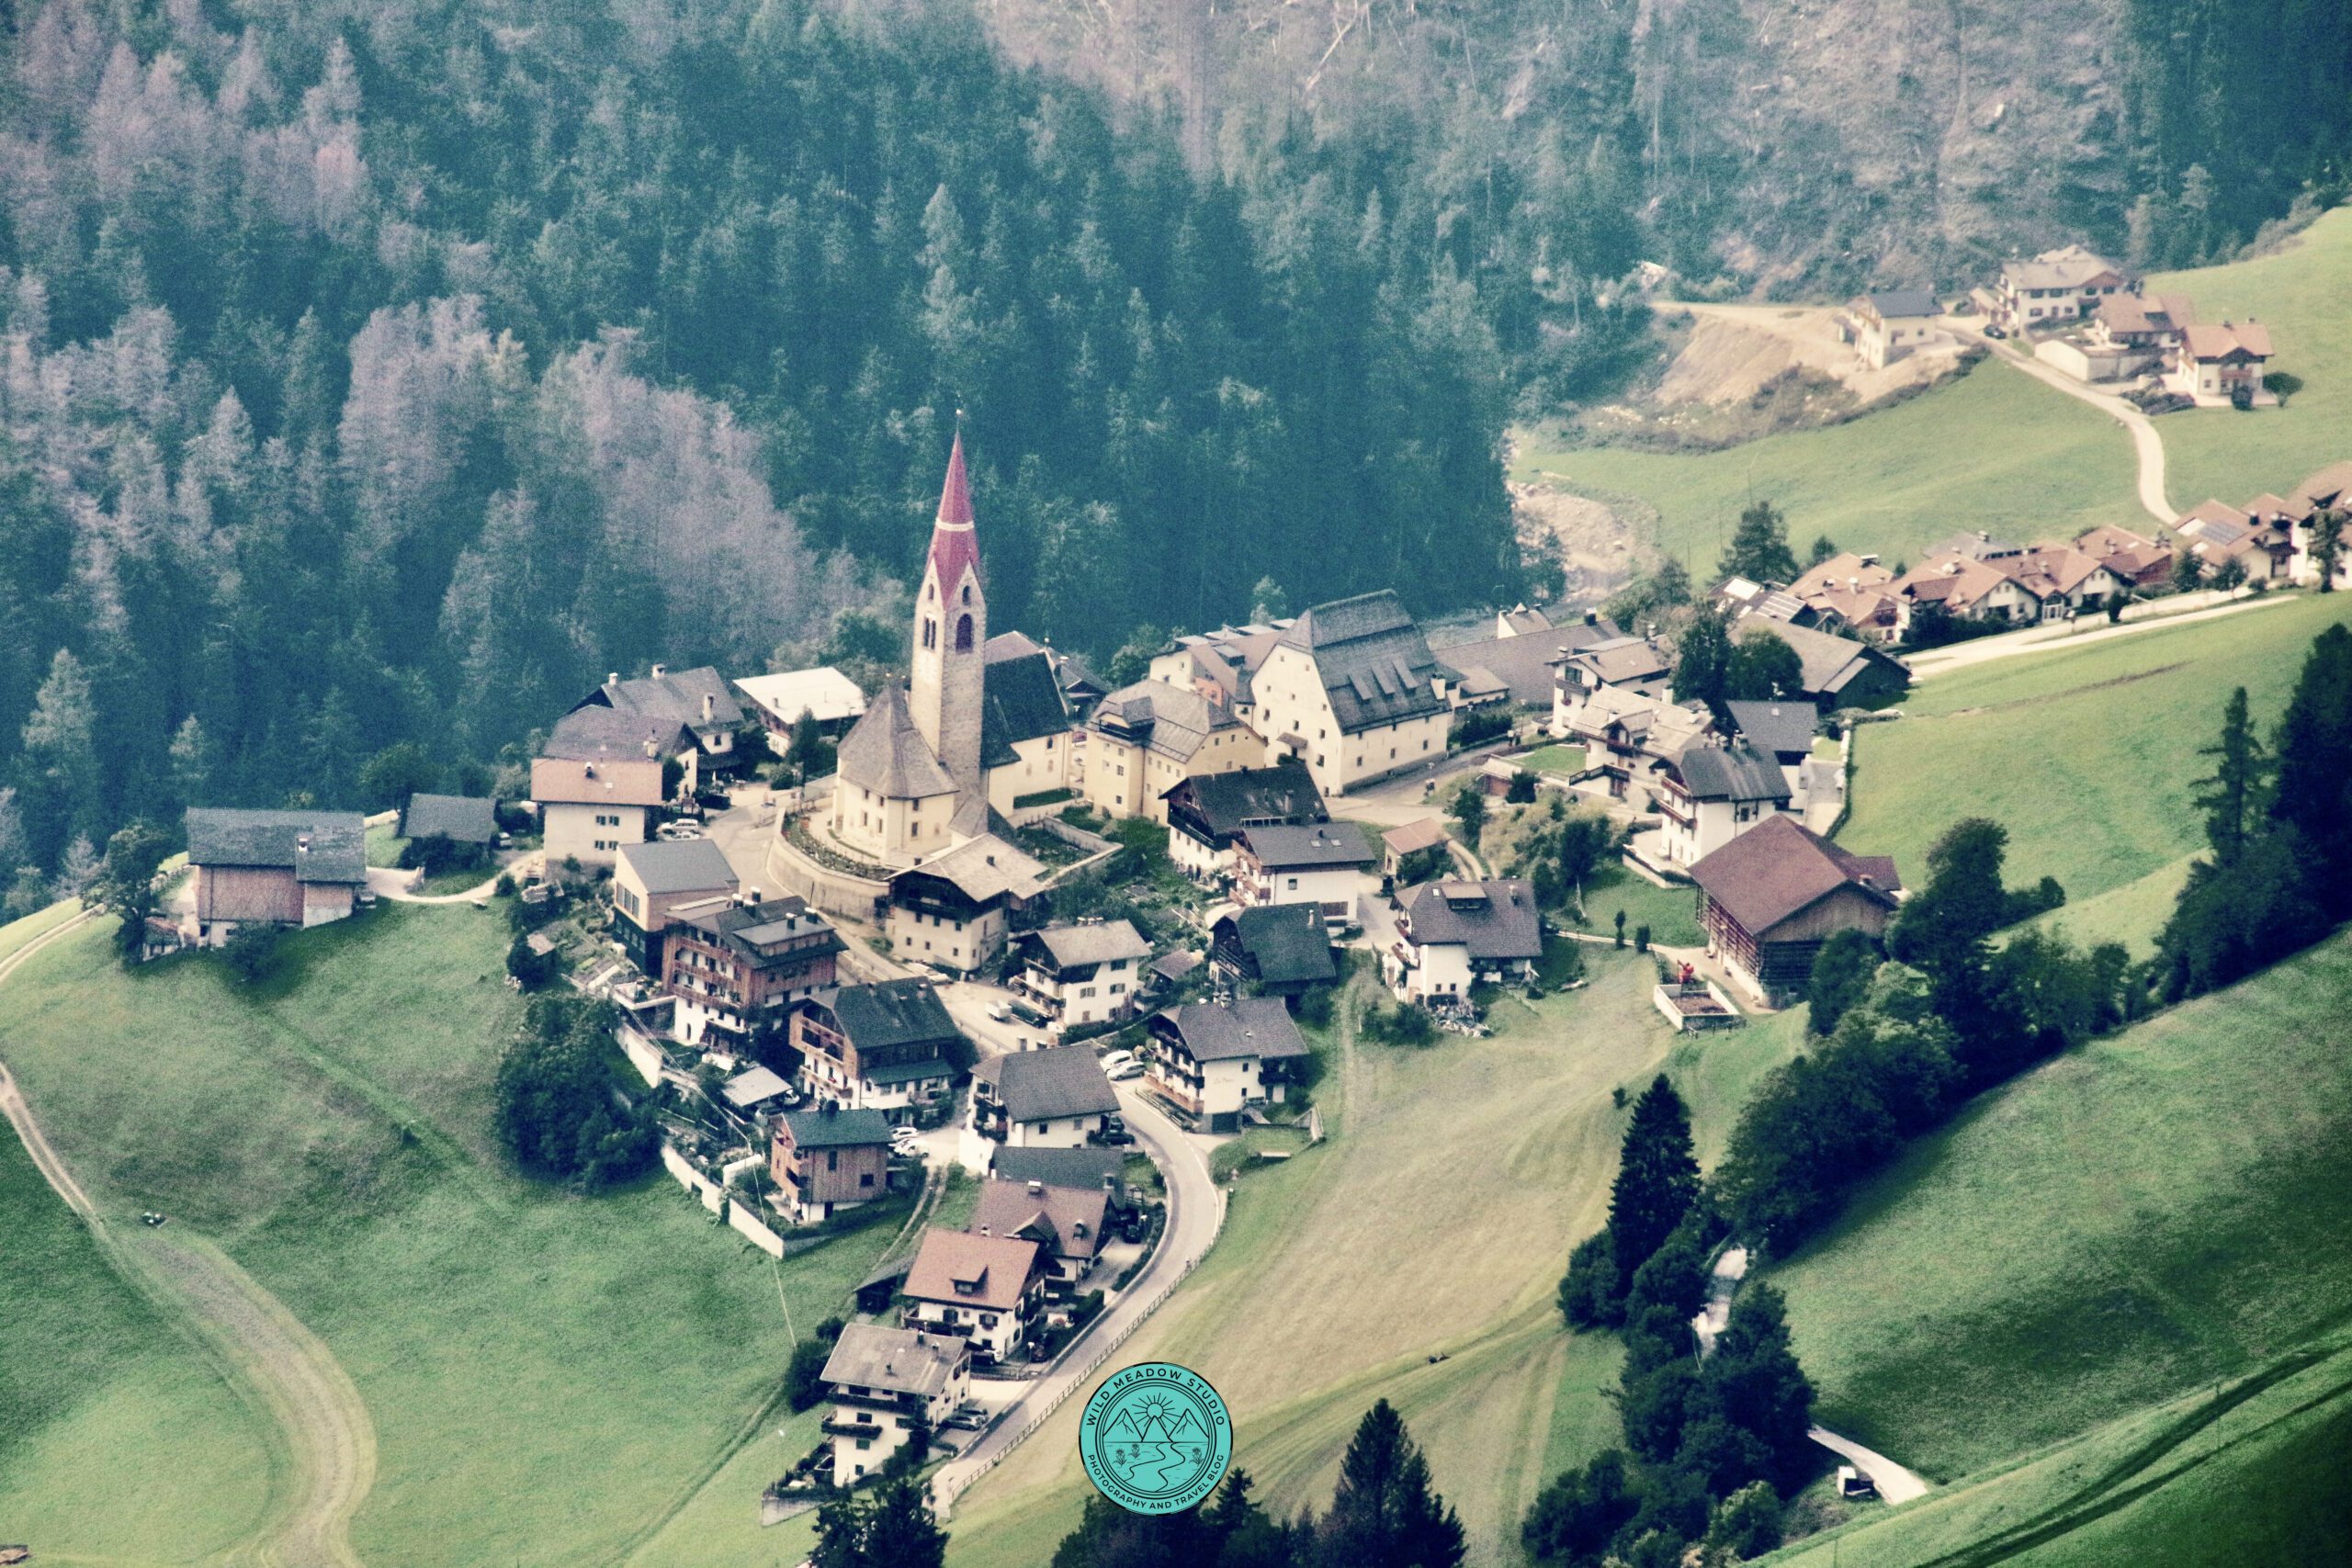
Views of Marebbe from Kronplatz Mountain

Messner Mountain Museum
Difficulty: Easy
Highlight: 360-degree panoramic views
Time: ~ 45 mins to 1 hour
Distance: 2.5kms
Practical tips:
- Multiple cable cars access to the summit — choose based on the closes town to where you’re staying. We were able to walk to the cable car from our accommodations in Brunico, we took the Cabinovia Plan de Corones cable car.
- Wind can be strong at the top, even in summer, so dress accordingly.
- The loop is wide and well maintained, ideal for a relaxed pace.
- Pair the hike with a visit to one or more of the summit museums if time allows.
Why hike Kronplatz Summit?
Kronplatz offers wide-open, 360-degree views across the Dolomites and beyond. The summit loop is a relaxed walk, ideal for a low-effort hiking day. Not quite as busy as some of the other hikes, so could be enjoyed in the afternoon.
Transport & parking
- By cable car: Access from multiple towns including Brunico, (the town we were staying in), San Vigilio, and Valdaora.
- Parking: Large paid parking areas at the base stations.
- By bus: Public buses connect nearby towns to cable car stations.
- GPS: Put Cabinovia Plan de Corones into GPS; for the one in Brunico.
Kronplatz is best known as a ski resort, but in summer it transforms into a fantastic hiking destination. The summit loop is a gentle walk that circles the top of the mountain, offering 360-degree views over the surrounding Dolomites and beyond. They also offer Tandem Paragliding if that is of interest. We really enjoyed watching the paragliders both at the top of the mountain taking off and at the bottom, landing. We preferred to watching!
Cable cars make the summit easy to reach, and the wide paths are perfect for a relaxed walk. With open landscapes, modern mountain *Rifugios, and panoramic viewpoints, this hike is ideal for a low-effort, high-reward day.
There are two museums at the top of Kronplaz, Messner Mountain Museum – which is dedicated to the history of traditional mountaineering, its equipment and the mindset needed. The architecture is amazing as it is built into the mountain with windows and a balcony jutting out of it, offering you incredible views over the valley below. There is also the Lumen, Museum of Mountain Art – This one is a multi leveled building with beautiful artwork, room of mirrors, very cool architecture, and a restaurant, Alpinn, that stretches out over the edge of the mountain. If time and interest persist, these were great experiences.
Why it’s worth it: Wide-open panoramas in every direction and interesting museums and paragliding to enjoy.
5. Monte Pana/Sassolungo Waterfall Hike:

The 30B Trail through the woods
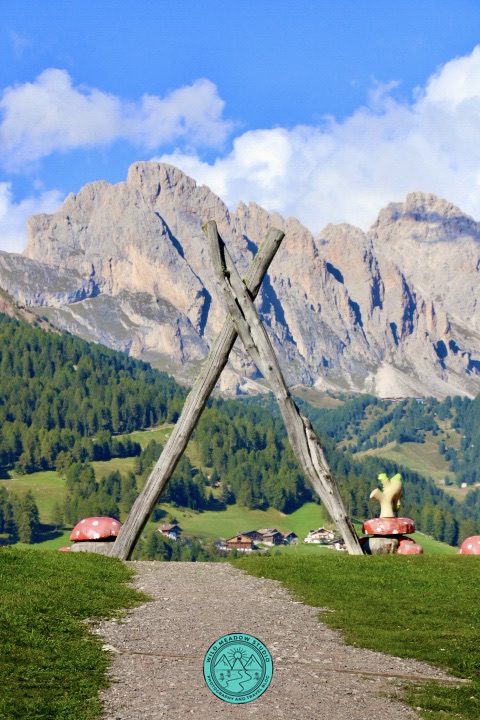
On top of Monte Pana with mountain views
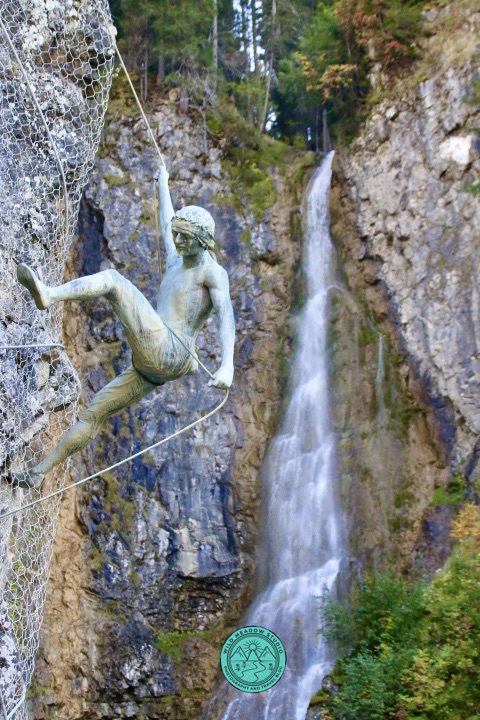
Mountain Climber statue along the trail with Cascata Tervela Waterfall
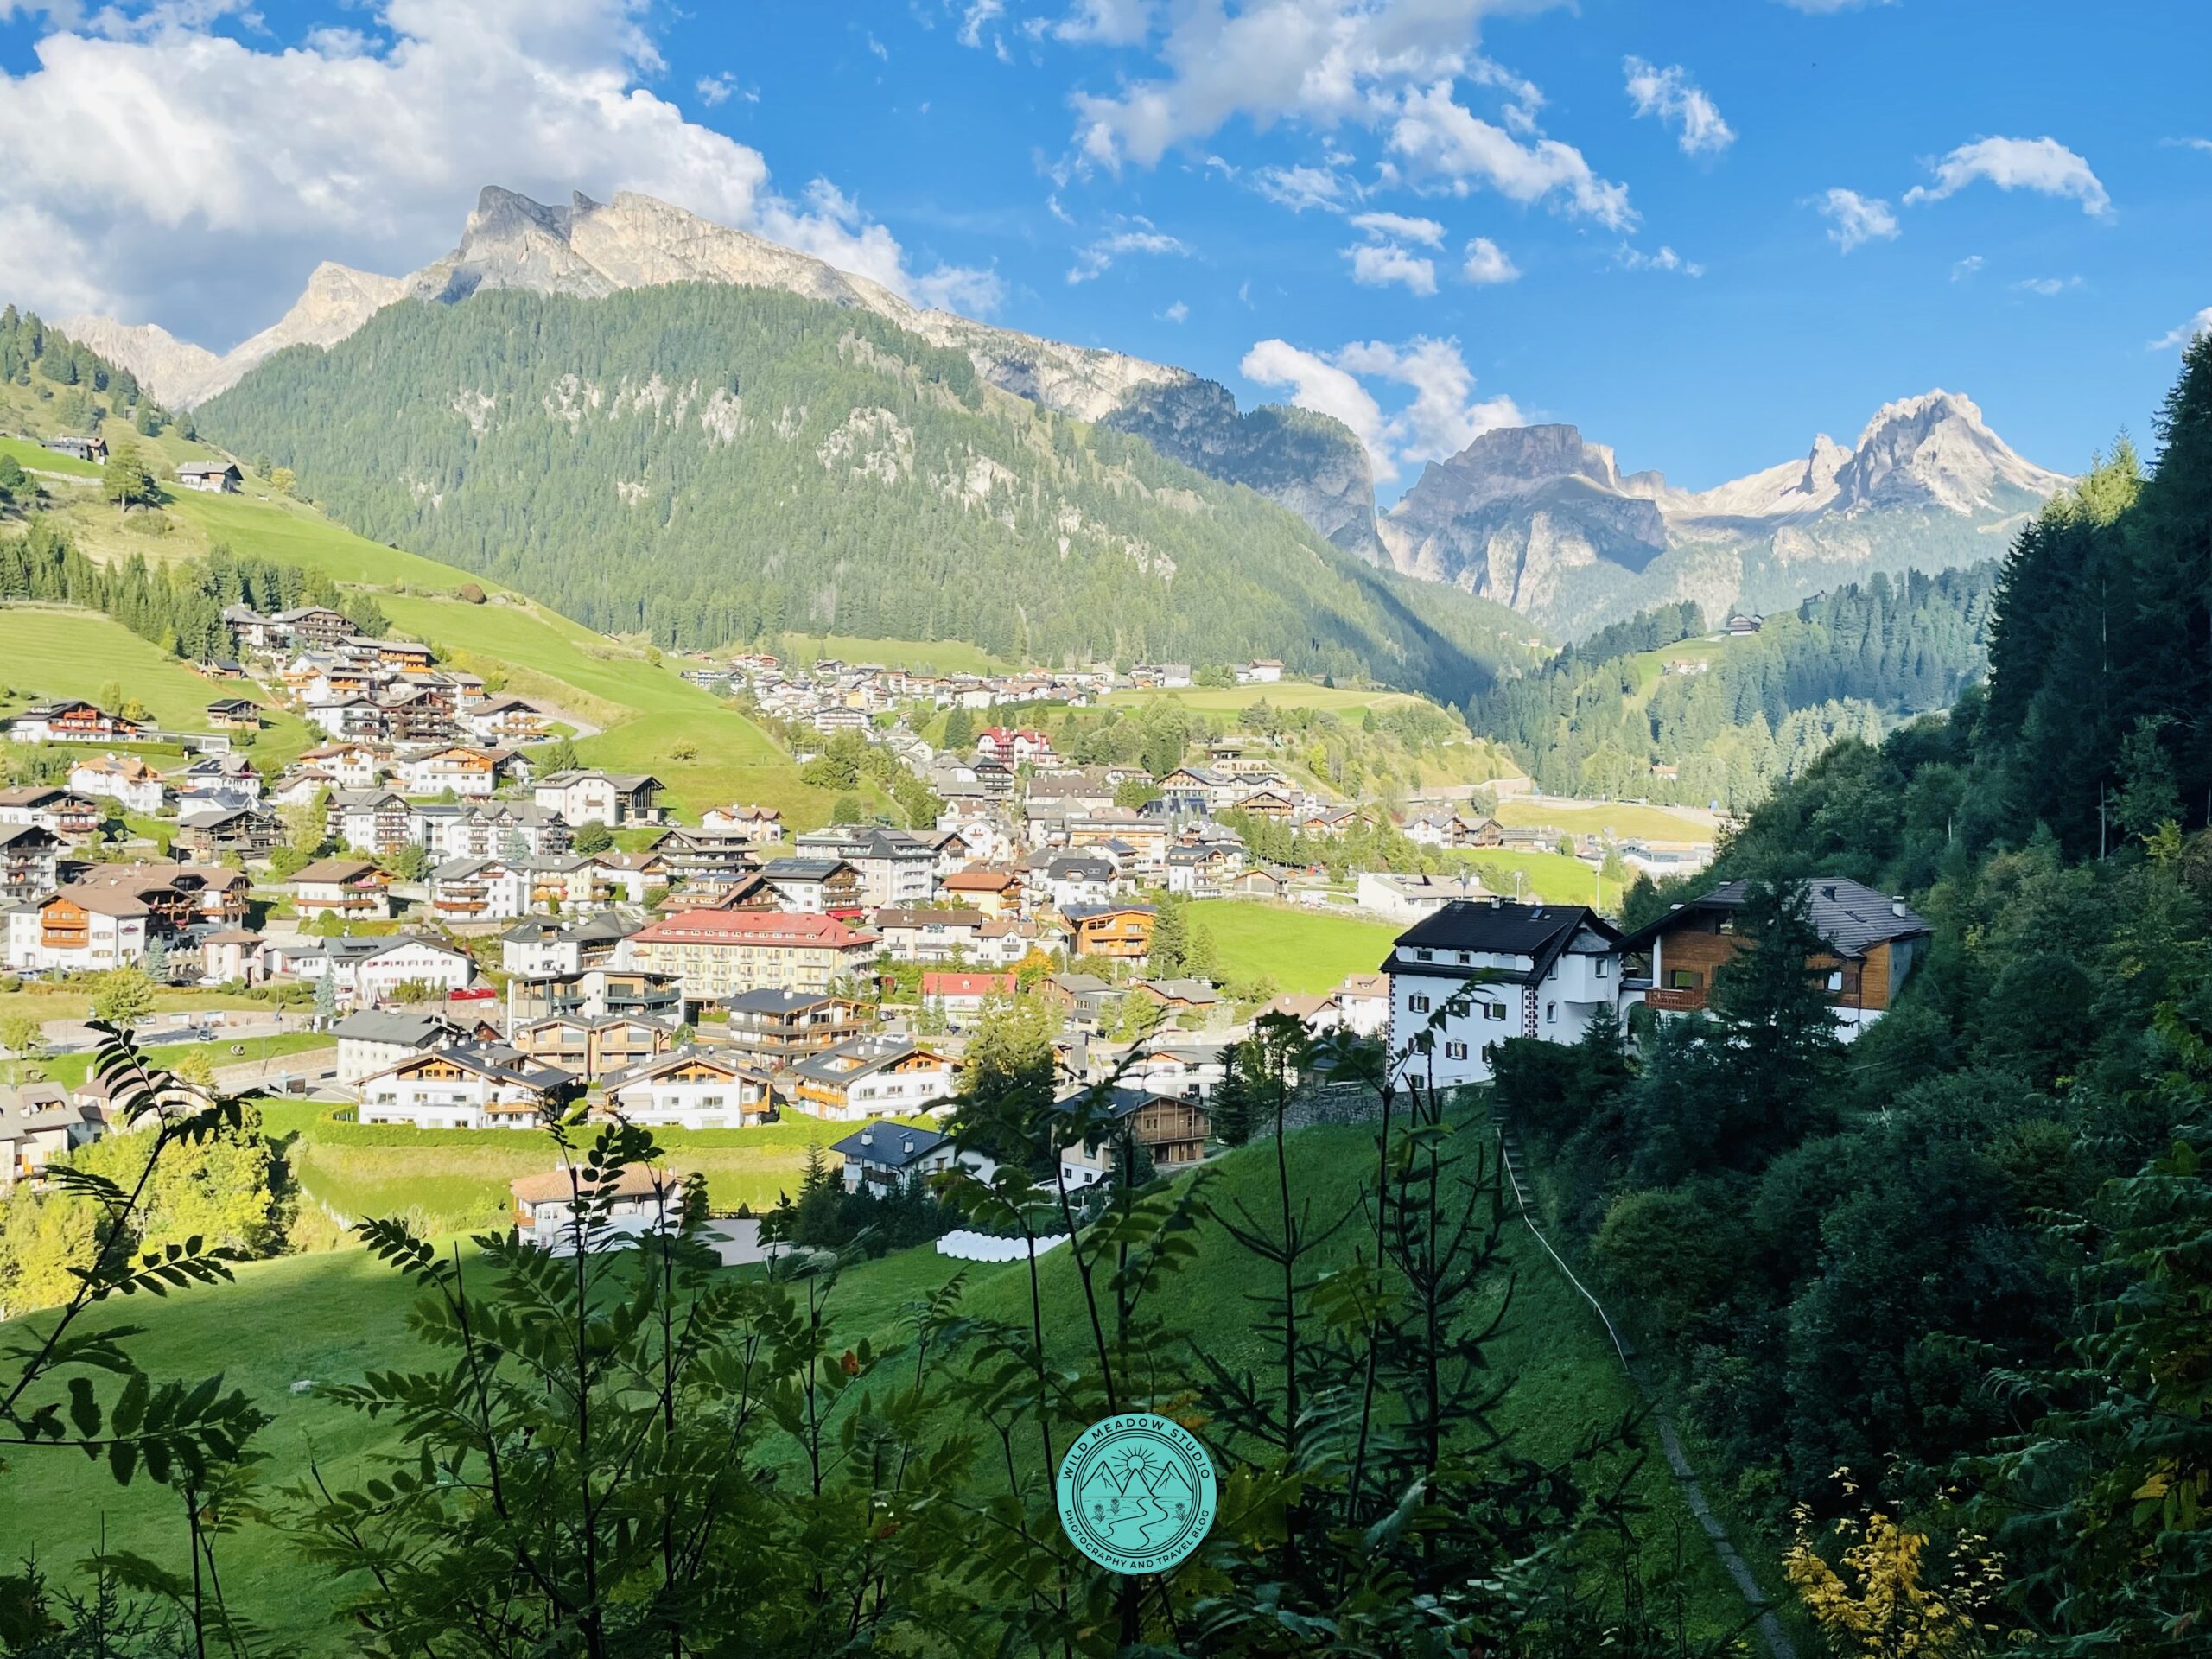
Views of Santa Cristina Gherdeina from the 30B Hike
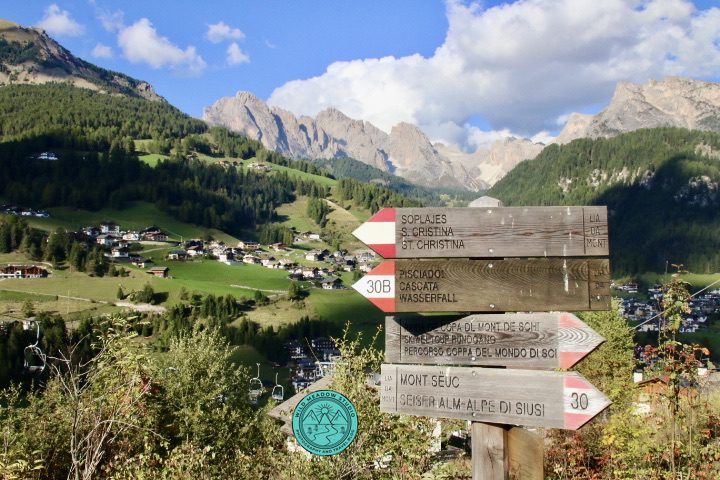
Hiking signs along the trail
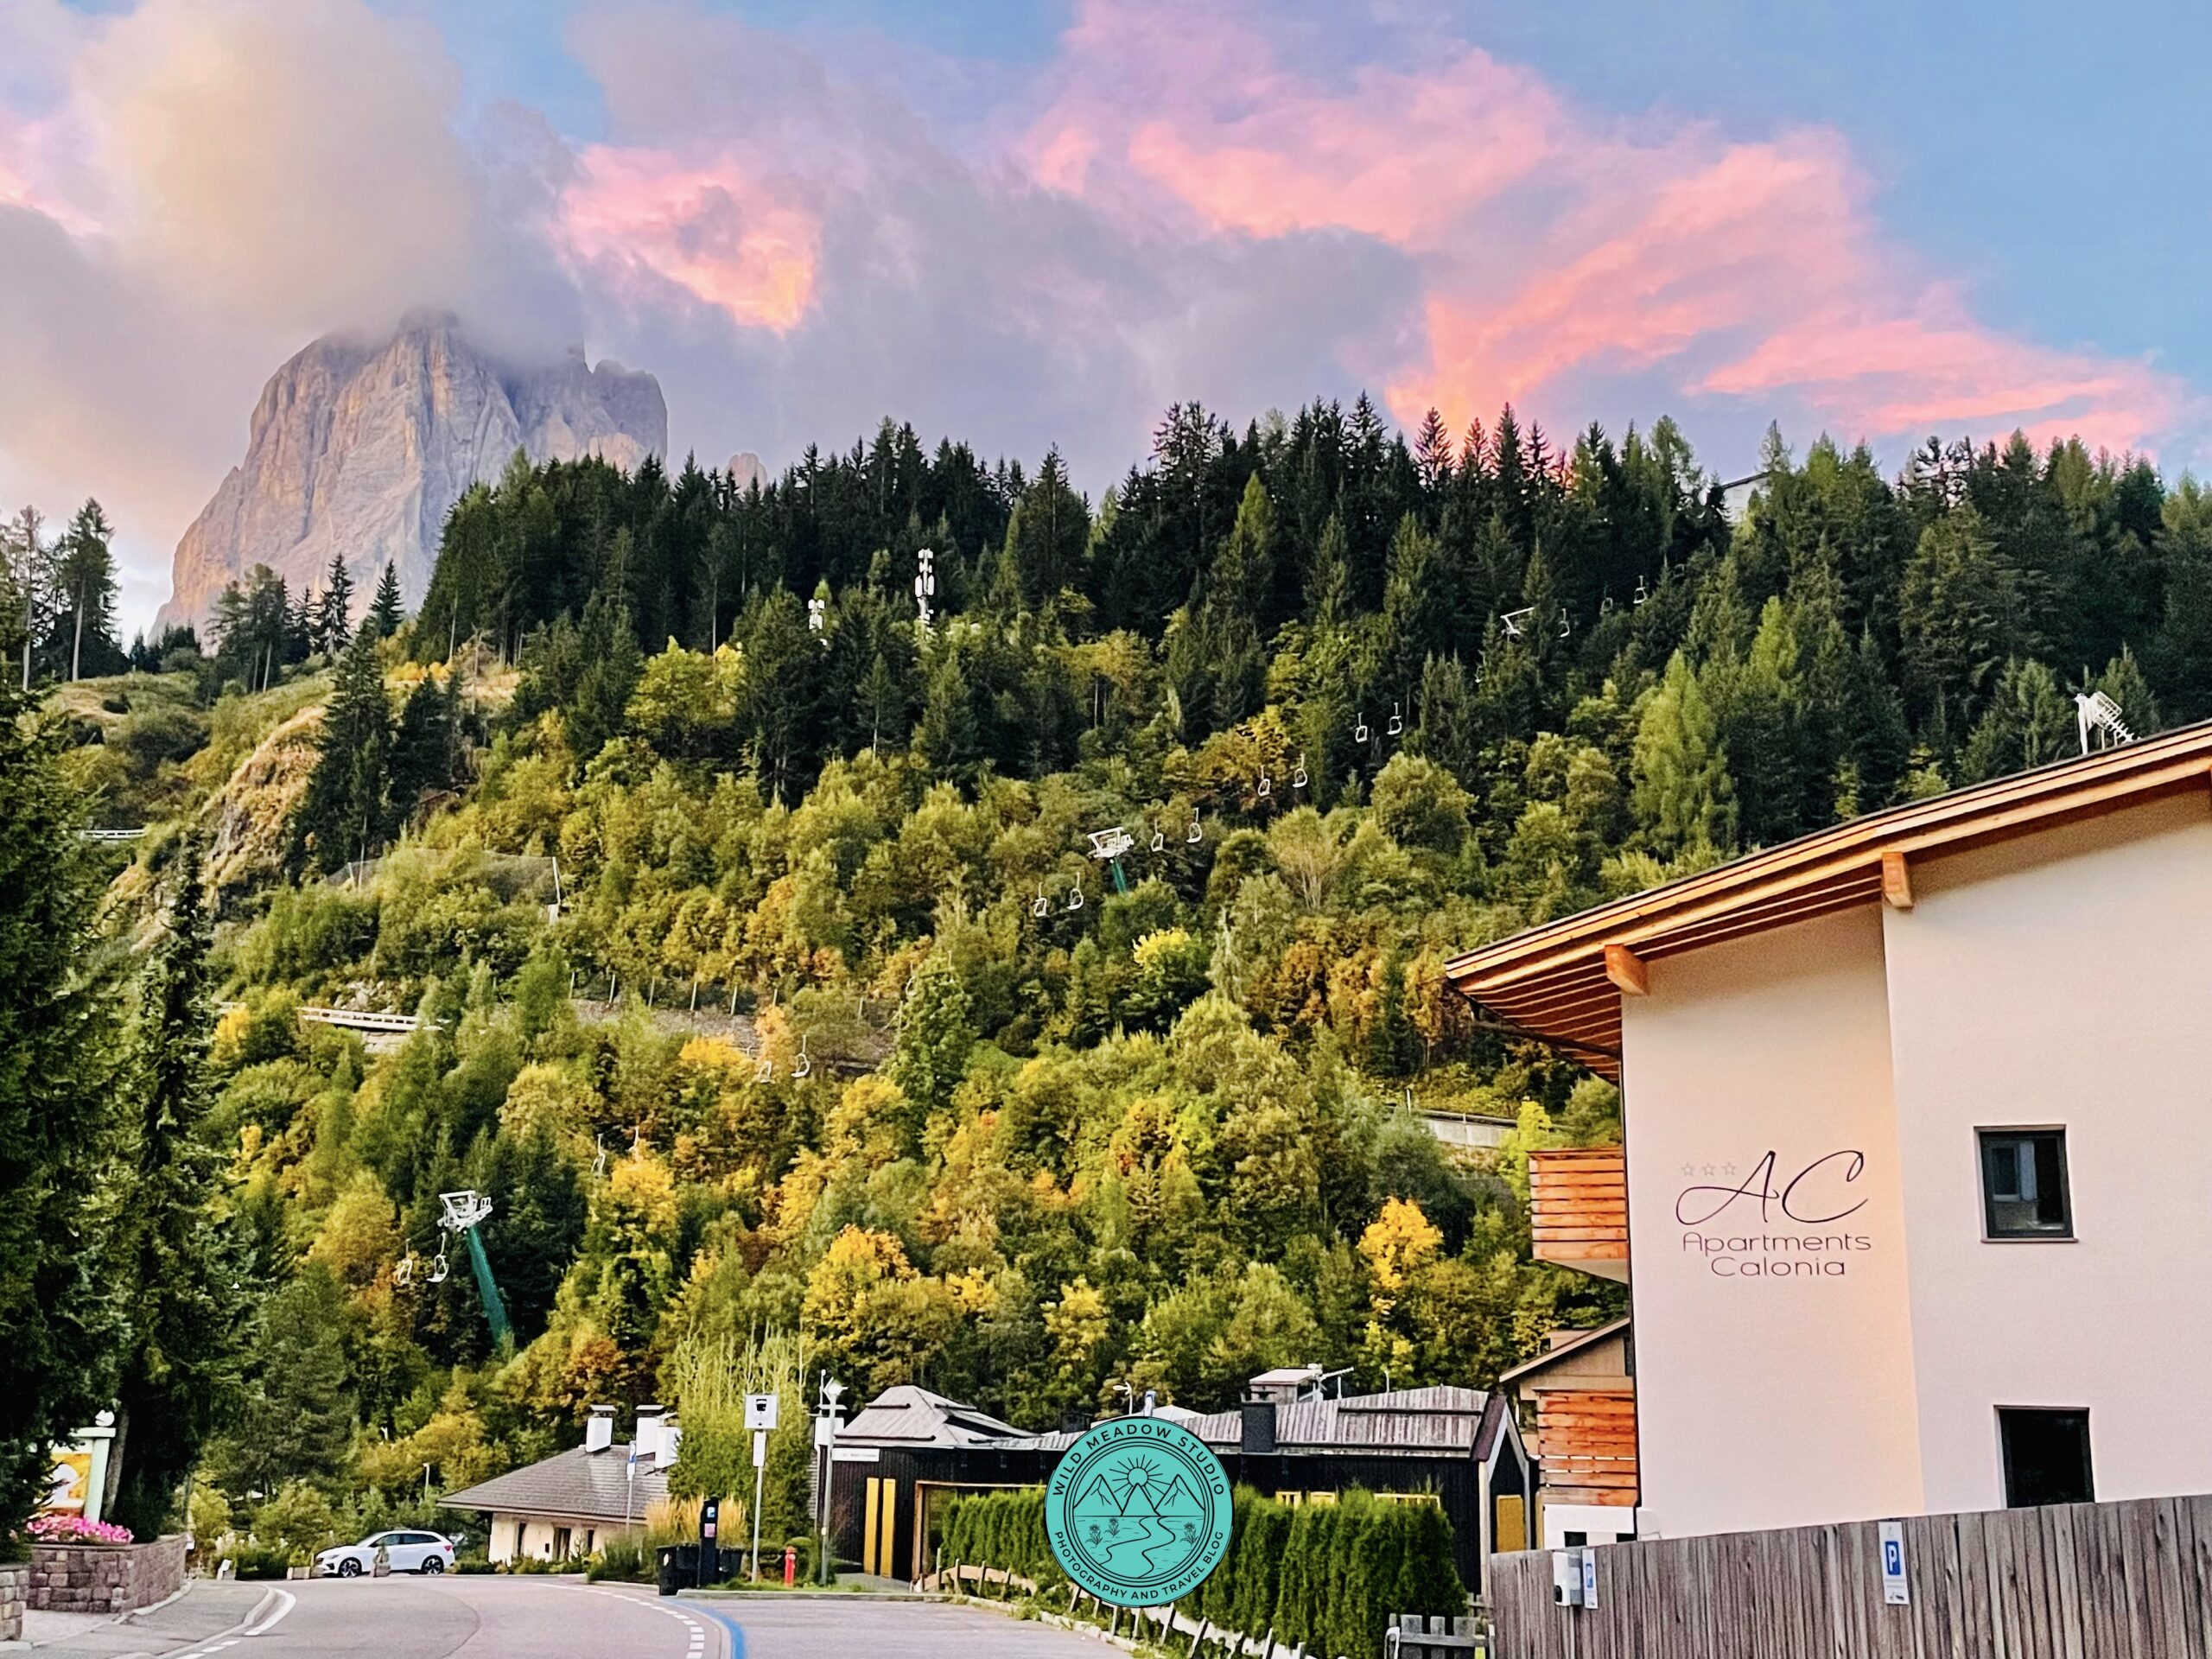
If you look in the wooded area, you’ll see the Monte Pana Chair lifts, with Sassolungo Peak in the background
Difficulty: Moderate to Easy (downhill)
Highlight: Up-close views of Sassolungo peak, Cascata Waterfall & Views of Santa Cristina Gherdeina.
Time: ~ 1 to 1.5hours
Distance: 2 kms
Practical tips:
- This is mainly downhill, which can be tricky on your knees.
- Trekking poles may be helpful as they are good for both climbs and descents.
- Carry enough water.
- Good hiking shoes are a must.
- This hike isn’t as busy as the others, so this could be done any time of day.
Why hike Monte Pana?
This is a moderate to easy hike due to the decent, while at the top of the cable car station you get amazing views of the dramatic Sassolungo peak, there are restaurants at this level, so you could enjoy a snack or lunch before your short hike, there is also another cable car that gets you closer to the peak if you desire and have the time. The hike itself is partially through the woods, has great views over Santa Cristina below and of the pretty Cascata Tervela Waterfall. Follow the signs for the 30B hike towards Santa Cristine and the Cascata (waterfall).
Transport & parking
- By car: Drive to Santa Cristina and park at the Monte Pana Cable Station.
- Cable Car/Chair Lift: (optional, but recommended): This is what we are suggesting as you are walking back down to the parking lot where you parked.
- Parking: Paid parking available at cable car station.
- GPS: Put in Monte Pana Cable Station.
We did this hike in the afternoon and could walk to the cable car station as we were staying in Santa Cristina, which we highly recommend as it’s a less busy town and so pretty! We had seen the waterfall from the main road and wanted to get a better look, so researched and found out that there was a hiking trail down the mountain with up close views of the waterfall. So, we took the cable car (more like a chair lift) to the top, did some exploring, saw some amazing views of the Sassolungo peak, then hiked down through the woods, by lookouts with incredible views of Santa Cristina and then to the pretty waterfall. It was a little hard on the knees, as it was largely downhill, but so beautiful.
Why it’s worth it: Less busy area, shorter hike with dramatic mountain views and pretty waterfall.
6. Quick Tips:
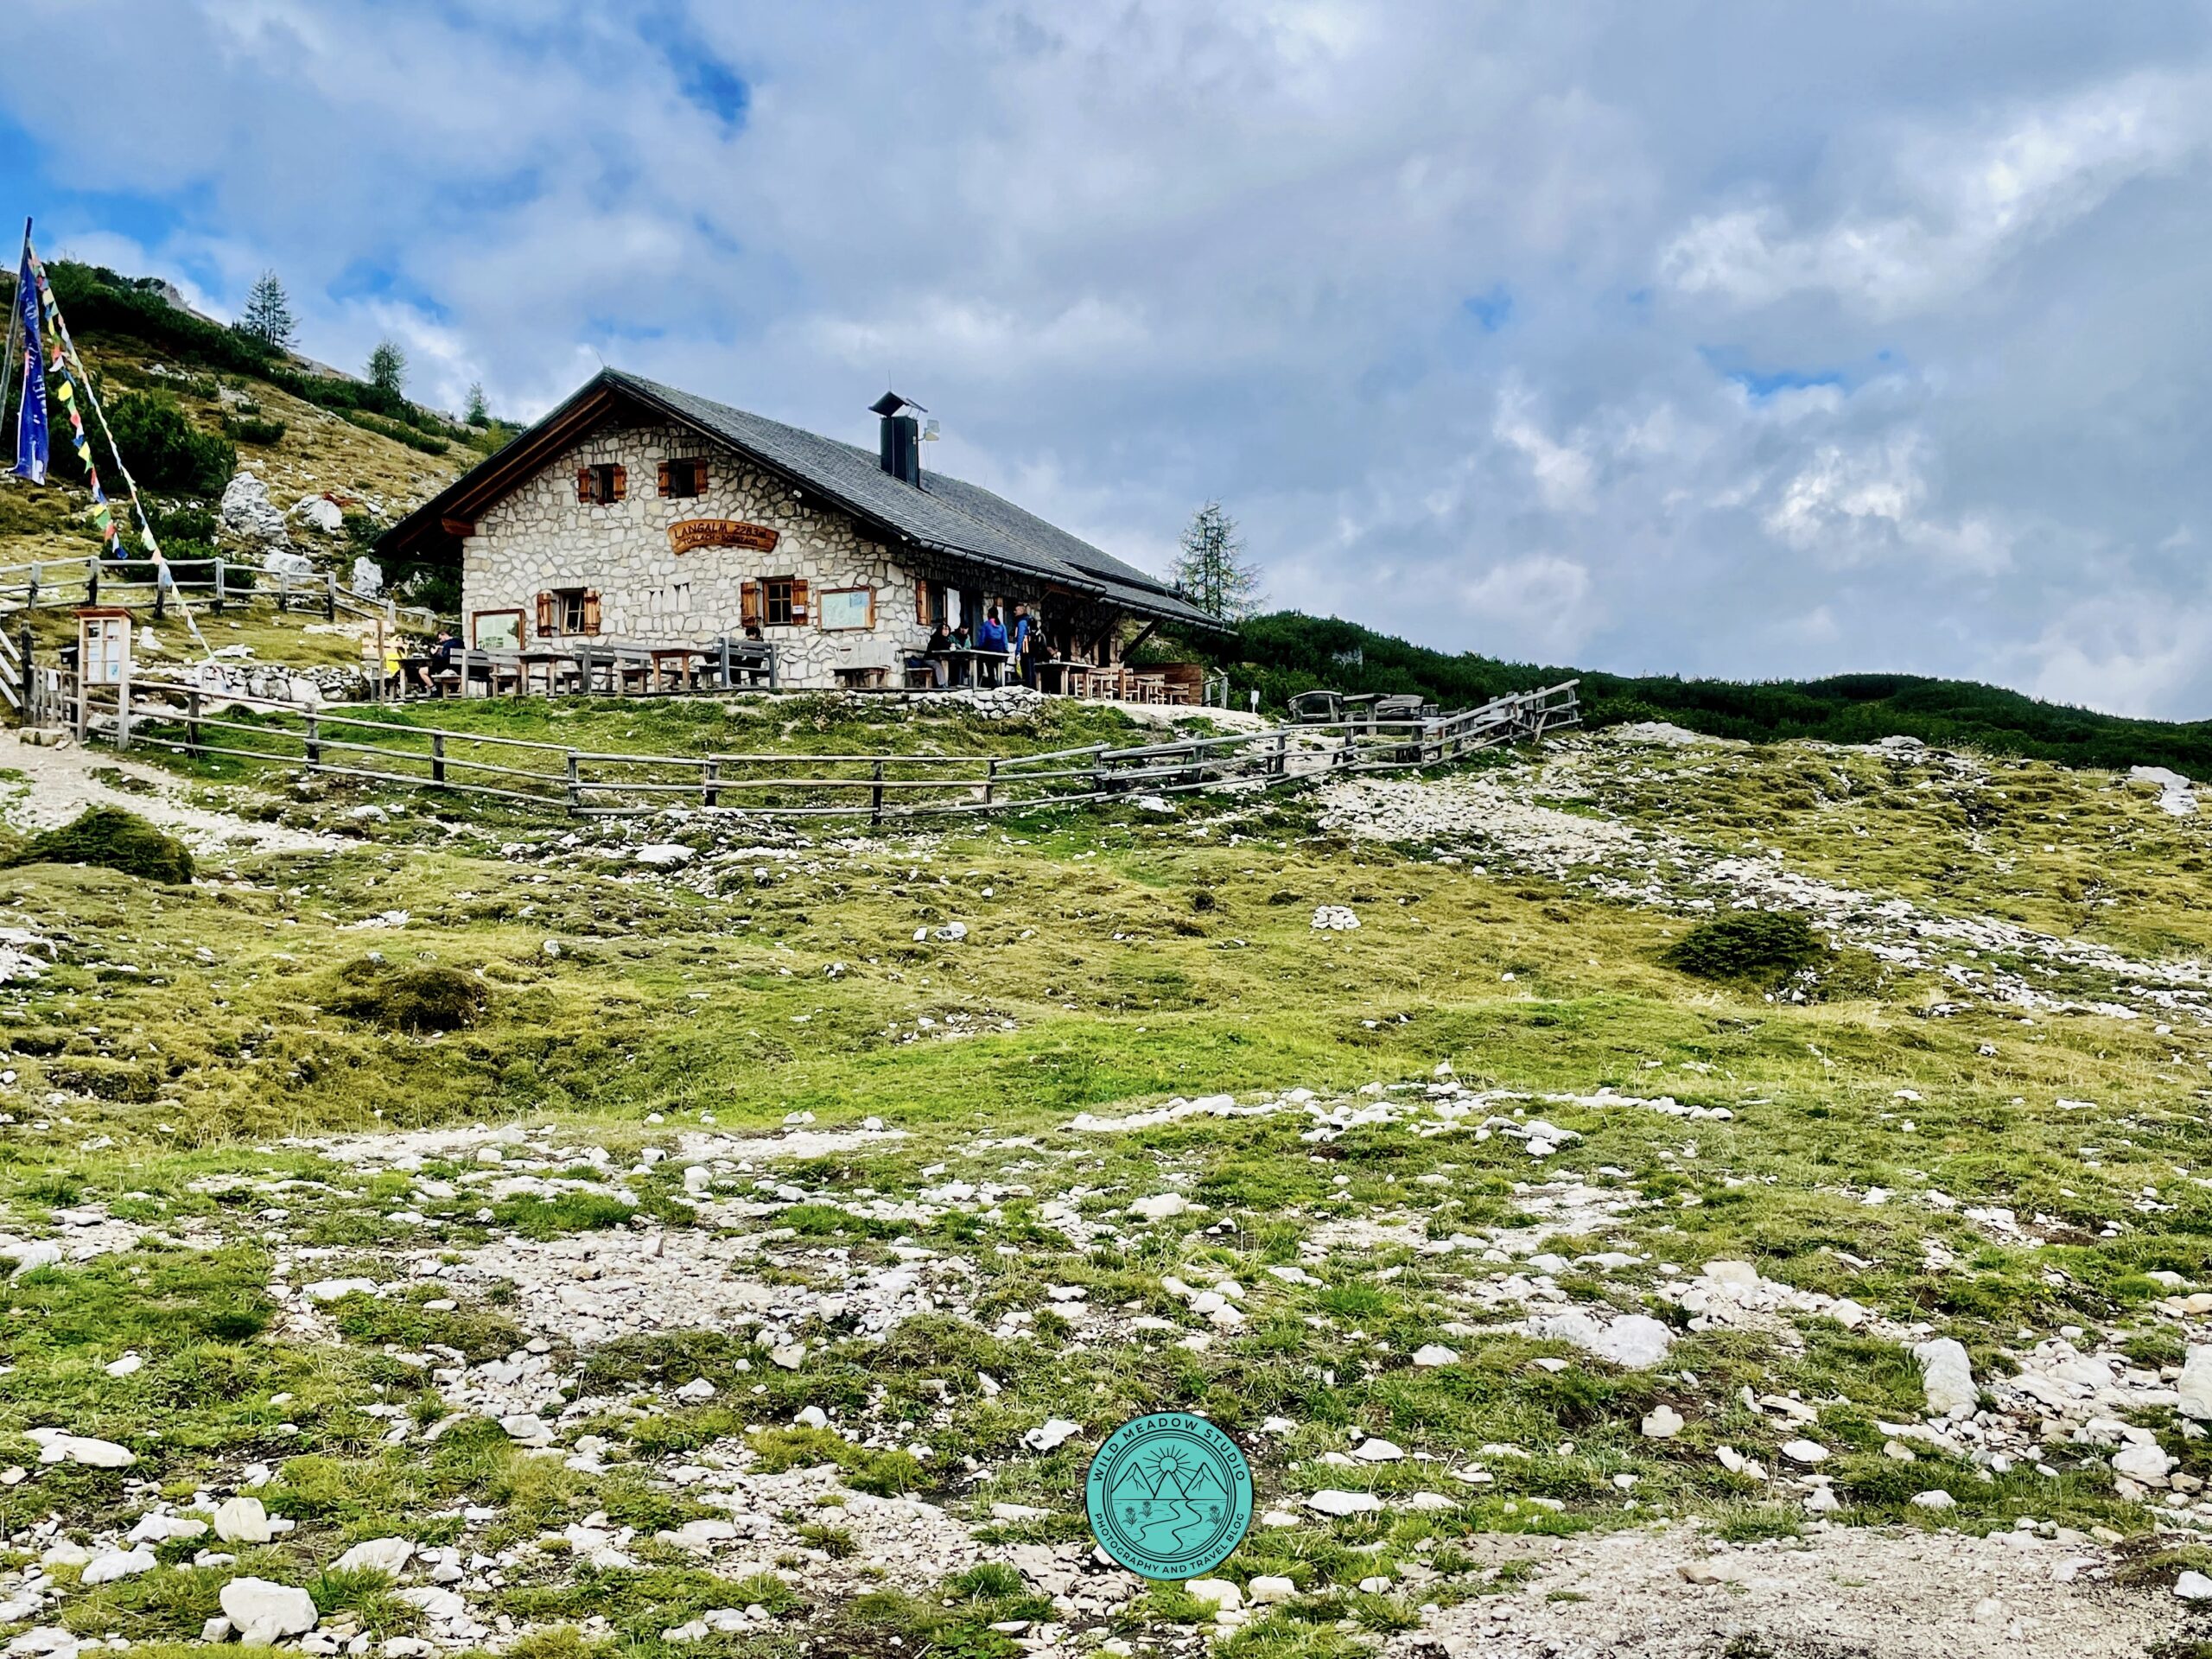
Malga Langalm a stop along the Tre Cime Loop
When to Go Hiking in the Dolomites
- Best months: Mid-June to late September
- Peak season: July and August (best weather, most crowds)
- Shoulder season: June and September (fewer people, cooler temperatures)
Snow can linger at higher elevations early in the season, so always check local trail conditions.
What to Pack for Hiking in the Dolomites
- Hiking shoes with good grip
- Light rain jacket or windbreaker
- Warm layers for changing temperatures
- Sun protection (hat, sunglasses, sunscreen)
- Water and snacks
- Camera or phone for photos – you’ll definitely want to take photos!!
*Rifugio – a rest stop with washrooms, typically either a café, or sometimes an Inn, to help hikers with their needs and protection if weather changes.
7. References:
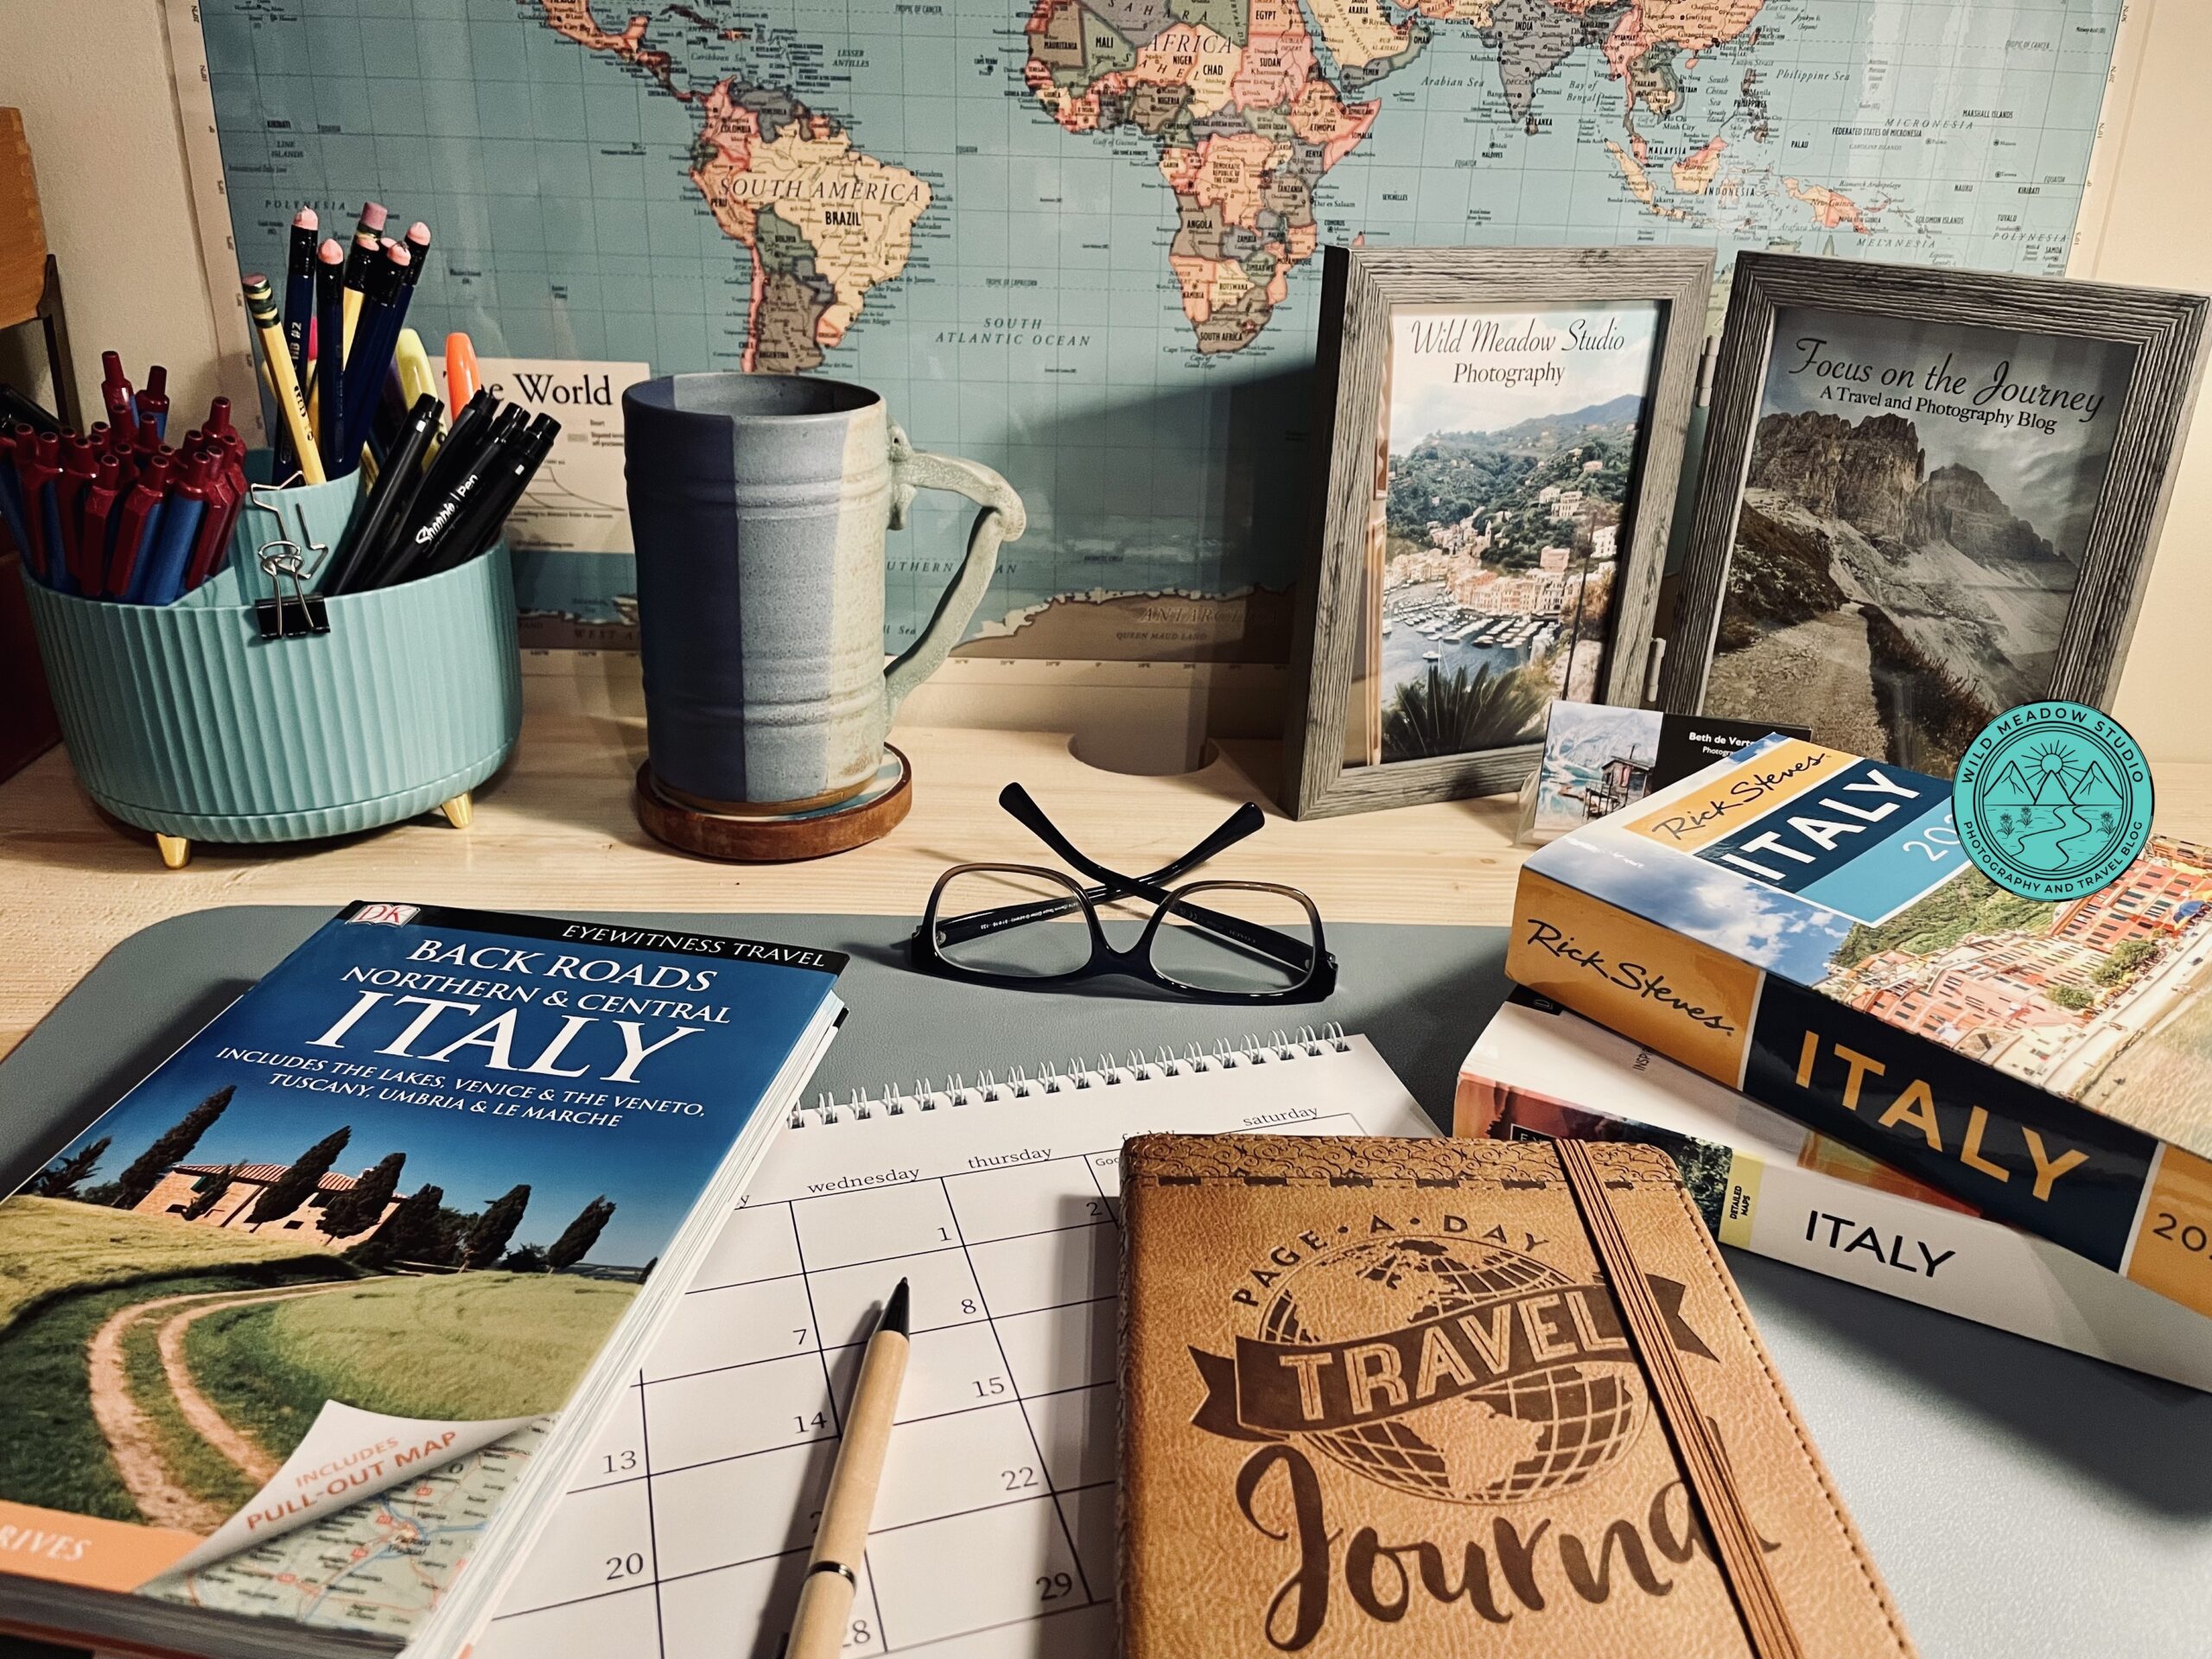
Focus on the Journey
All this information, research and suggestions came from our own experiences we had while visiting this stunning, mountainous region of Italy. As well, we spent countless hours reading travel books, like DK Eyewitness Travel, Italy and DK Eyewitness Travel, Back Roads, Northern & Central Italy and the Rick Steves Italy. We also read multiple Travel blogs and Italian tourism websites like, dolomite.org/en
8. The Wrap Up:
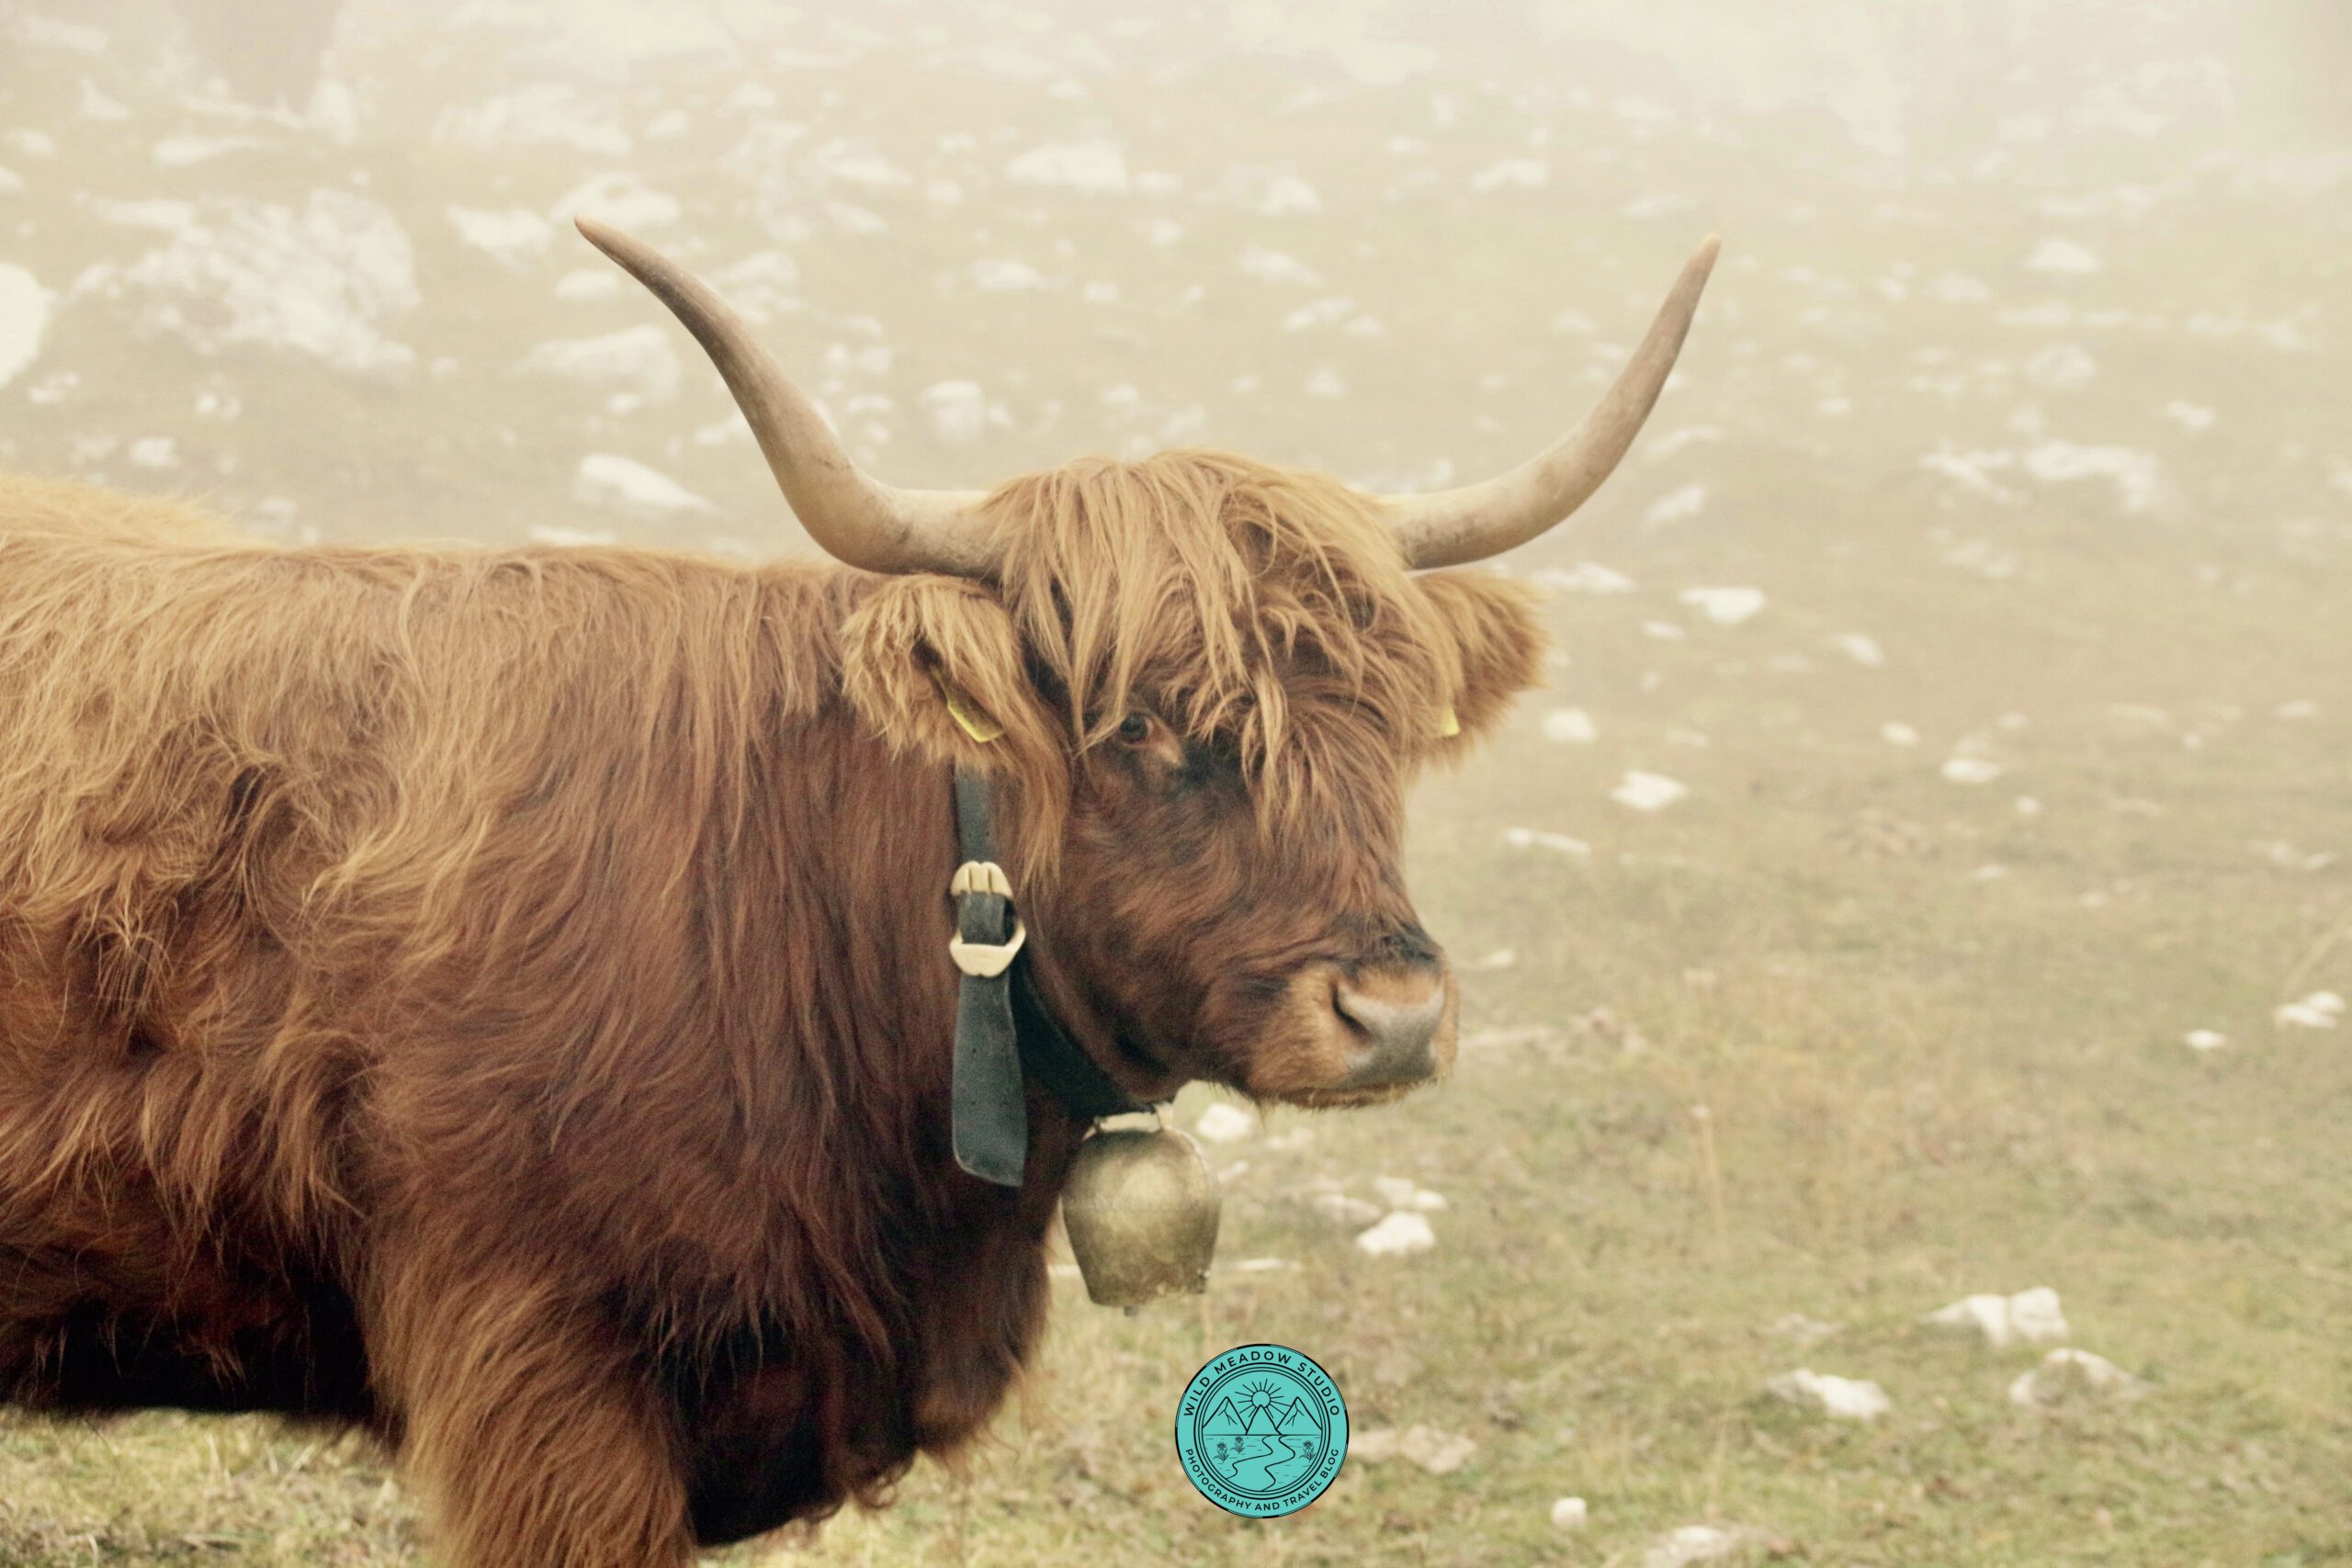
Beautiful Cow along the Tre Cime Hike
From iconic mountain loops to peaceful lakeside walks and panoramic ridgelines, these five hikes showcase the very best of the Dolomites. With easy access, well-marked trails, and unforgettable scenery, they’re perfect for both first-time visitors and experienced hikers.
With good planning, the right gear, and early starts, hiking in the Dolomites is an experience you’ll never forget.
**Join our Mailing List and be the first to receive exclusive offers, notification of our newest Travel Blogs and our monthly Inspirational Newsletter! Join at the top of the page or through one of the pop ups on our website! **
Thank you,
Beth de Verteuil
From, Wild Meadow Studio
Where we help you, Focus on the Journey,