
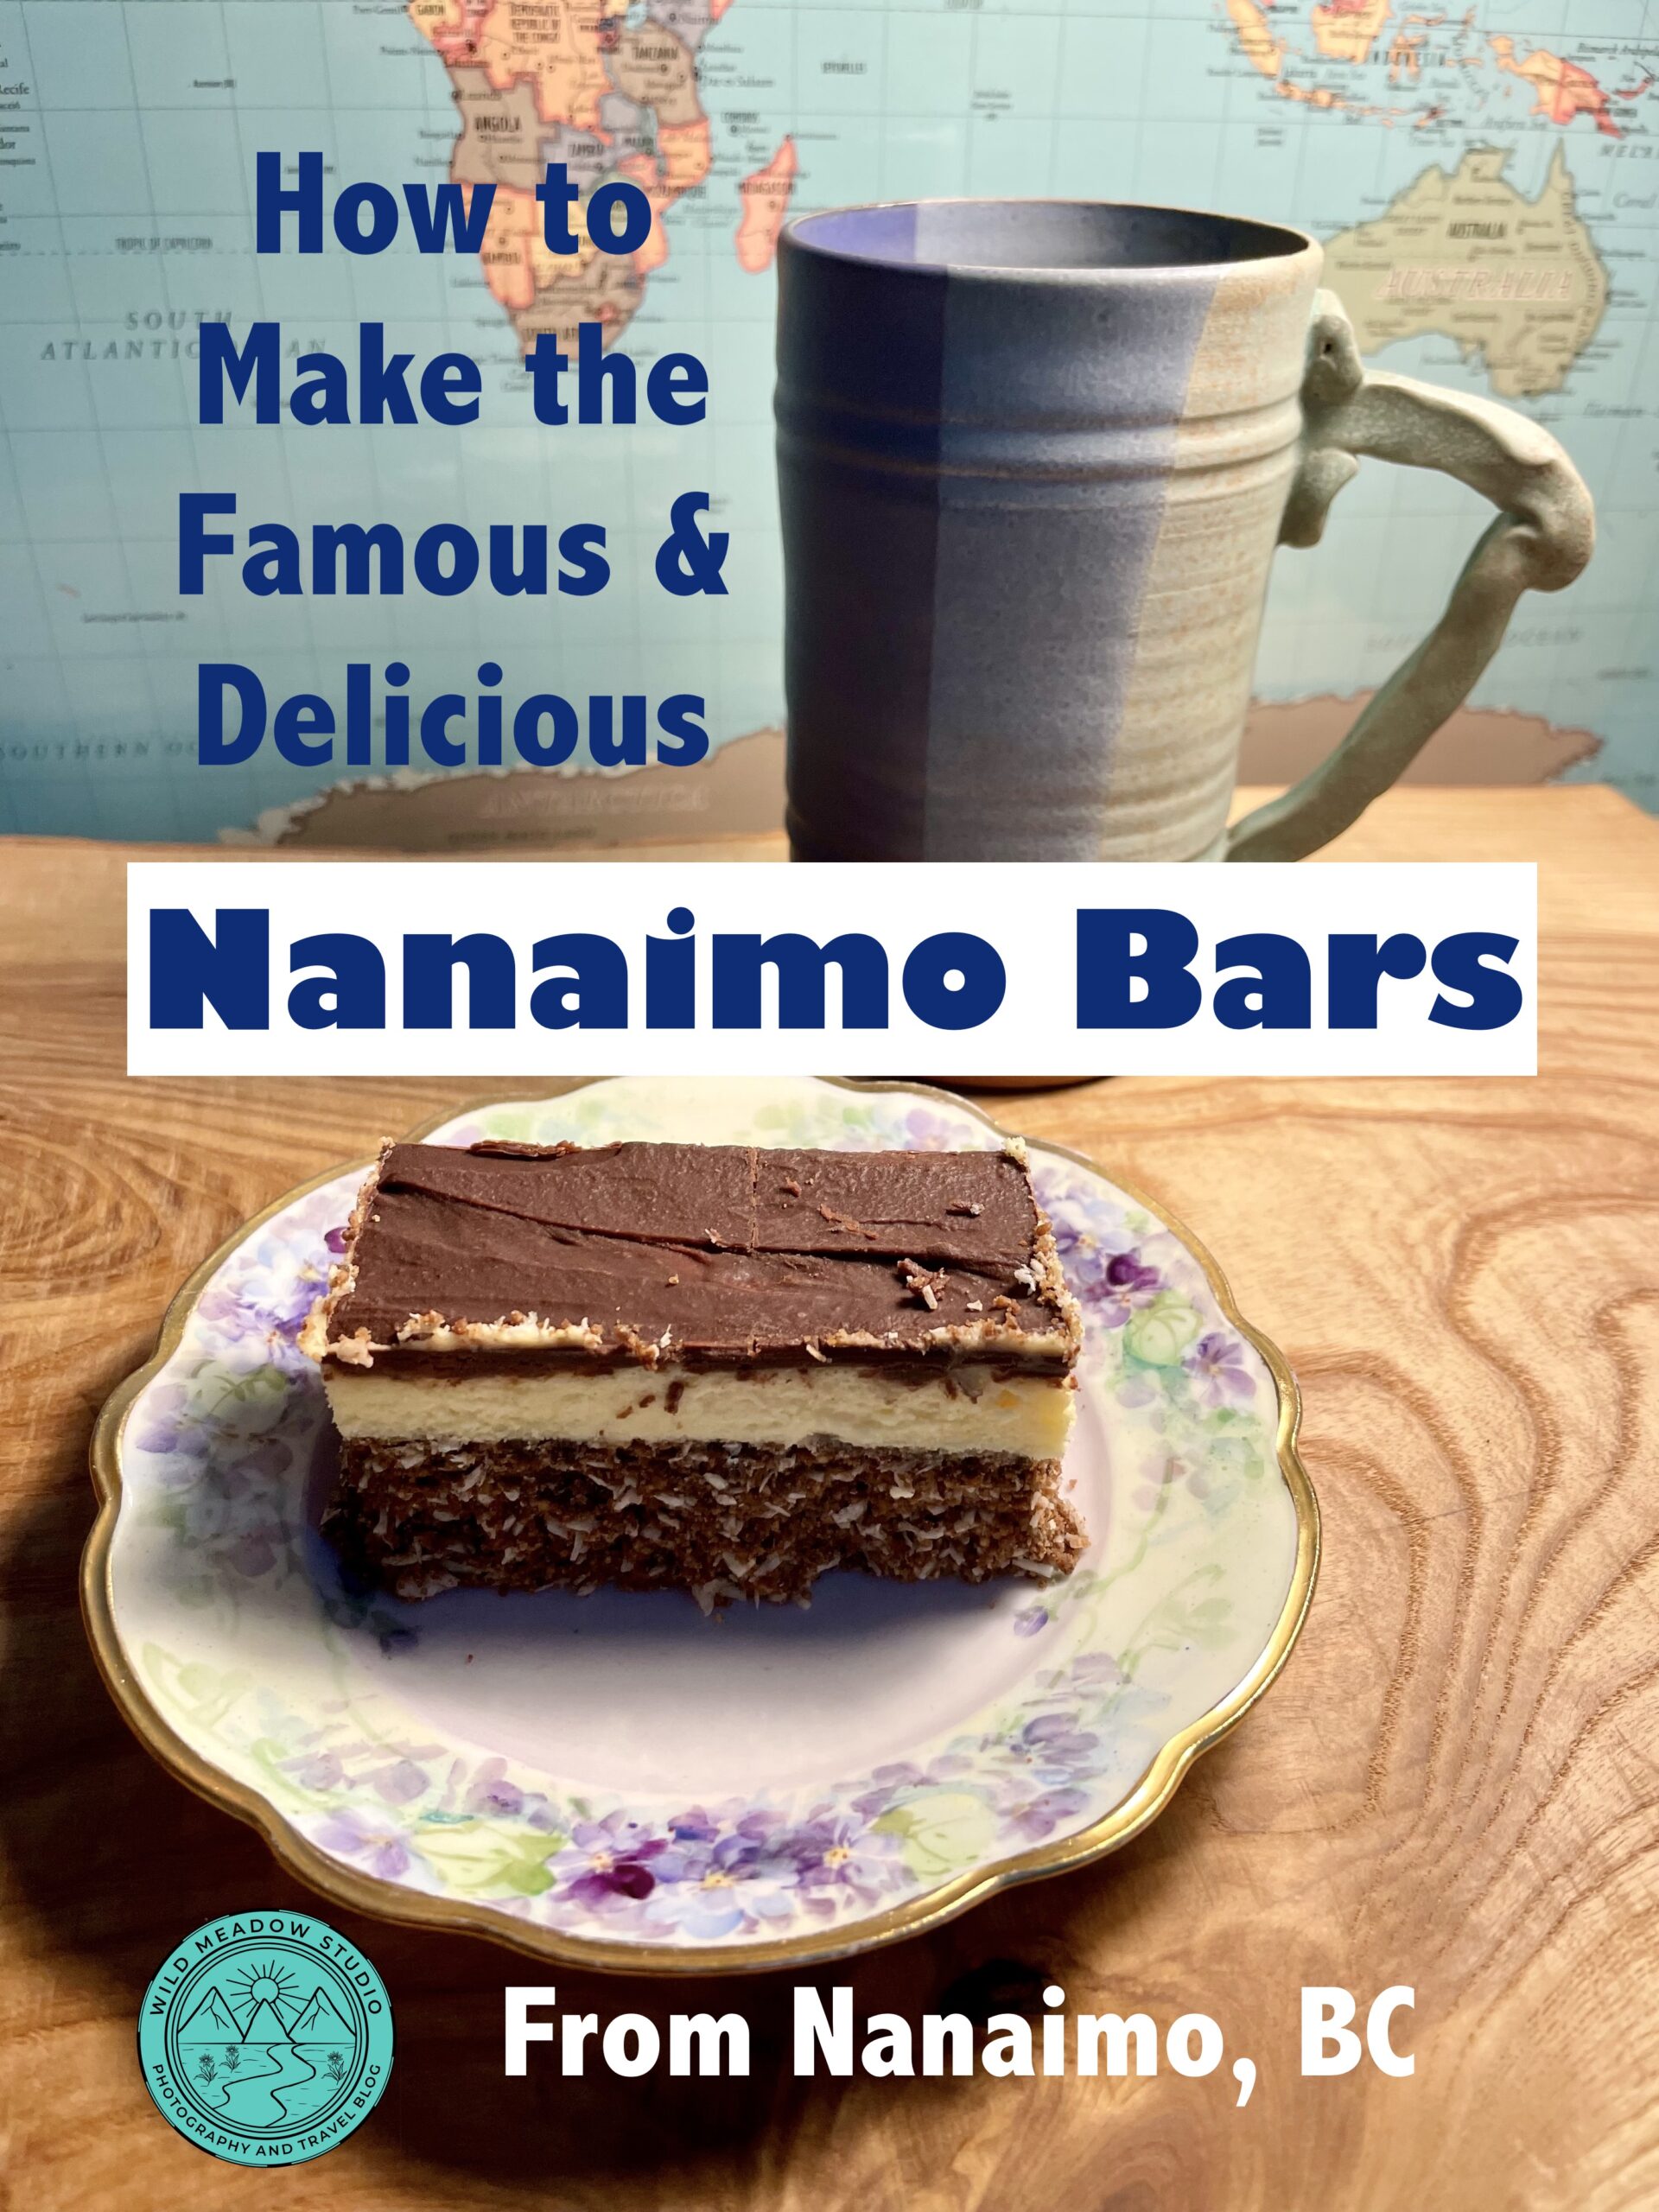
After winding our way from Nanaimo to Tofino through ancient rainforests, rugged coastlines, and some of Vancouver Island’s most memorable landscapes, it feels fitting to end this four-part series with the dessert that proudly carries Nanaimo’s name. The Nanaimo Bar is one of Canada’s most iconic sweet treats—a rich, no-bake dessert made with three irresistible layers: a chocolate-coconut crumb base, a creamy custard-flavoured filling, and a smooth chocolate topping. While its exact origins remain a bit of a mystery, the earliest known recipes appeared in the early 1950s in a cookbook published by the Women’s Auxiliary of Nanaimo Hospital, where it was originally called a “Chocolate Square.” By 1953, the dessert was being published under the name “Nanaimo Bar,” forever linking it to the harbour city on Vancouver Island. Today, this beloved Canadian classic can be found in bakeries, cafés, and family kitchens across the country, but there’s something special about enjoying it in the place where its story began. In this post, I’m sharing how to make an authentic Nanaimo Bar at home so you can bring a little taste of Vancouver Island to your own kitchen.
Prep Time: 45 mins.
Chill Time: approx. 3 hours & 15 mins.
Total Time: 4 hours
Serves: 9 (depending on the size of the pieces)
Ingredients:
Bottom Layer:
- 1 3/4 Cups of graham cracker crumbs
- 1 cup unsweetened coconut (shredded)
- ½ cup of chopped Walnut (if desired)
- ¼ cup of sugar
- 5 tbsp of unsweetened cocoa powder
- ½ cup of salted butter
- 1 egg, beaten
- 1 tsp of vanilla extract
Middle Layer:
- 3 tbsp heavy cream
- ½ cup of unsalted butter, room temp.
- 2 tbsp of Bird’s brand custard powder or similar, (alternatively you could substitute with instant vanilla pudding mix)
- 2 cups of powdered sugar (sifted)
Top Layer:
- 4 oz of semi-sweet or dark chocolate, (chopped)
- 2 tbsp of unsalted butter
Instructions:
For the Bottom Layer –
- Using a 9”x9” baking pan, line with parchment paper, making sure there is some overhang on each side.
- Melt the butter in a pot, over medium heat, then whisk in the sugar and cocoa powder until combined.
- Remove pan from the heat, then beat your egg in a separate bowl and add one spoonful of the buttery, chocolate mixture to the egg, and whisk together before adding it to the pot. This helps the egg get accustomed to the heat without scrambling it.
- Once both the egg and chocolate mixtures are in the pot, return it to a low heat, stirring constantly for approx. 2 to 3 mins, until it starts to thicken.
- Remove from the heat and stir in the vanilla, graham cracker crumbs, coconut, and walnuts, mix until combined.
- Spoon the mixture into the prepared pan and firmly press, making sure that it is even. Then place into the fridge for about 15 mins.
For the Middle Layer –
- Using a hand mixer beat the soft butter until it is fluffy, then add the heavy cream, powdered sugar, and custard powder.
- Beat until it’s smooth and creamy, (should be a pale yellow in colour).
- Spread the middle custard layer over the crust layer and pop back into the fridge for at least an hour. You want to make sure the middle layer is completely cooled and set before adding the chocolate as you don’t want the layer to melt together.
For the Top Layer –
- Melt the chocolate and butter in a saucepan, on low heat, stirring constantly. Then let this top layer cool for 5 – 10 mins, again you don’t want it to be too hot and melt the custard layer.
- Once cooled and the custard is set, pour the top layer over the middle layer spread evenly, but do this quickly before it starts to set.
- Place the baking pan back into the fridge for about 20 mins, until partially set, using a sharp knife score the surface of the dessert into rectangles. Put back into the fridge, for 1 to 2 hours, so everything is completely set.
- Using the overhang of the parchment paper, lift the dessert out of the pan and place on a cutting board and slice along the scored lines.
- Serve cold and promptly put leftover bars back in the fridge, don’t leave them out for too long or they get pretty soft.
- Enjoy with a tea, coffee, or drink of desire.
Make this delicious dessert before you go or be inspired to make it once you’ve returned from the rugged and stunning Vancouver Island!
Checkout our other posts in our Vancouver Island, Nanaimo to Tofino Road Trip Series to help you plan an amazing trip to this beautiful region of Canada.
“Top Things to do from Nanaimo to Tofino, Vancouver Island: Beaches, Forests, & Hidden Gems”.
“7-Day Vancouver Island Itinerary: The Nanaimo to Tofino Road Trip”.
“Travel Guide to Vancouver Island, Nanaimo to Tofino: Where to Stay, Eat & Essential Tips.”
For fun activities like food tours or cooking classes, check out Expedia, Get your Guide, or Viator for options all over the world!
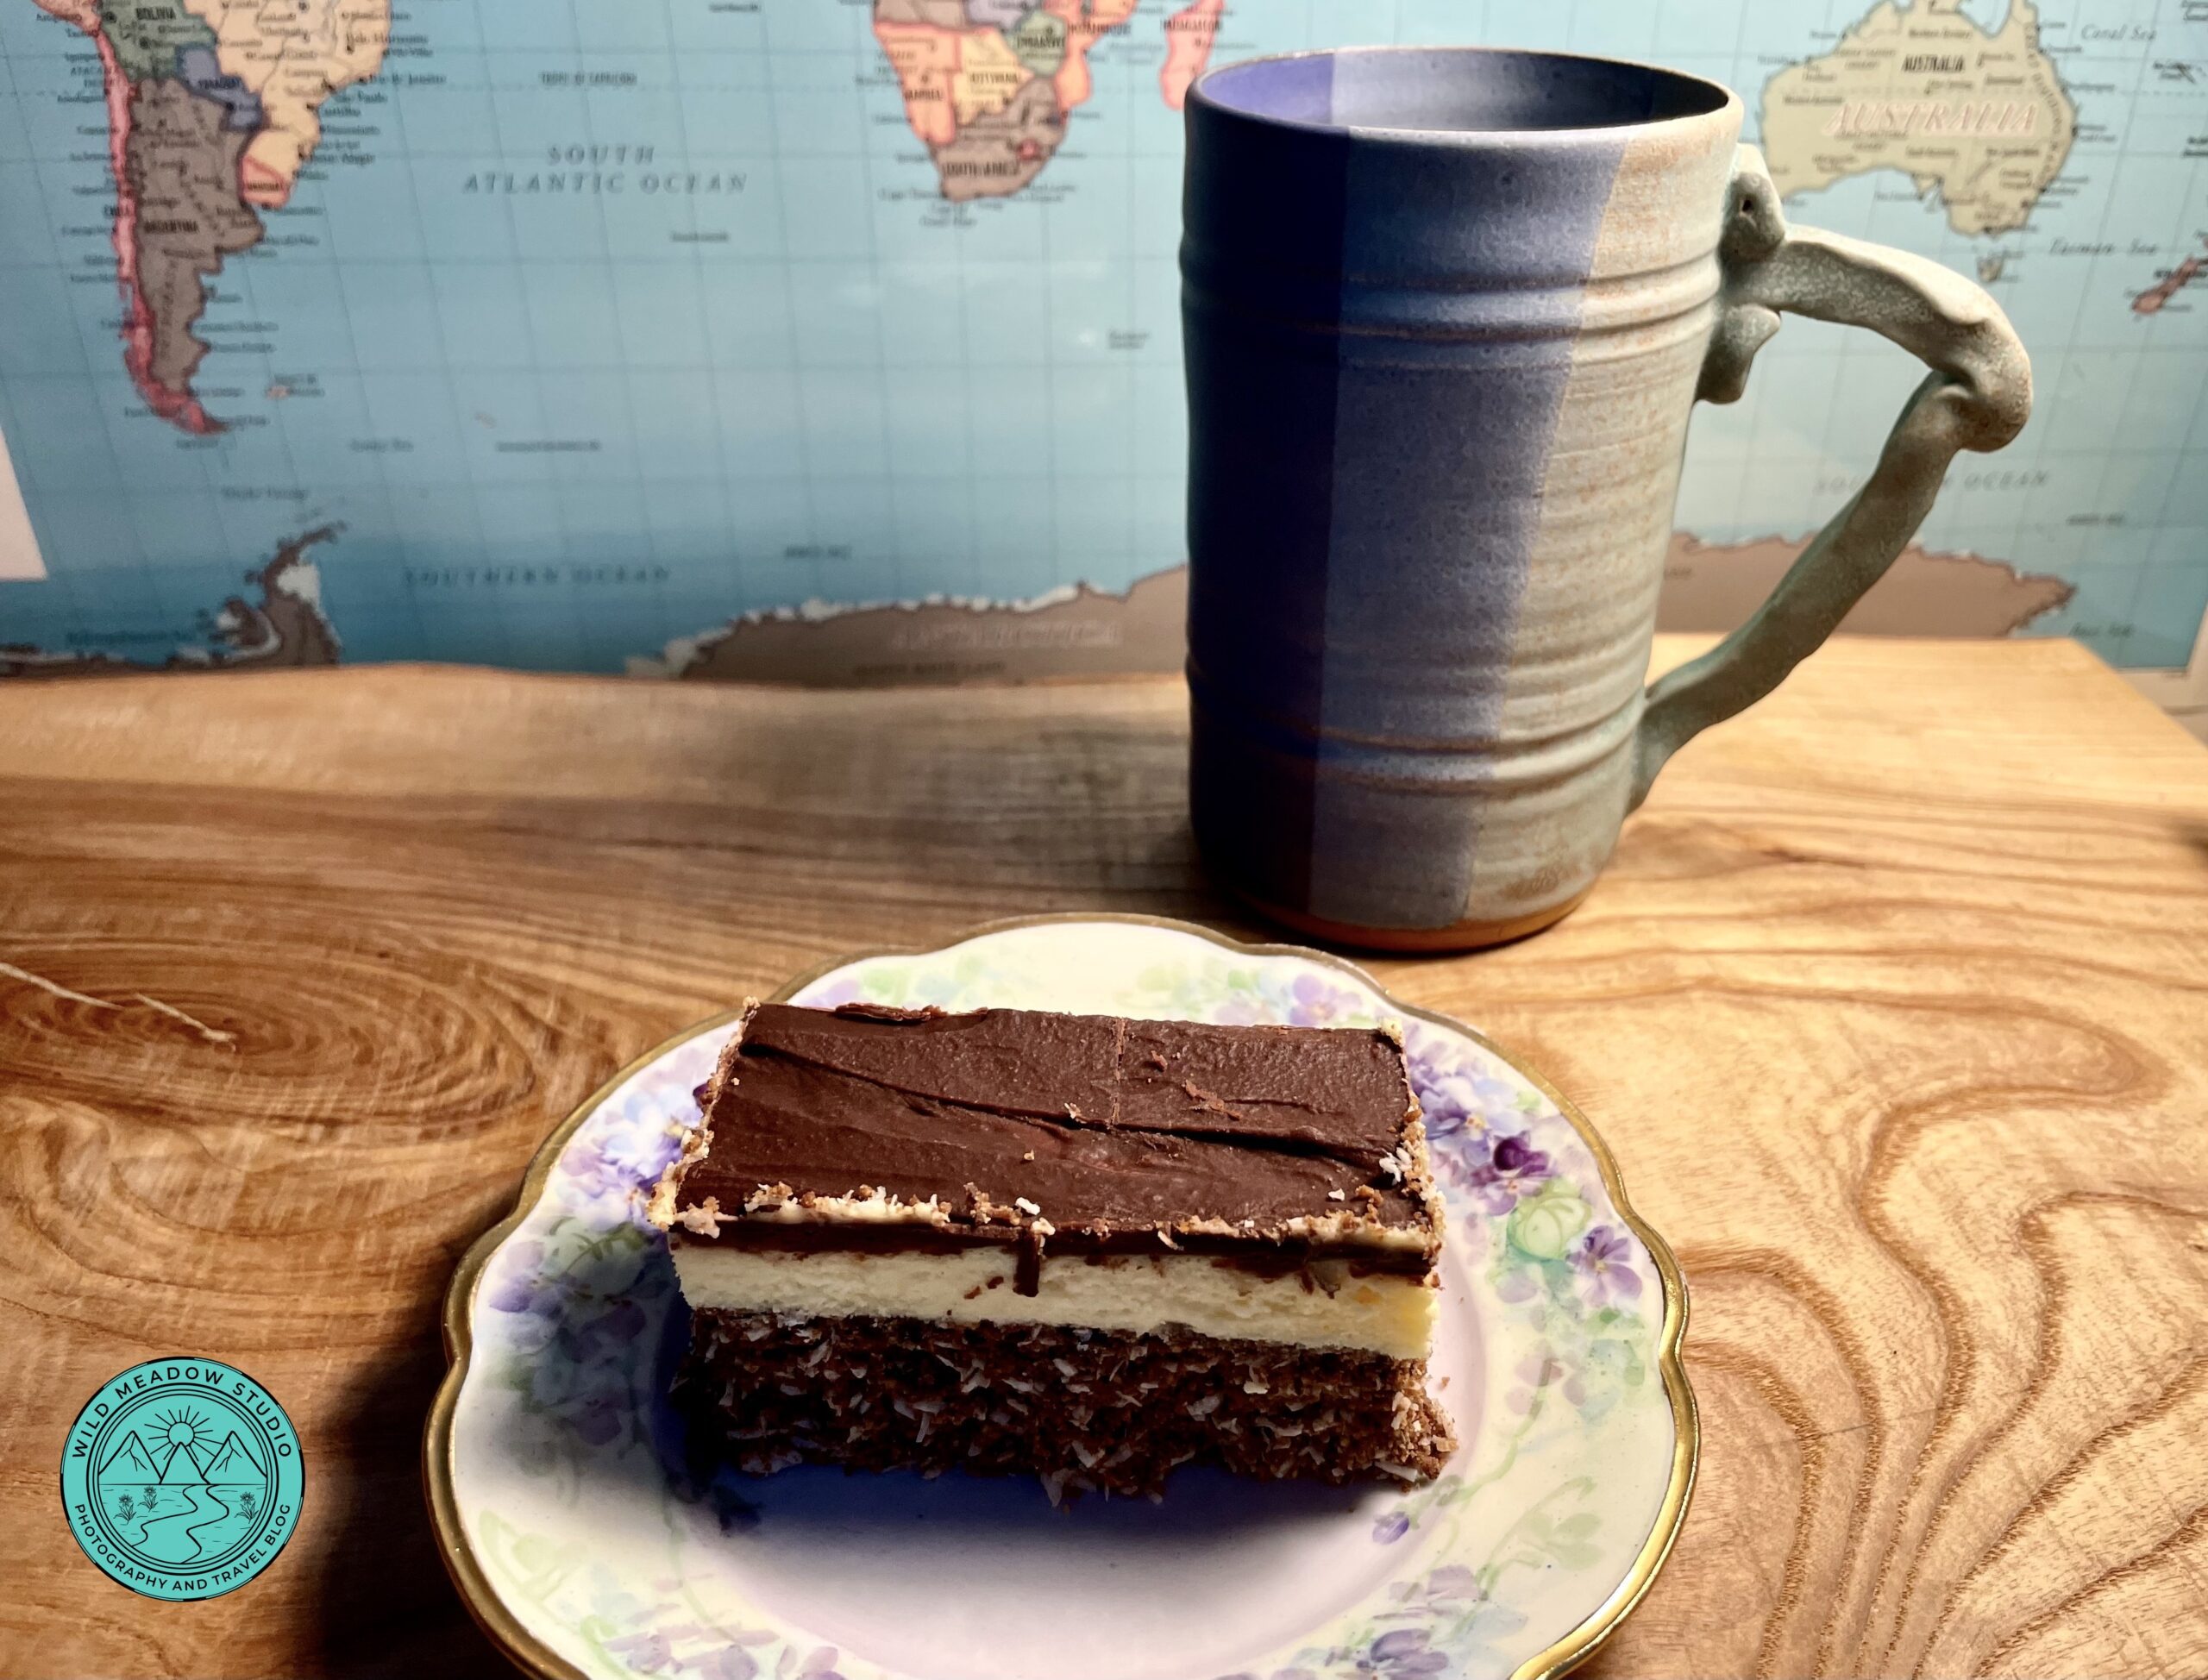
Delicious Nanaimo Bars
Disclosure: Some of the links in this post are affiliate links. This means that if you choose to make a booking or purchase through one of these links, we may earn a small commission at no additional cost to you. I only recommend places, experiences, and products that we have personally used or genuinely believe add value to a trip.
Our relaxed, early morning style is something we love, so much so, we wrote a blog and 2 free downloadable travel guides on it, “Your Daily Slow Travel Planner + Bonus Slow Morning Blueprint” request your free copies at the top of the page or through one of our pop ups.
Plan Better. Travel Slower. Capture More.
Thank you,
Beth
Beth de Verteuil
Wild Meadow Studio
Plan. Travel. Capture.